TR-25 CW radio kit from WA3RNC
There is no escape from the fact that Ham Radio might be an expensive hobby. This is why I am really grateful to folks like G0UPL and WA3RNC who come up with affordably priced kits so new hams may try SOTA without having to break their piggy banks.
While I am a huge fan of QCX-mini with only 3 watts out I find it a bit underpowered and lacking band agility - QCX is a single band transceiver. I was in a situation a couple of times when an antenna farm on the summit of a mountain I was trying to activate was making a lot of noise on either 40 or 20 meter band forcing me to use the other one. On top of that 20 and 40 meters band signals propagate differently. Switching bands allows you to shift zones where your signals are heard so you may reach folks who were in a shade on another band.
This is why as soon as I heard about TR-25 - 5 watt CW-only 20/40 meter transceiver kit I was sold on immediately. Just in case - I’m not sponsored by WA3RNC in any way and paid a full price for the kit.
TR-25 kit basic info
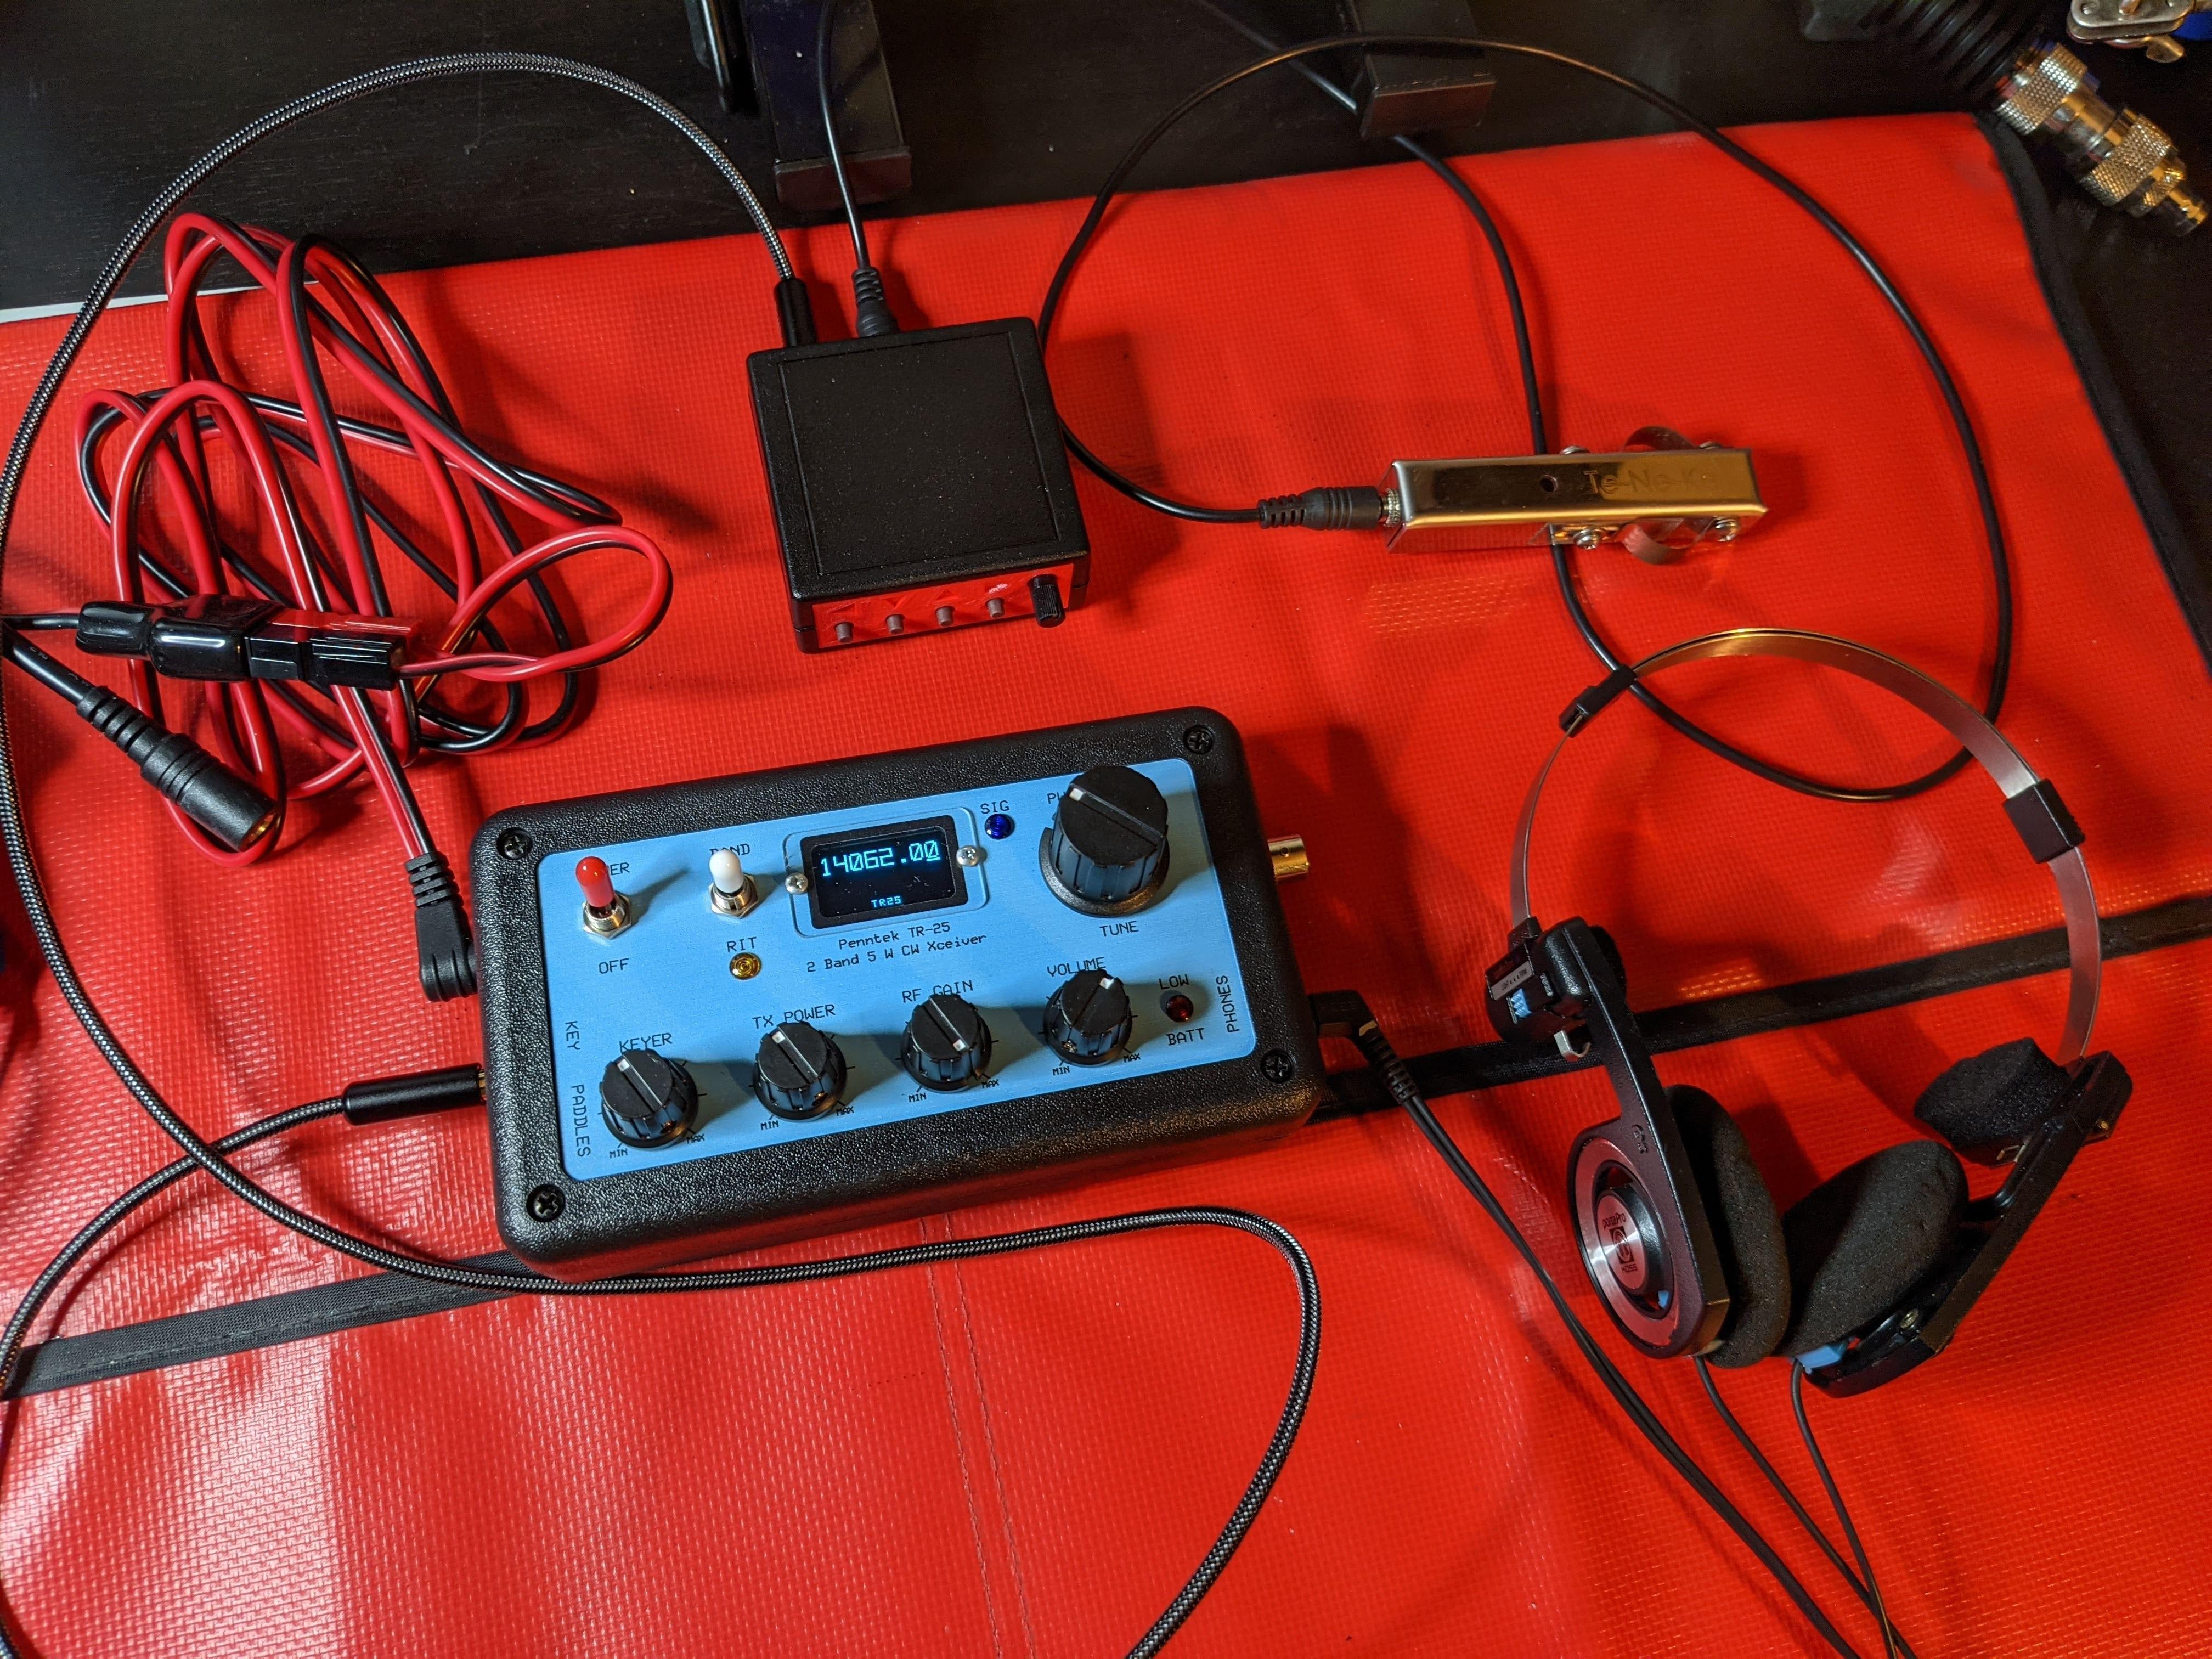
Quoting WA3RNC - TR-25 is a compact but powerful 2-band CW transceiver kit that uses no tiny pushbuttons, and without those seemingly endless and hard-to-remember back menus. There is a knob or a switch for every function!
- Size 5 ½ X 3 ¼ X 1 ½ less protrusions, weight 10.6 Oz
- Built in Iambic (Iambic-B to be precise) keyer is adjustable 5 to 35 WPM with front panel control
- Separate jacks for straight key and paddles; Always ready for straight key contacts
- Operates on 9.5 to 14 volts, < 110ma receive, about 1.1 Amp Xmitt at 10 volts
- Excellent receiver sensitivity with MDS of -125dBm
- Sharp IF filter; Better than 350 Hz at the -6dB point, plus 700 Hz audio filter
- Options include pre-wound toroid coils, precision optical tuning encoder, and complete factory assembly
Notes on assembly
Kit was delivered a couple of days after my order and fits into a small flat rate post box.
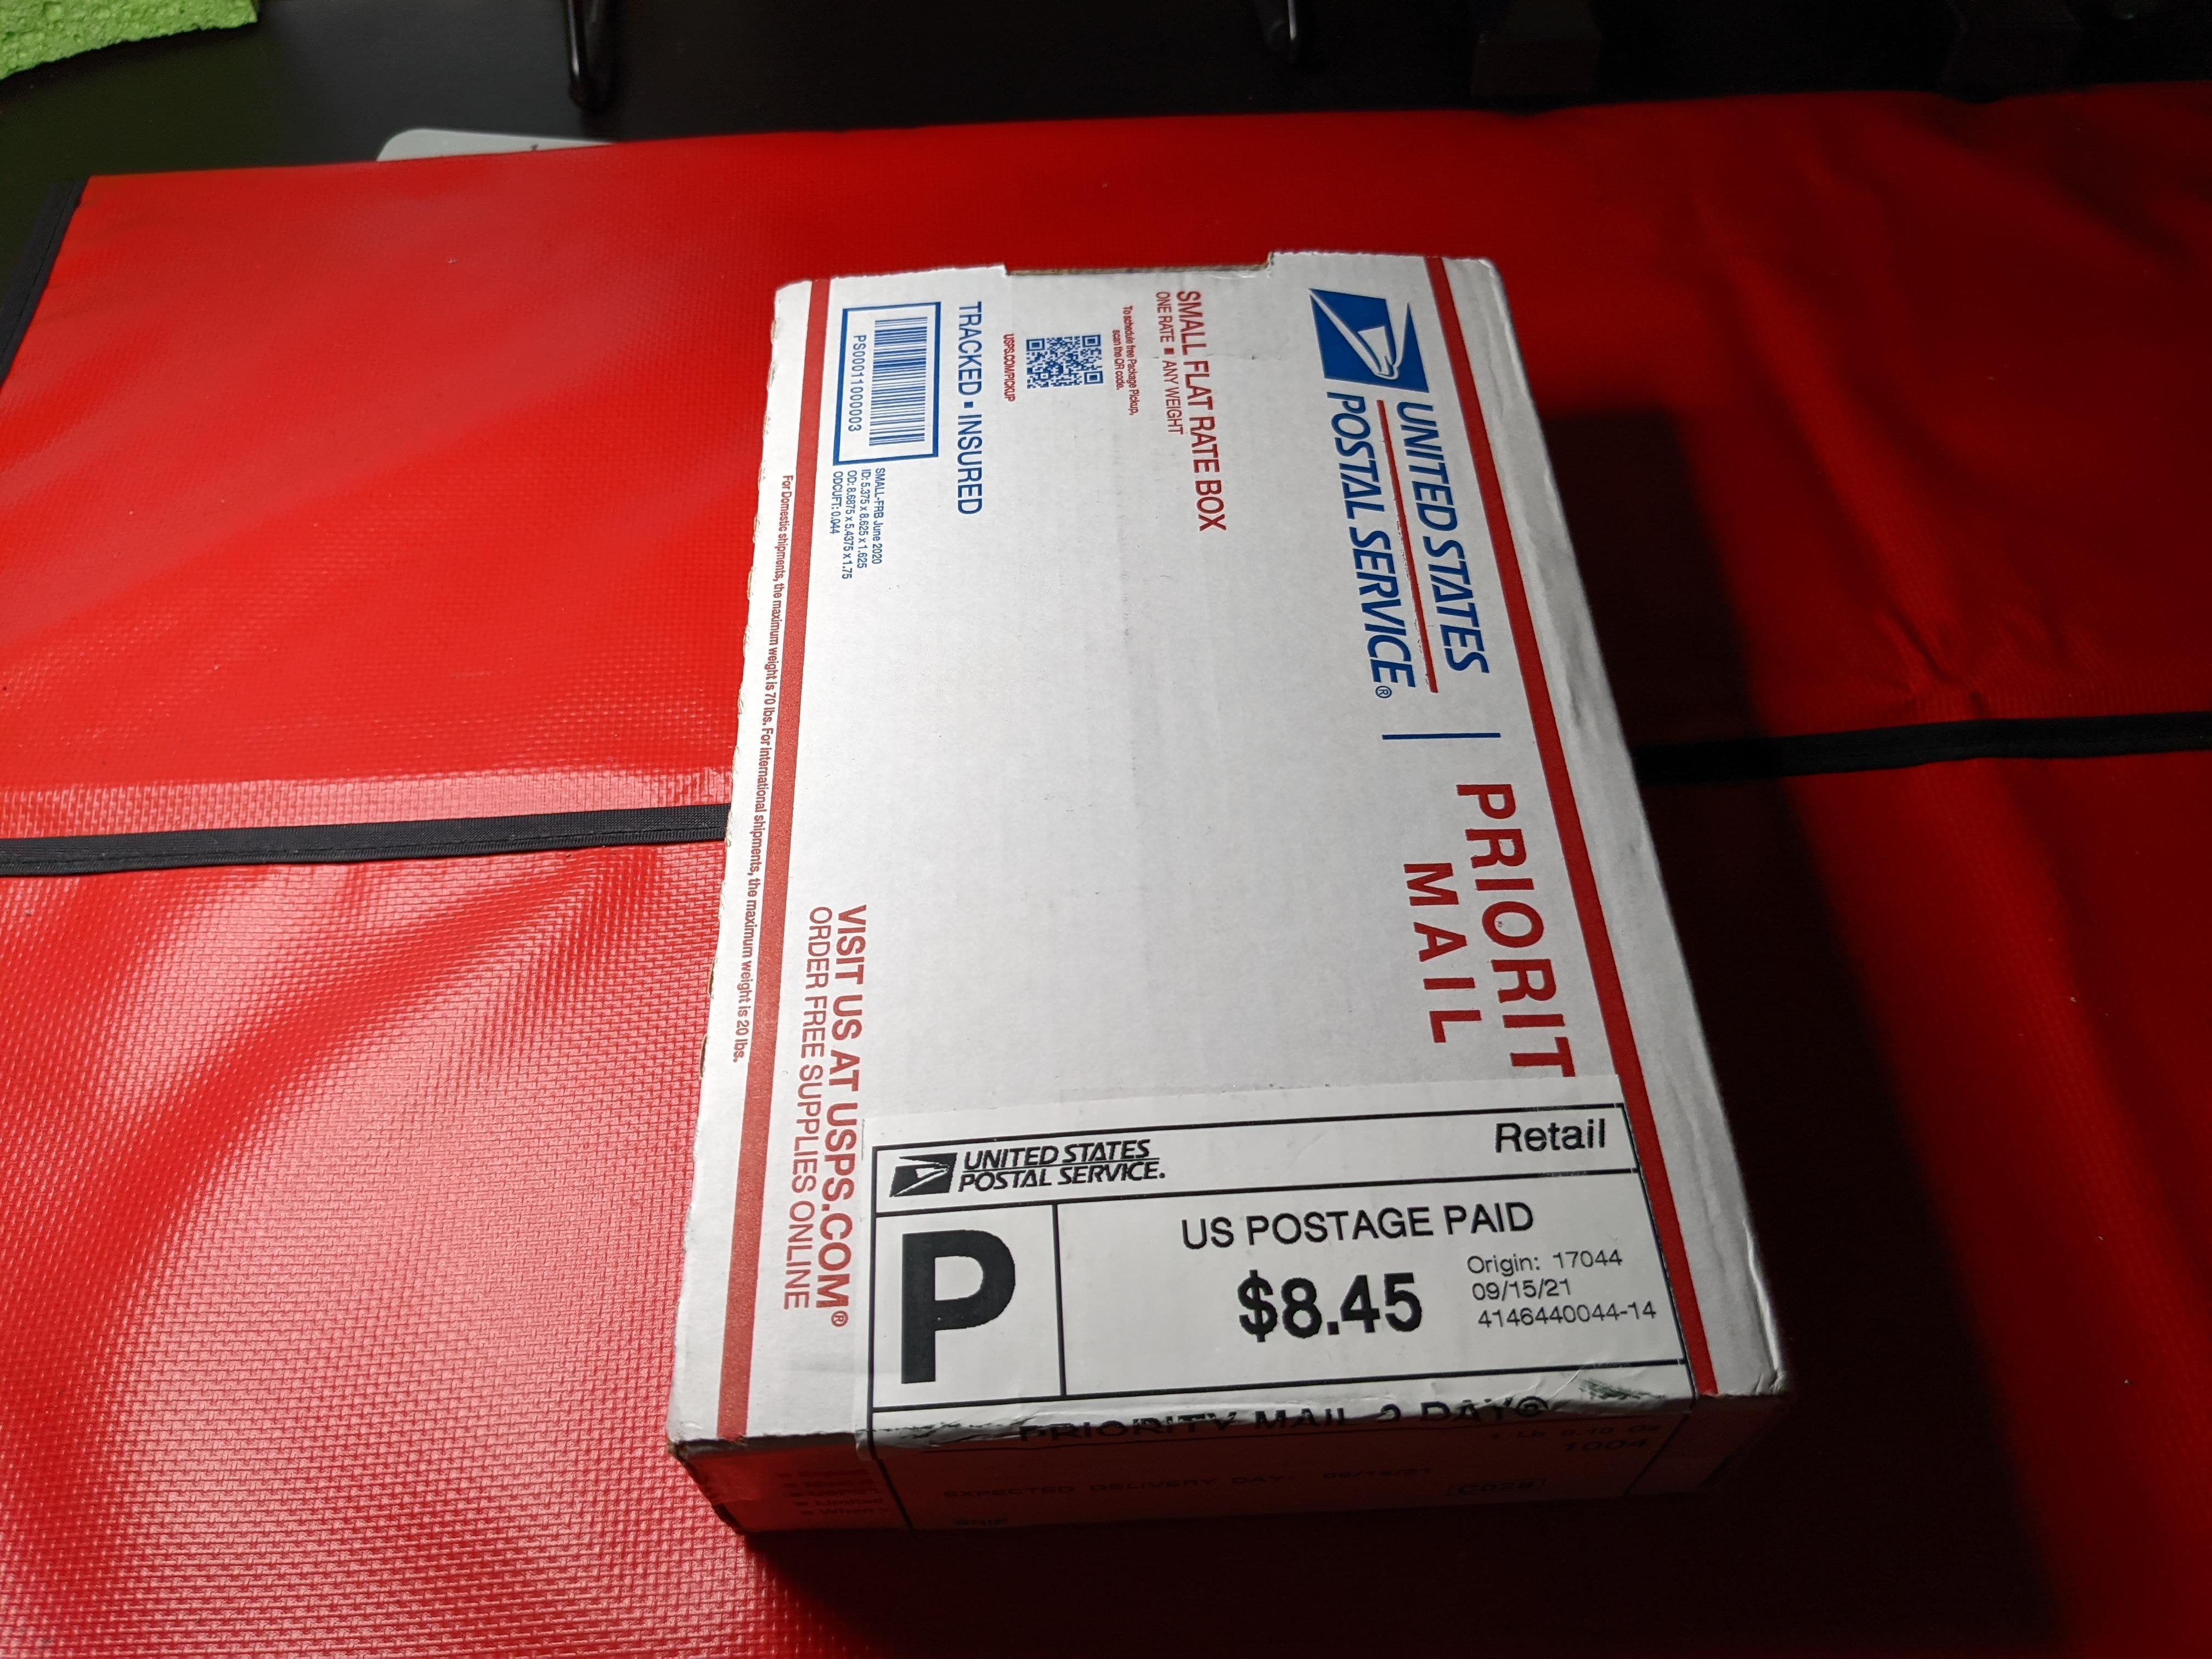
Kit fits into a small post box
In the box were three sleeves with parts, an enclosure, two PCBs with surface mount parts preinstalled and an assembly manual. Everything is very neat - for each assembly step you have a separate pocket, no need to sift through a pile of components trying to find the needed one.

Parts are packaged into sleeves - very neat and convenient
It is recommended to have some nail polish at your disposal to glue screws in after assembly. I am using blue loctite.
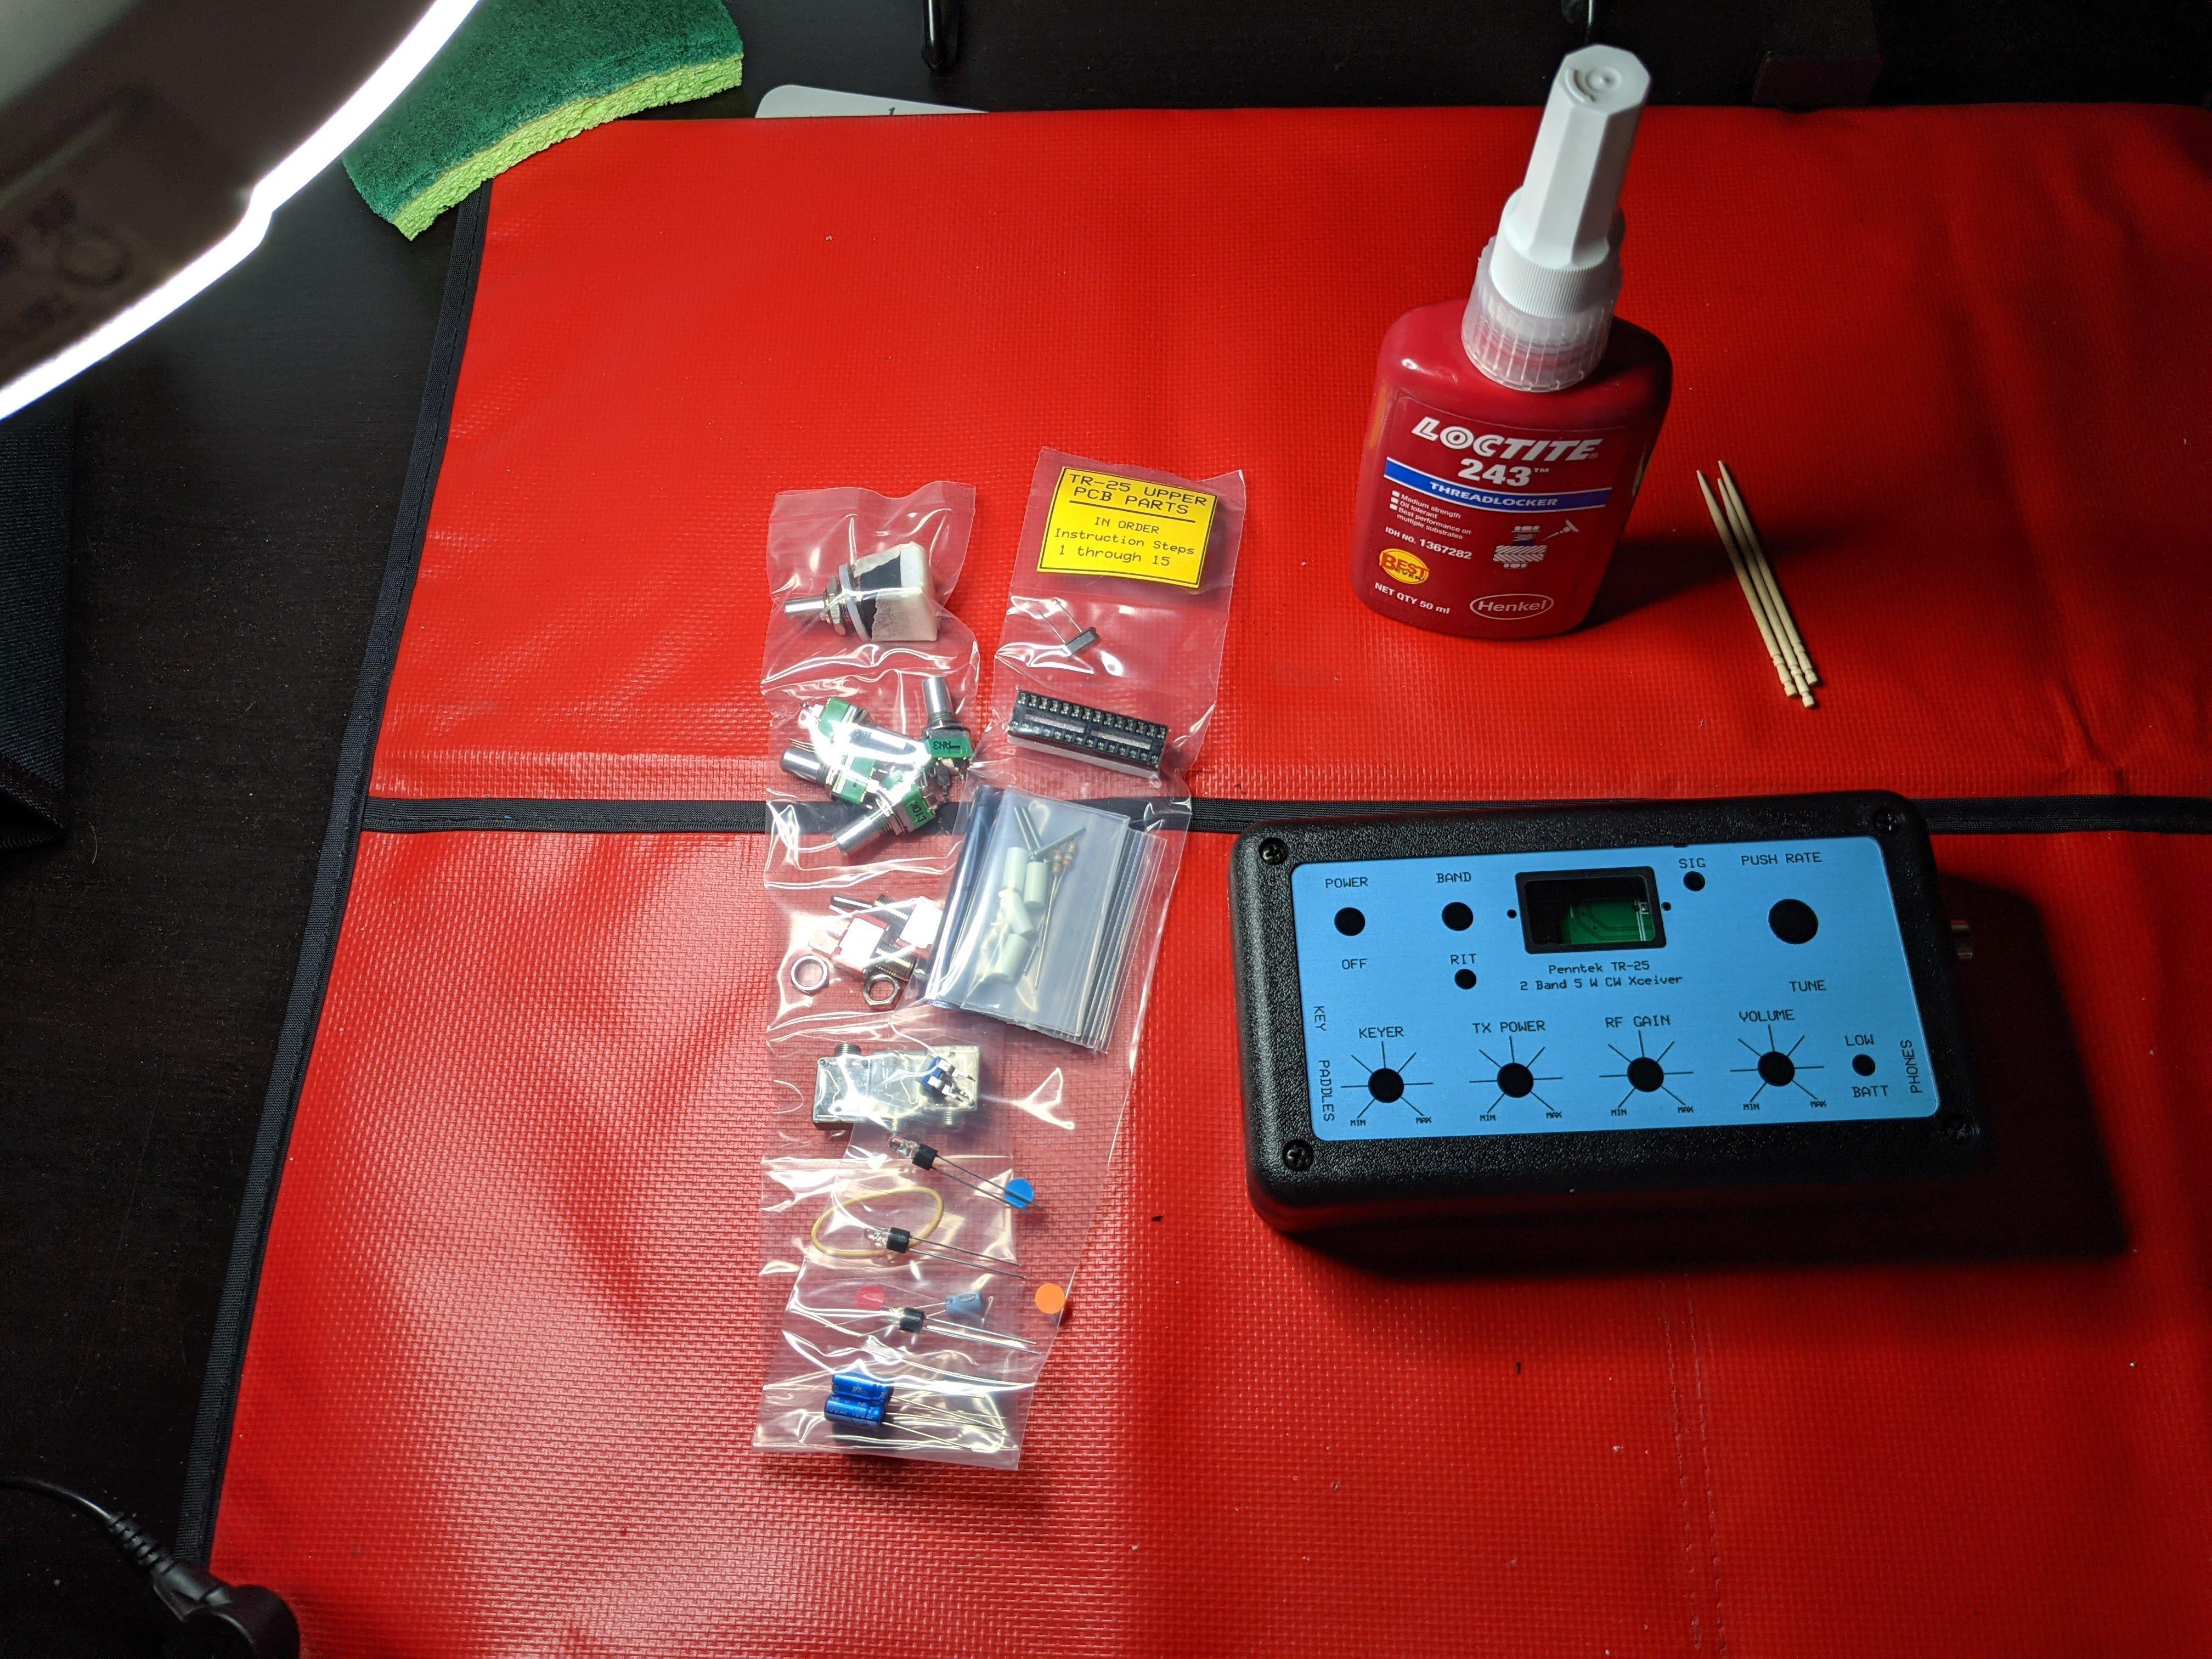
You’ll need loctite or some nail polish to secure screws in place
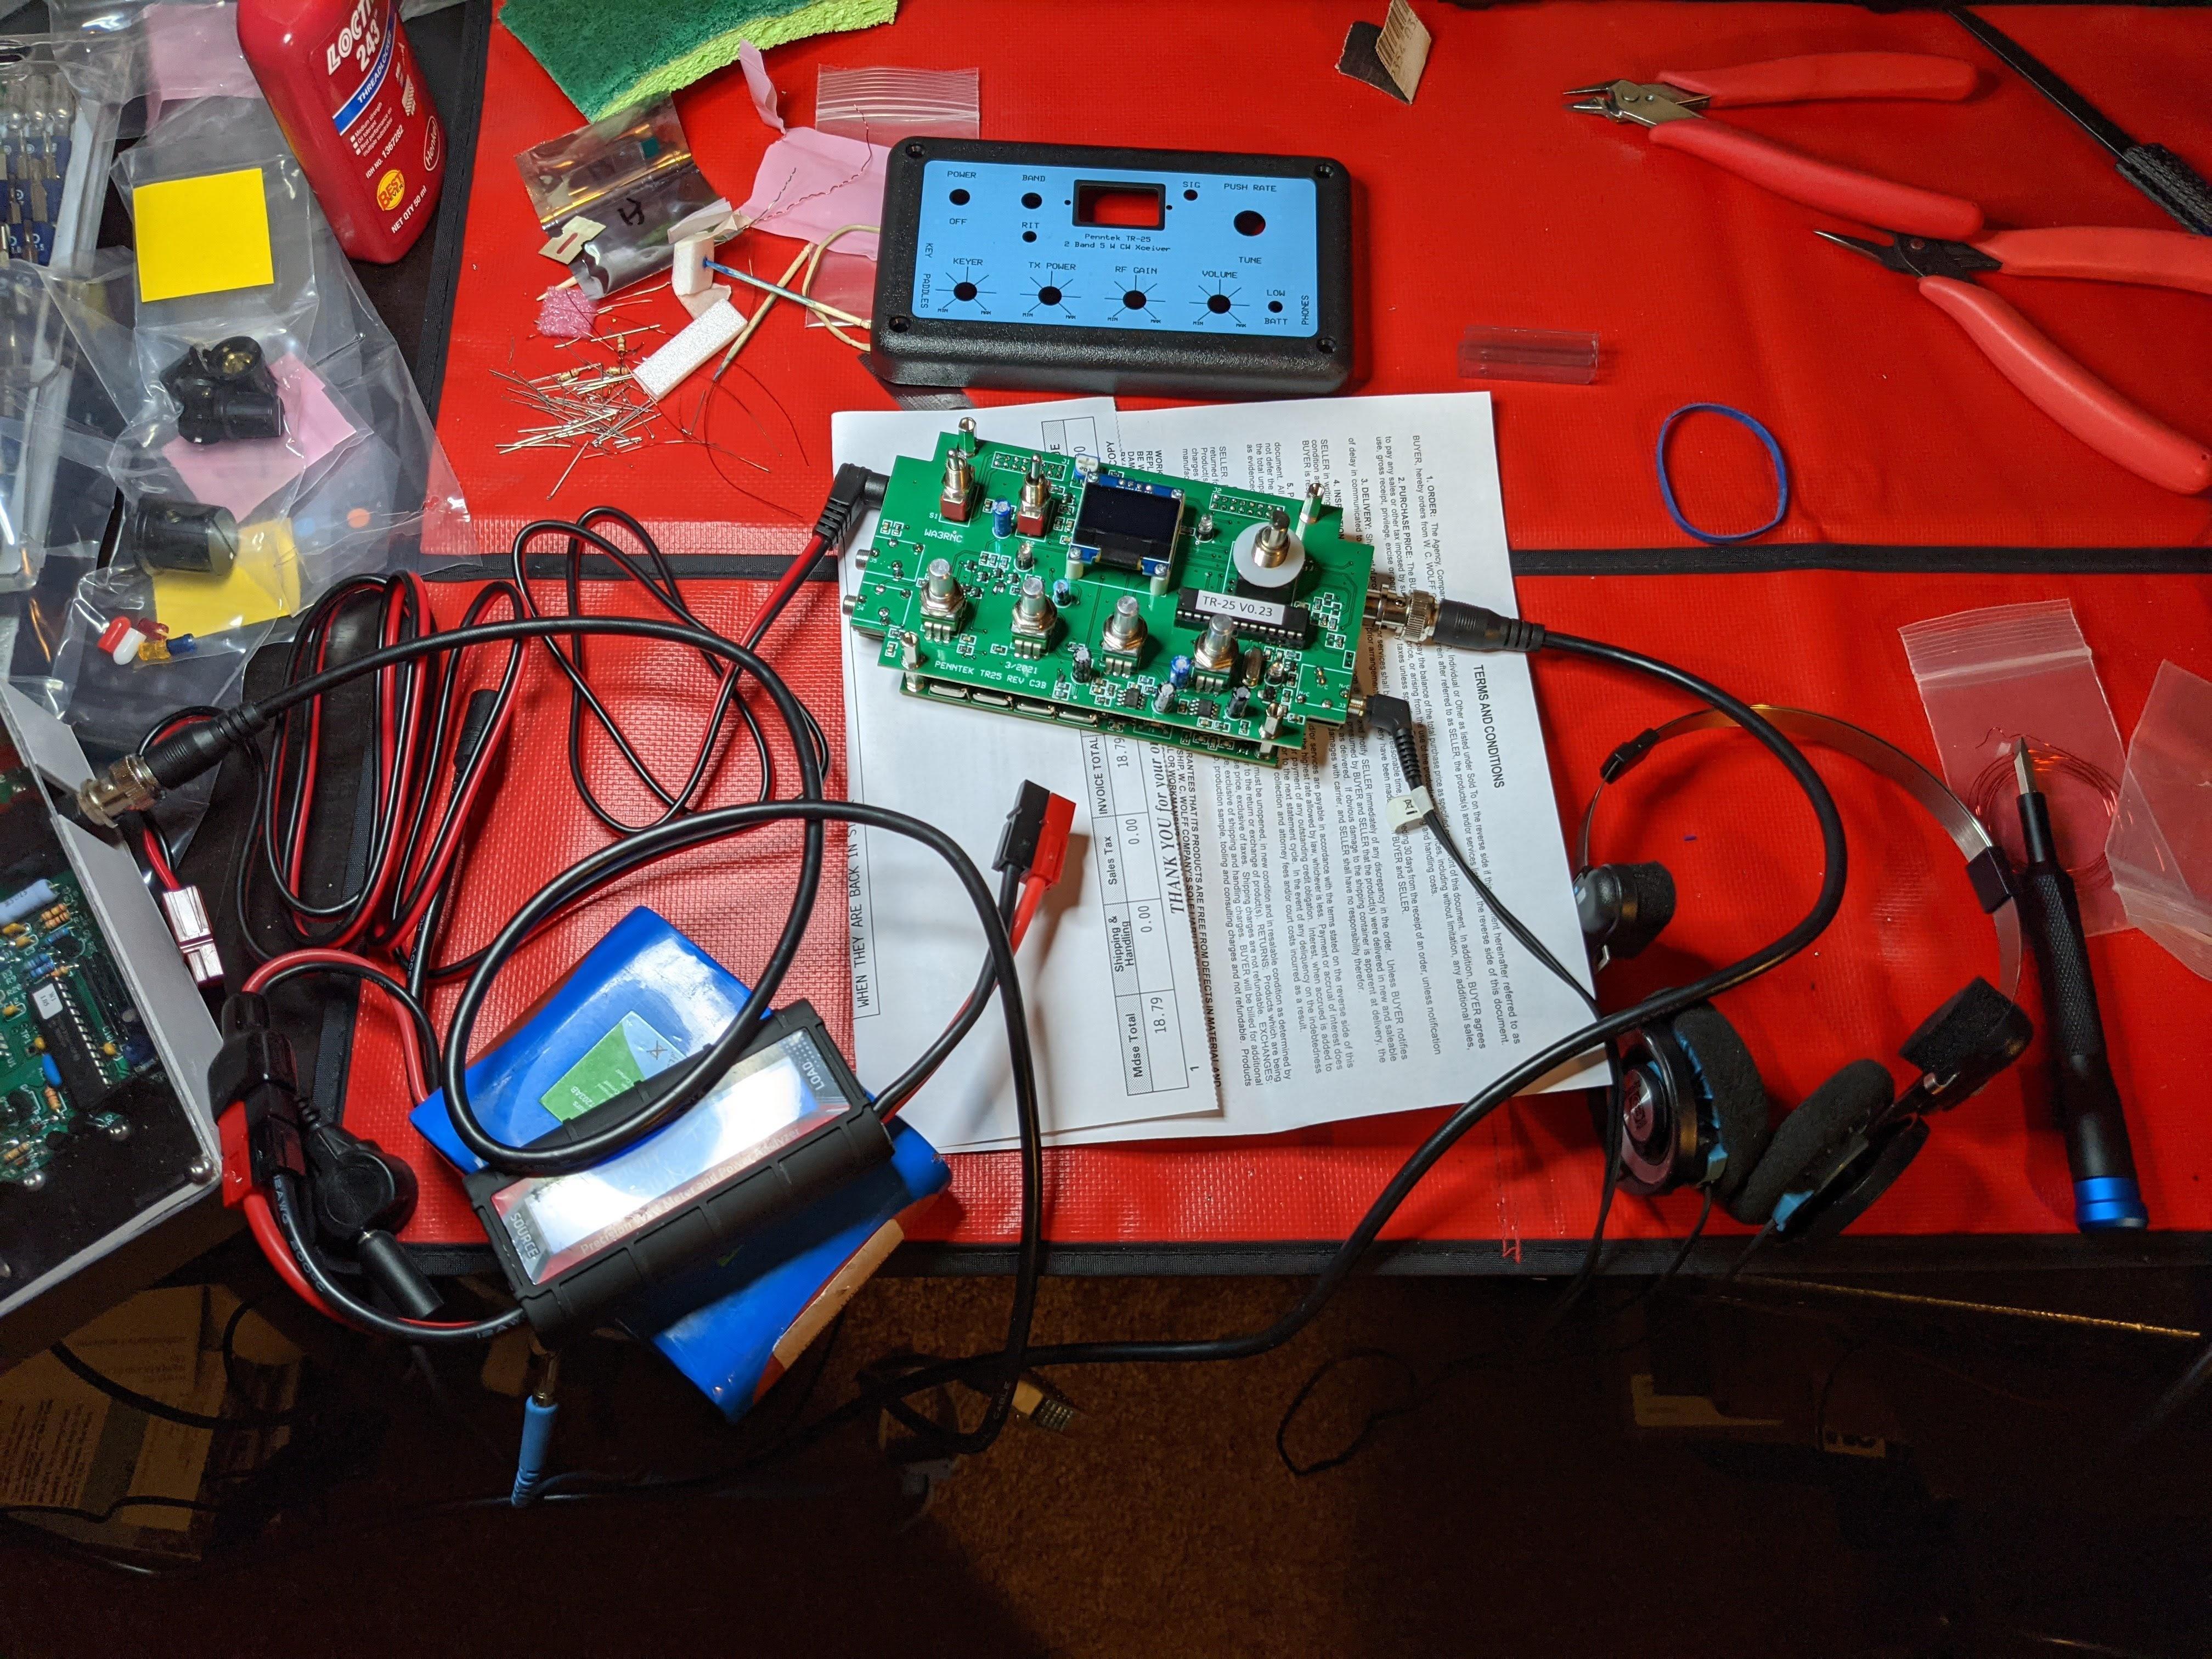
Lot of tiny parts are preinstalled so the remaining ones are not crowded and are not placed too close to PCB margins, you can use a soldering vice without risk to break something off.
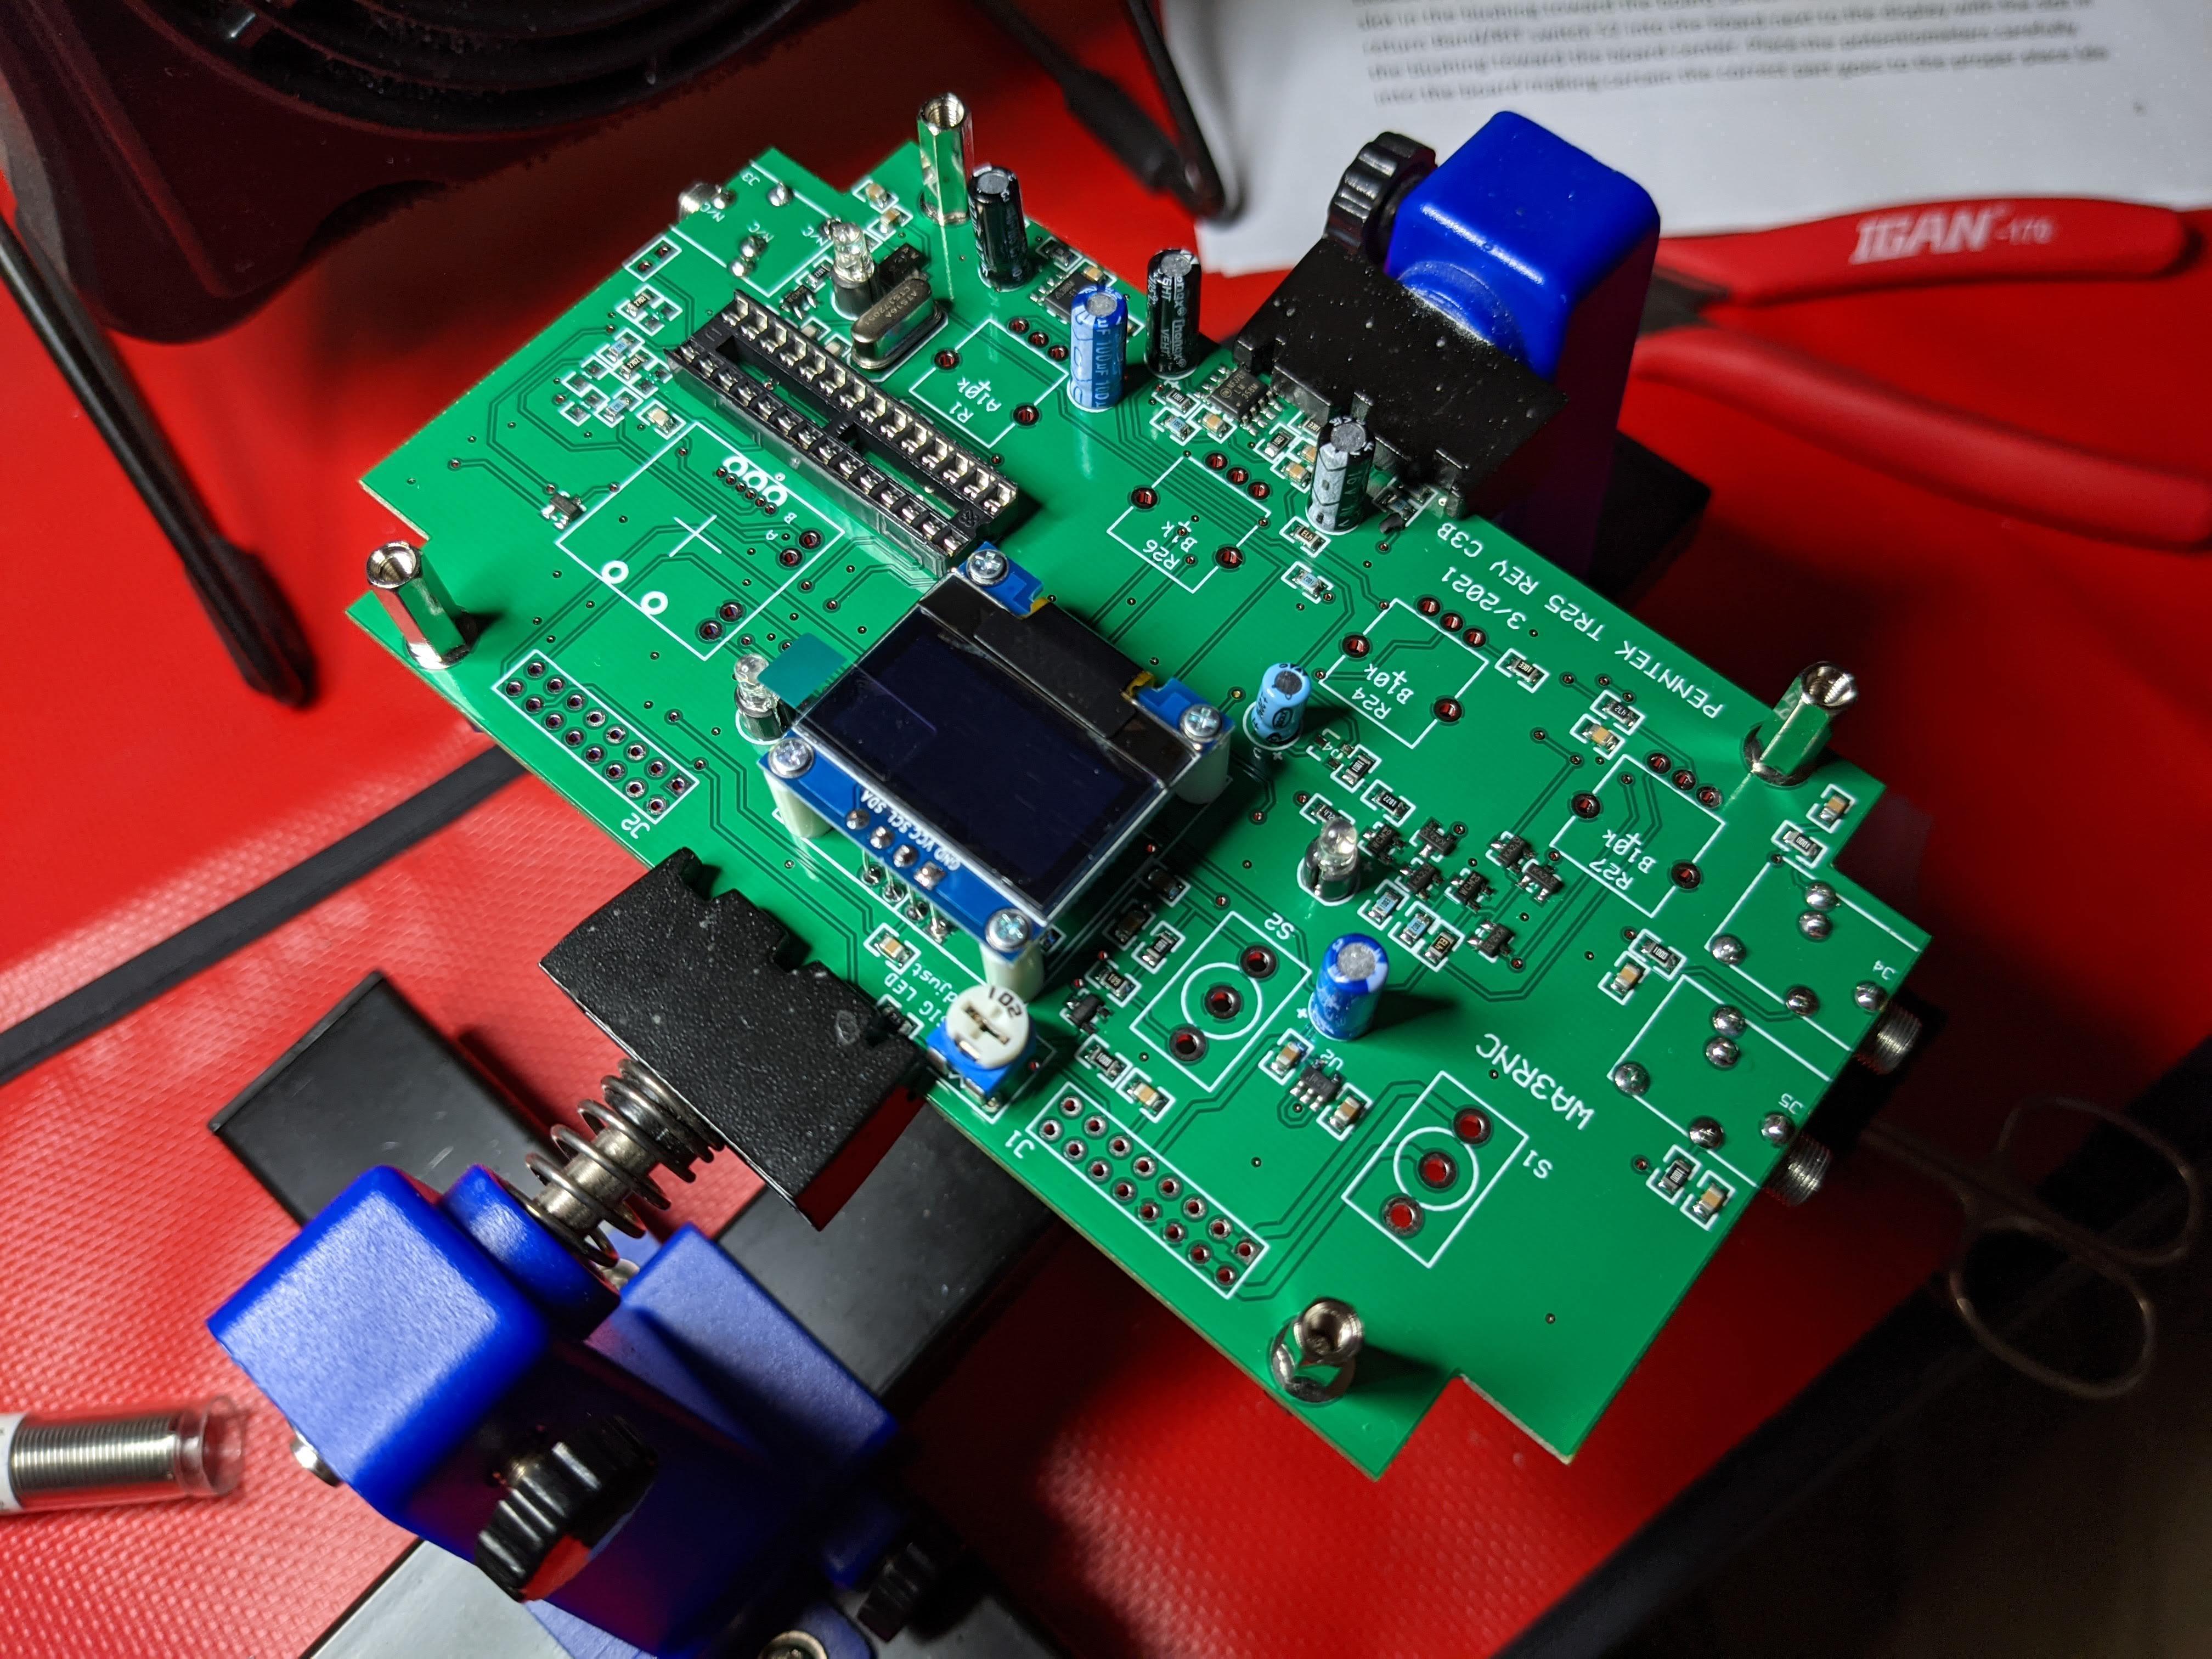
PCB is not crowded and fits nicely into a soldering vice
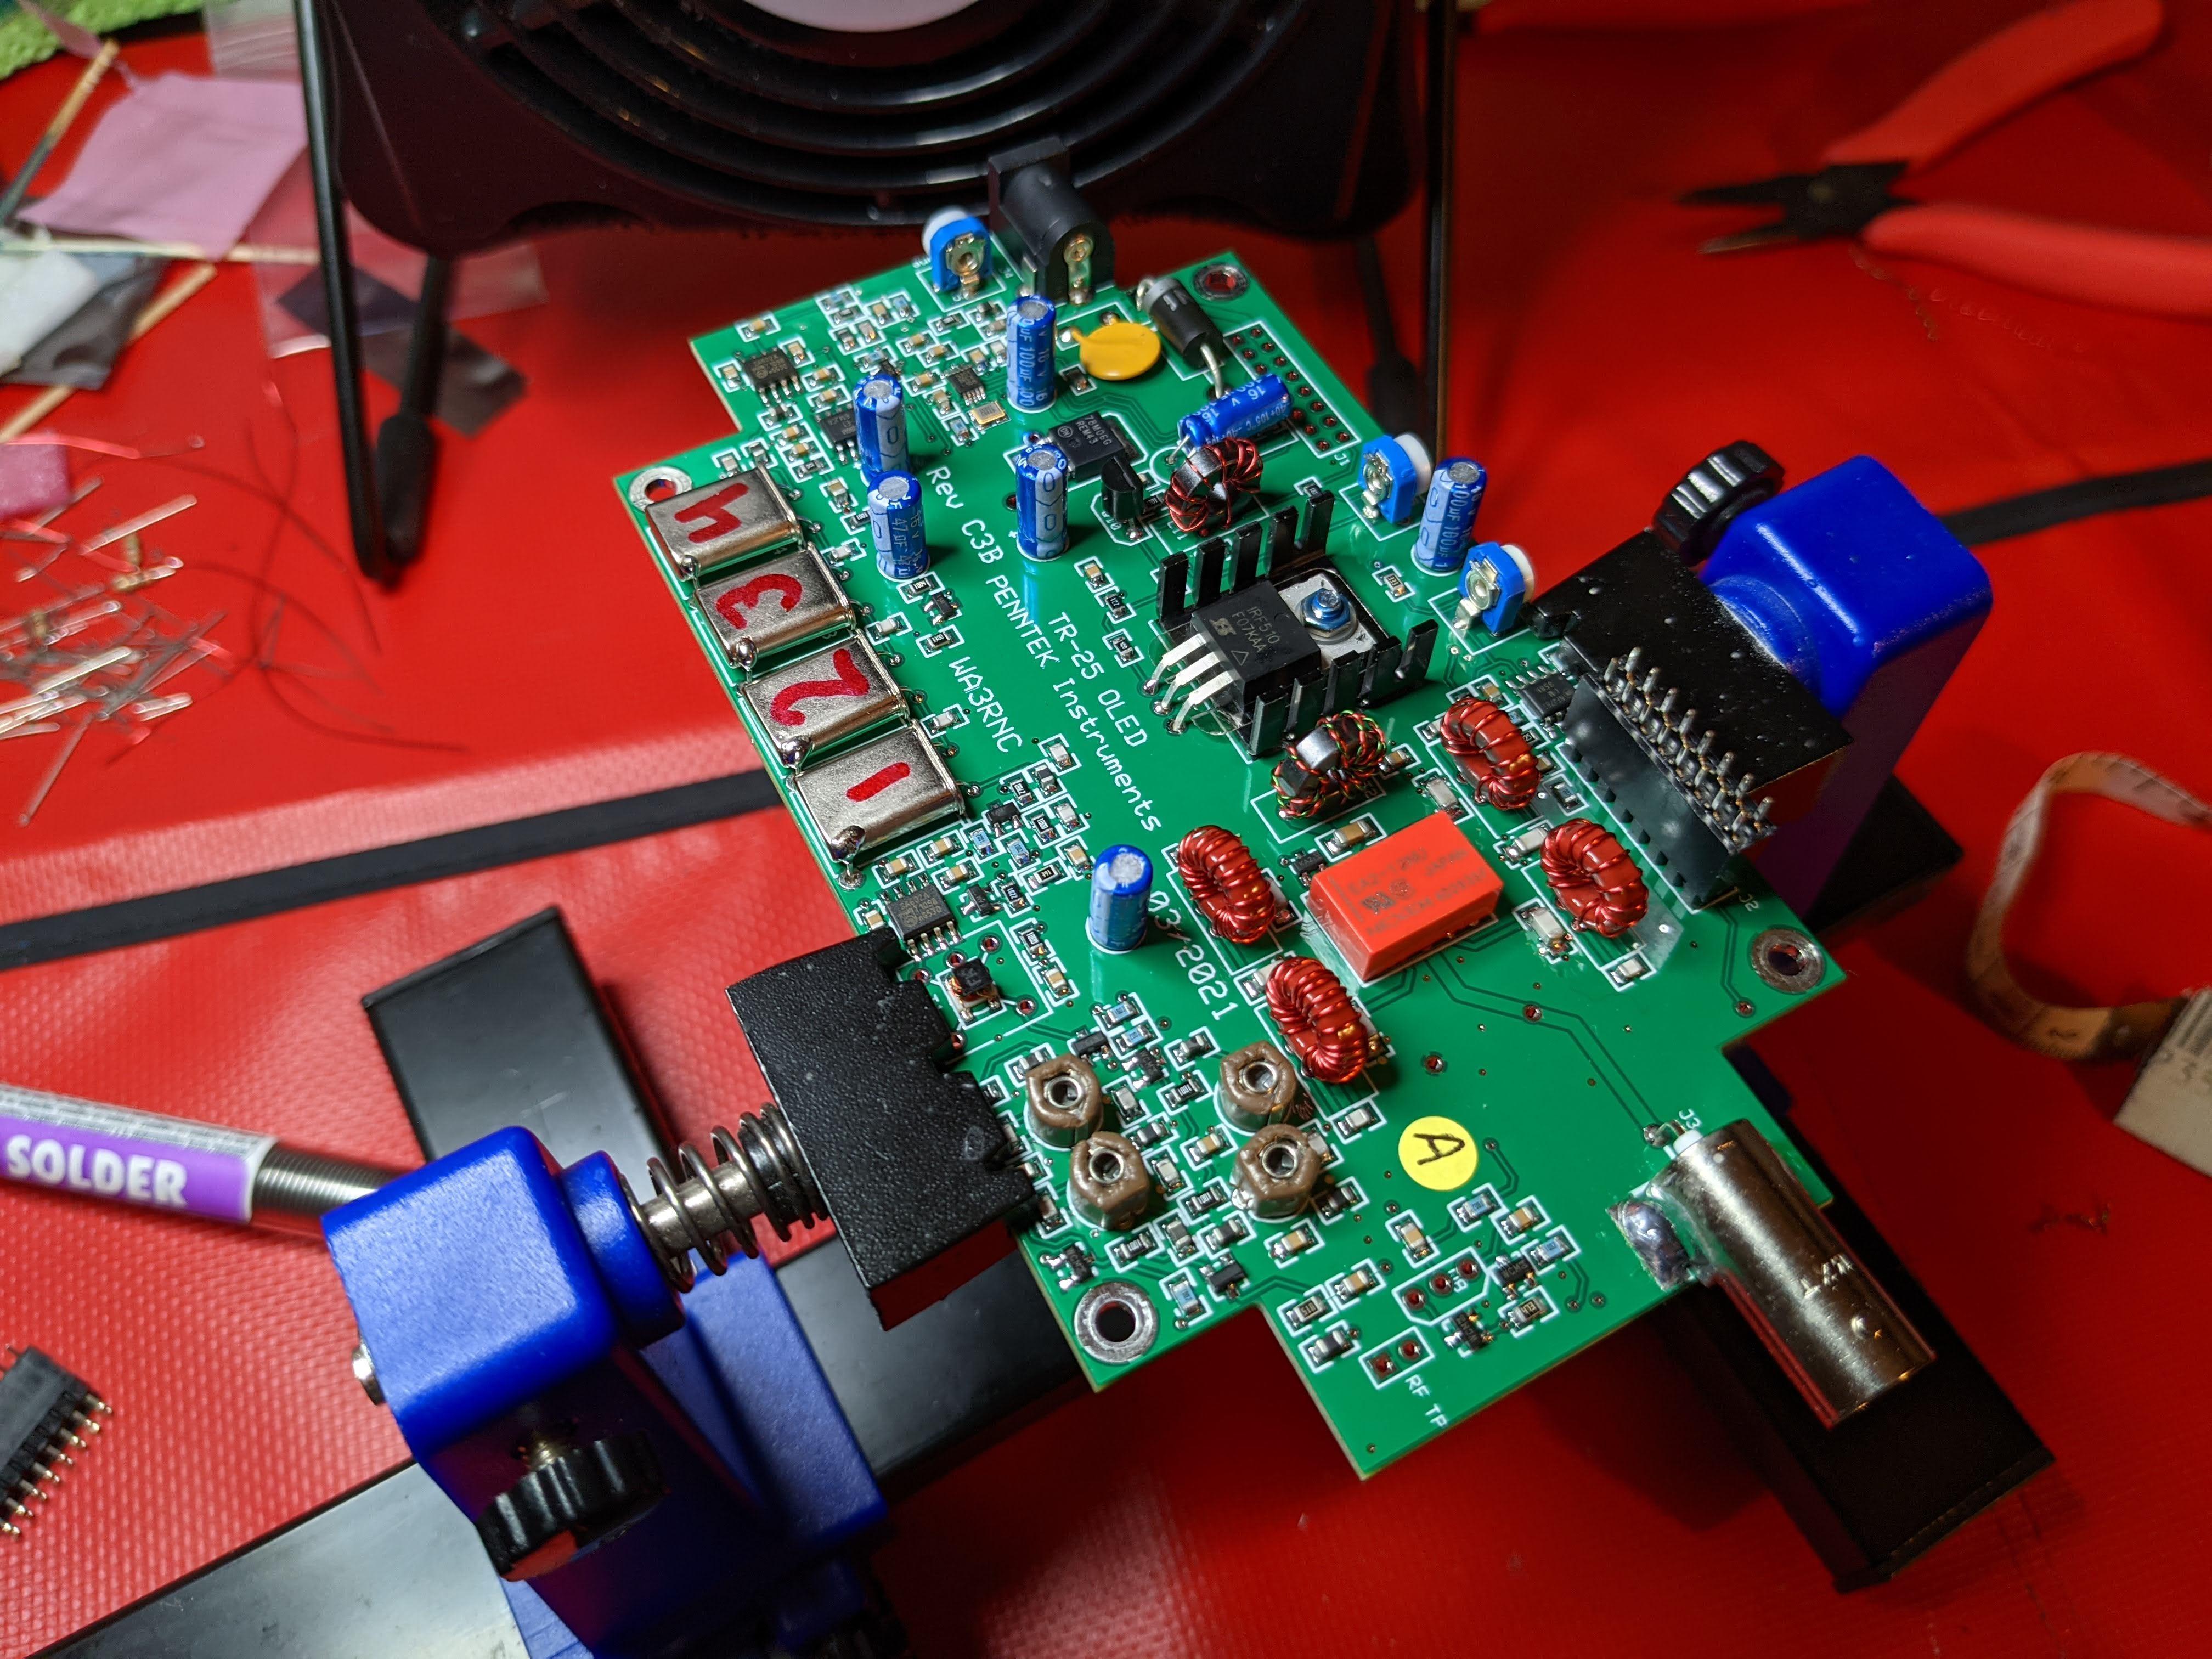
There are four major steps - Upper PCB assembly, Lower PCB assembly, adjustment and installing enclosure / knobs. Everything is documented well. Be sure to install capacitors flush with PCB or you will not be able to sandwich two PCBs together.

Upper PCB is ready
You can order toroids pre-wound. In my opinion winding toroids is like half of the fun.
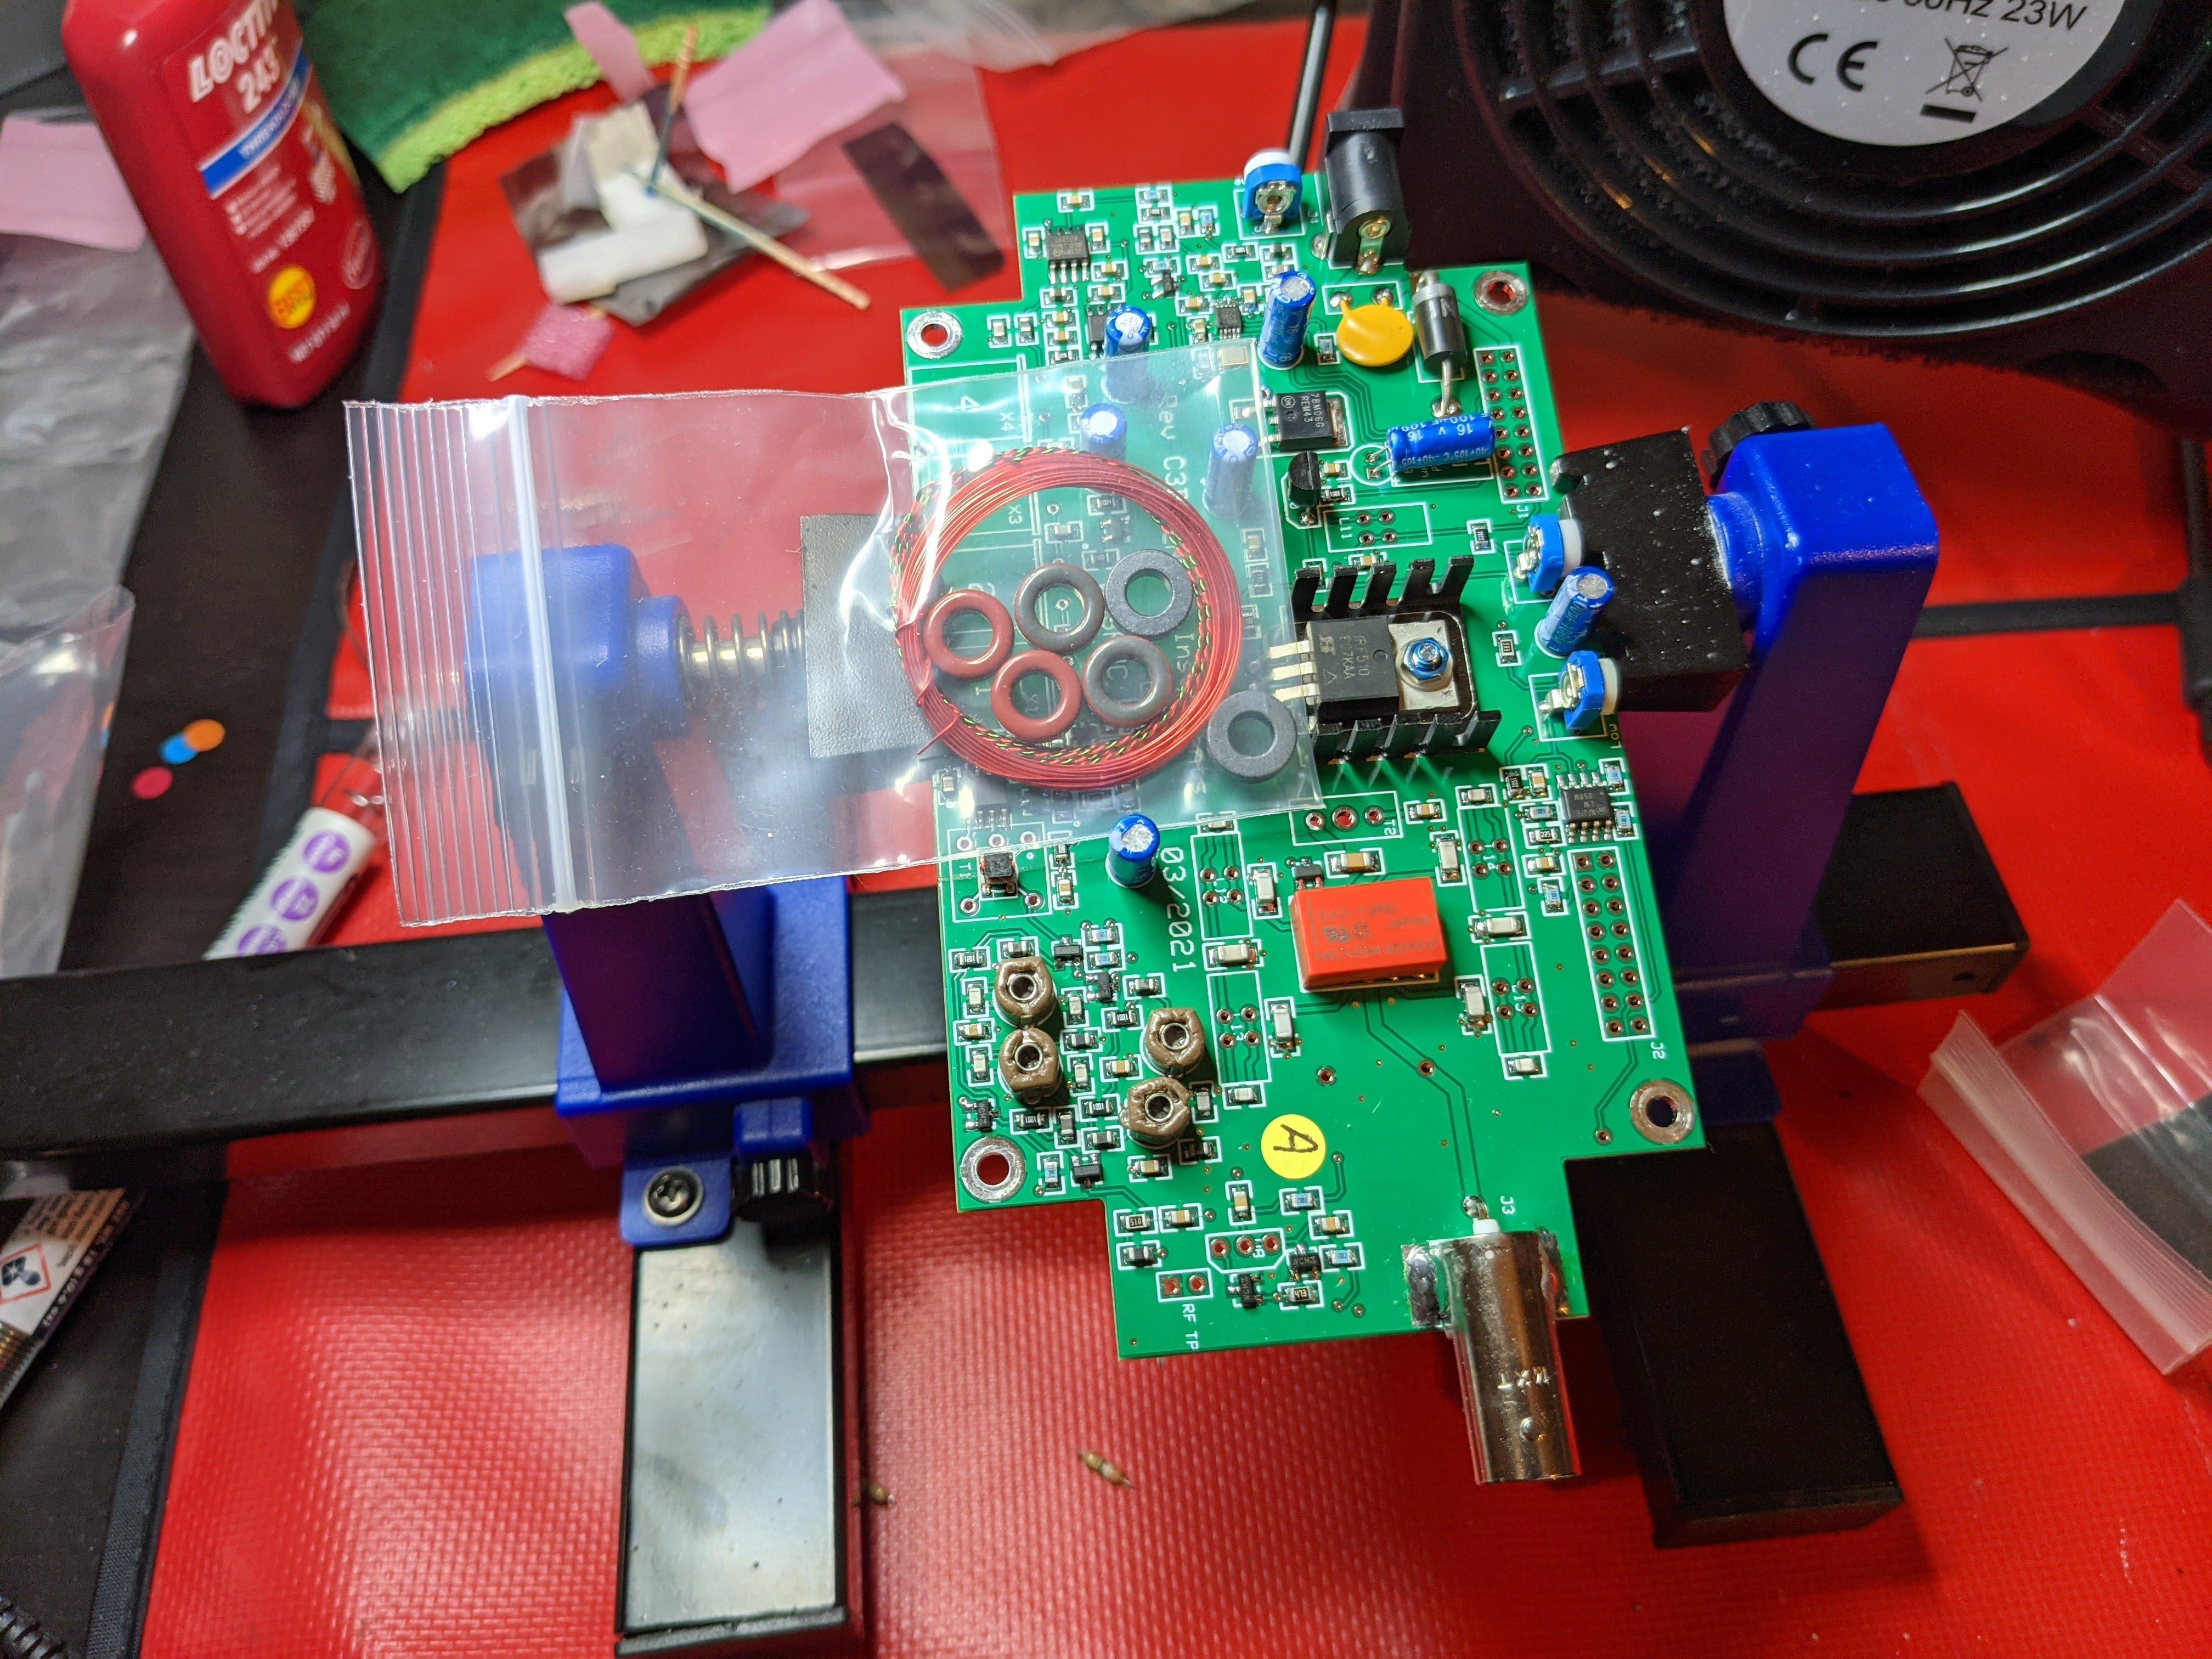
Lower PCB and toroids
When soldering toroids make sure to scrape lacquer off the terminals and test the quality of contact with a multimeter. Battery in my multimeter was dying and I didn’t notice one of the toroids was not soldered well. I spent about an hour trying to figure out why on 40 meter band the power output is lower than on the 20 band before finding the root cause.
Wound toroids Lower PCB is almost ready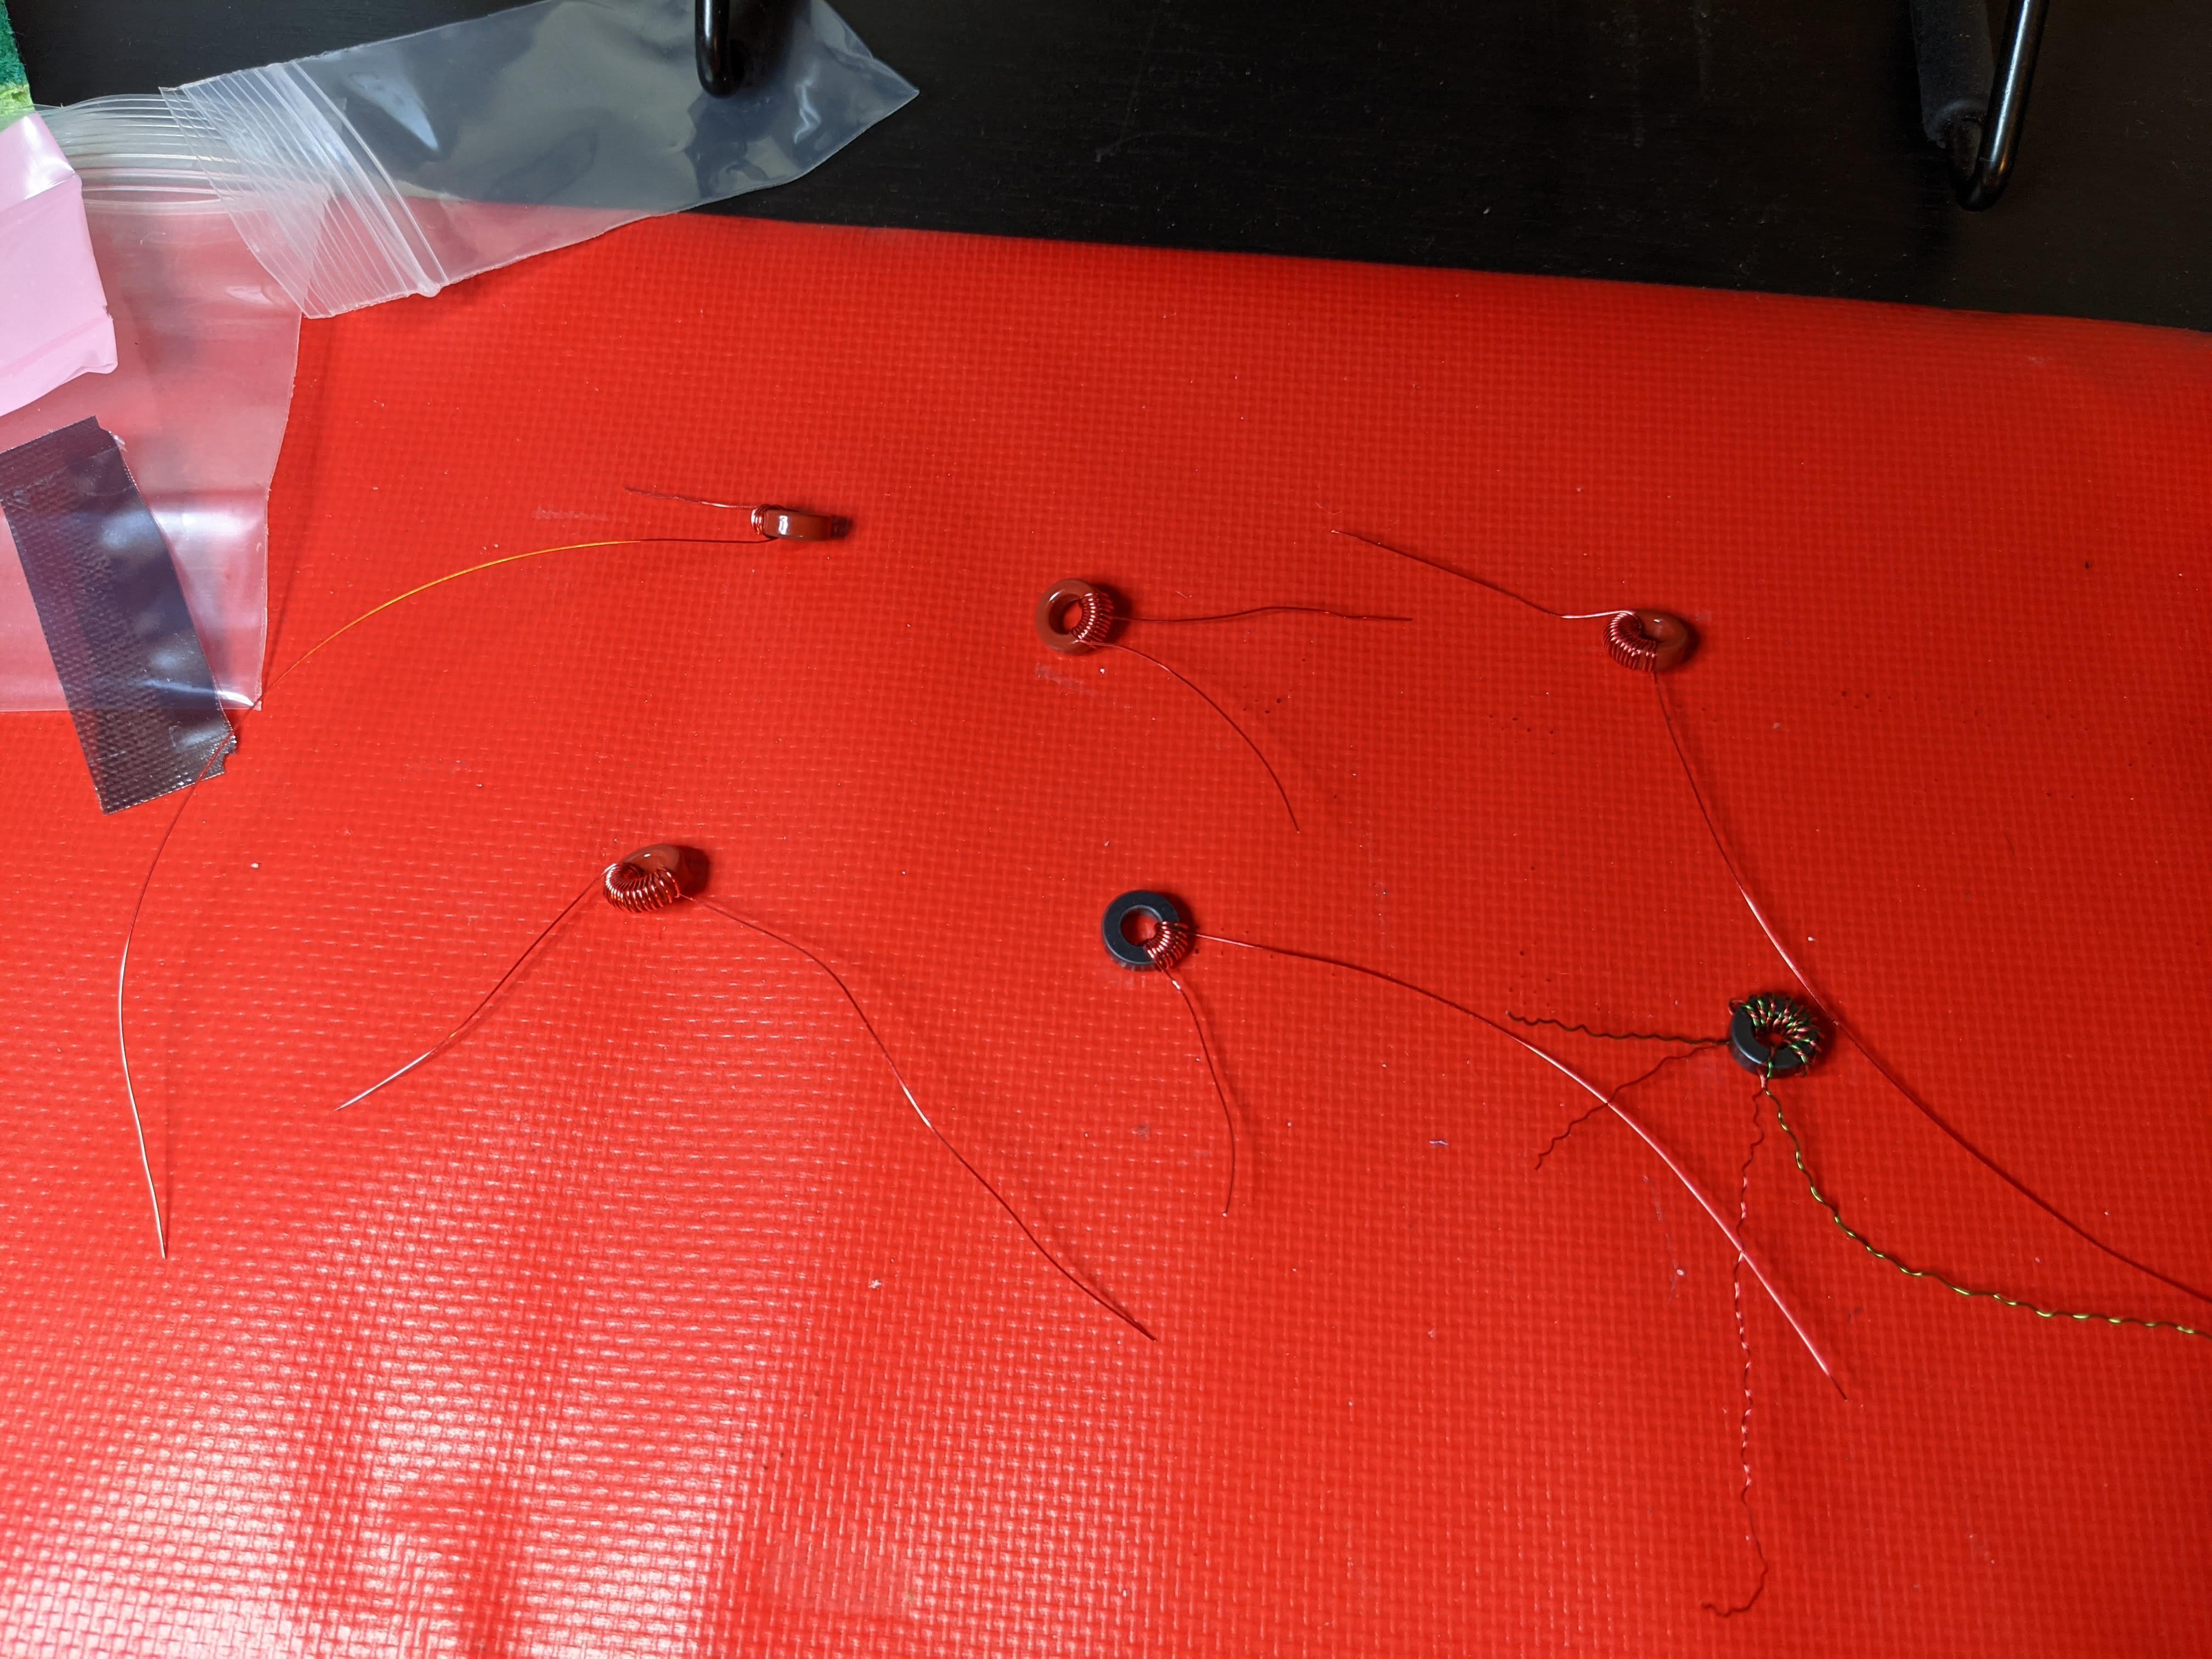
Alignment is fairly straightforward but you do need a multimeter / ampere meter sensitive enough to measure a 5 mA current change between a power source and the transceiver.
Kit assembled and ready for alignment Tuning side tone volume and signal LED brightness, low battery signal voltage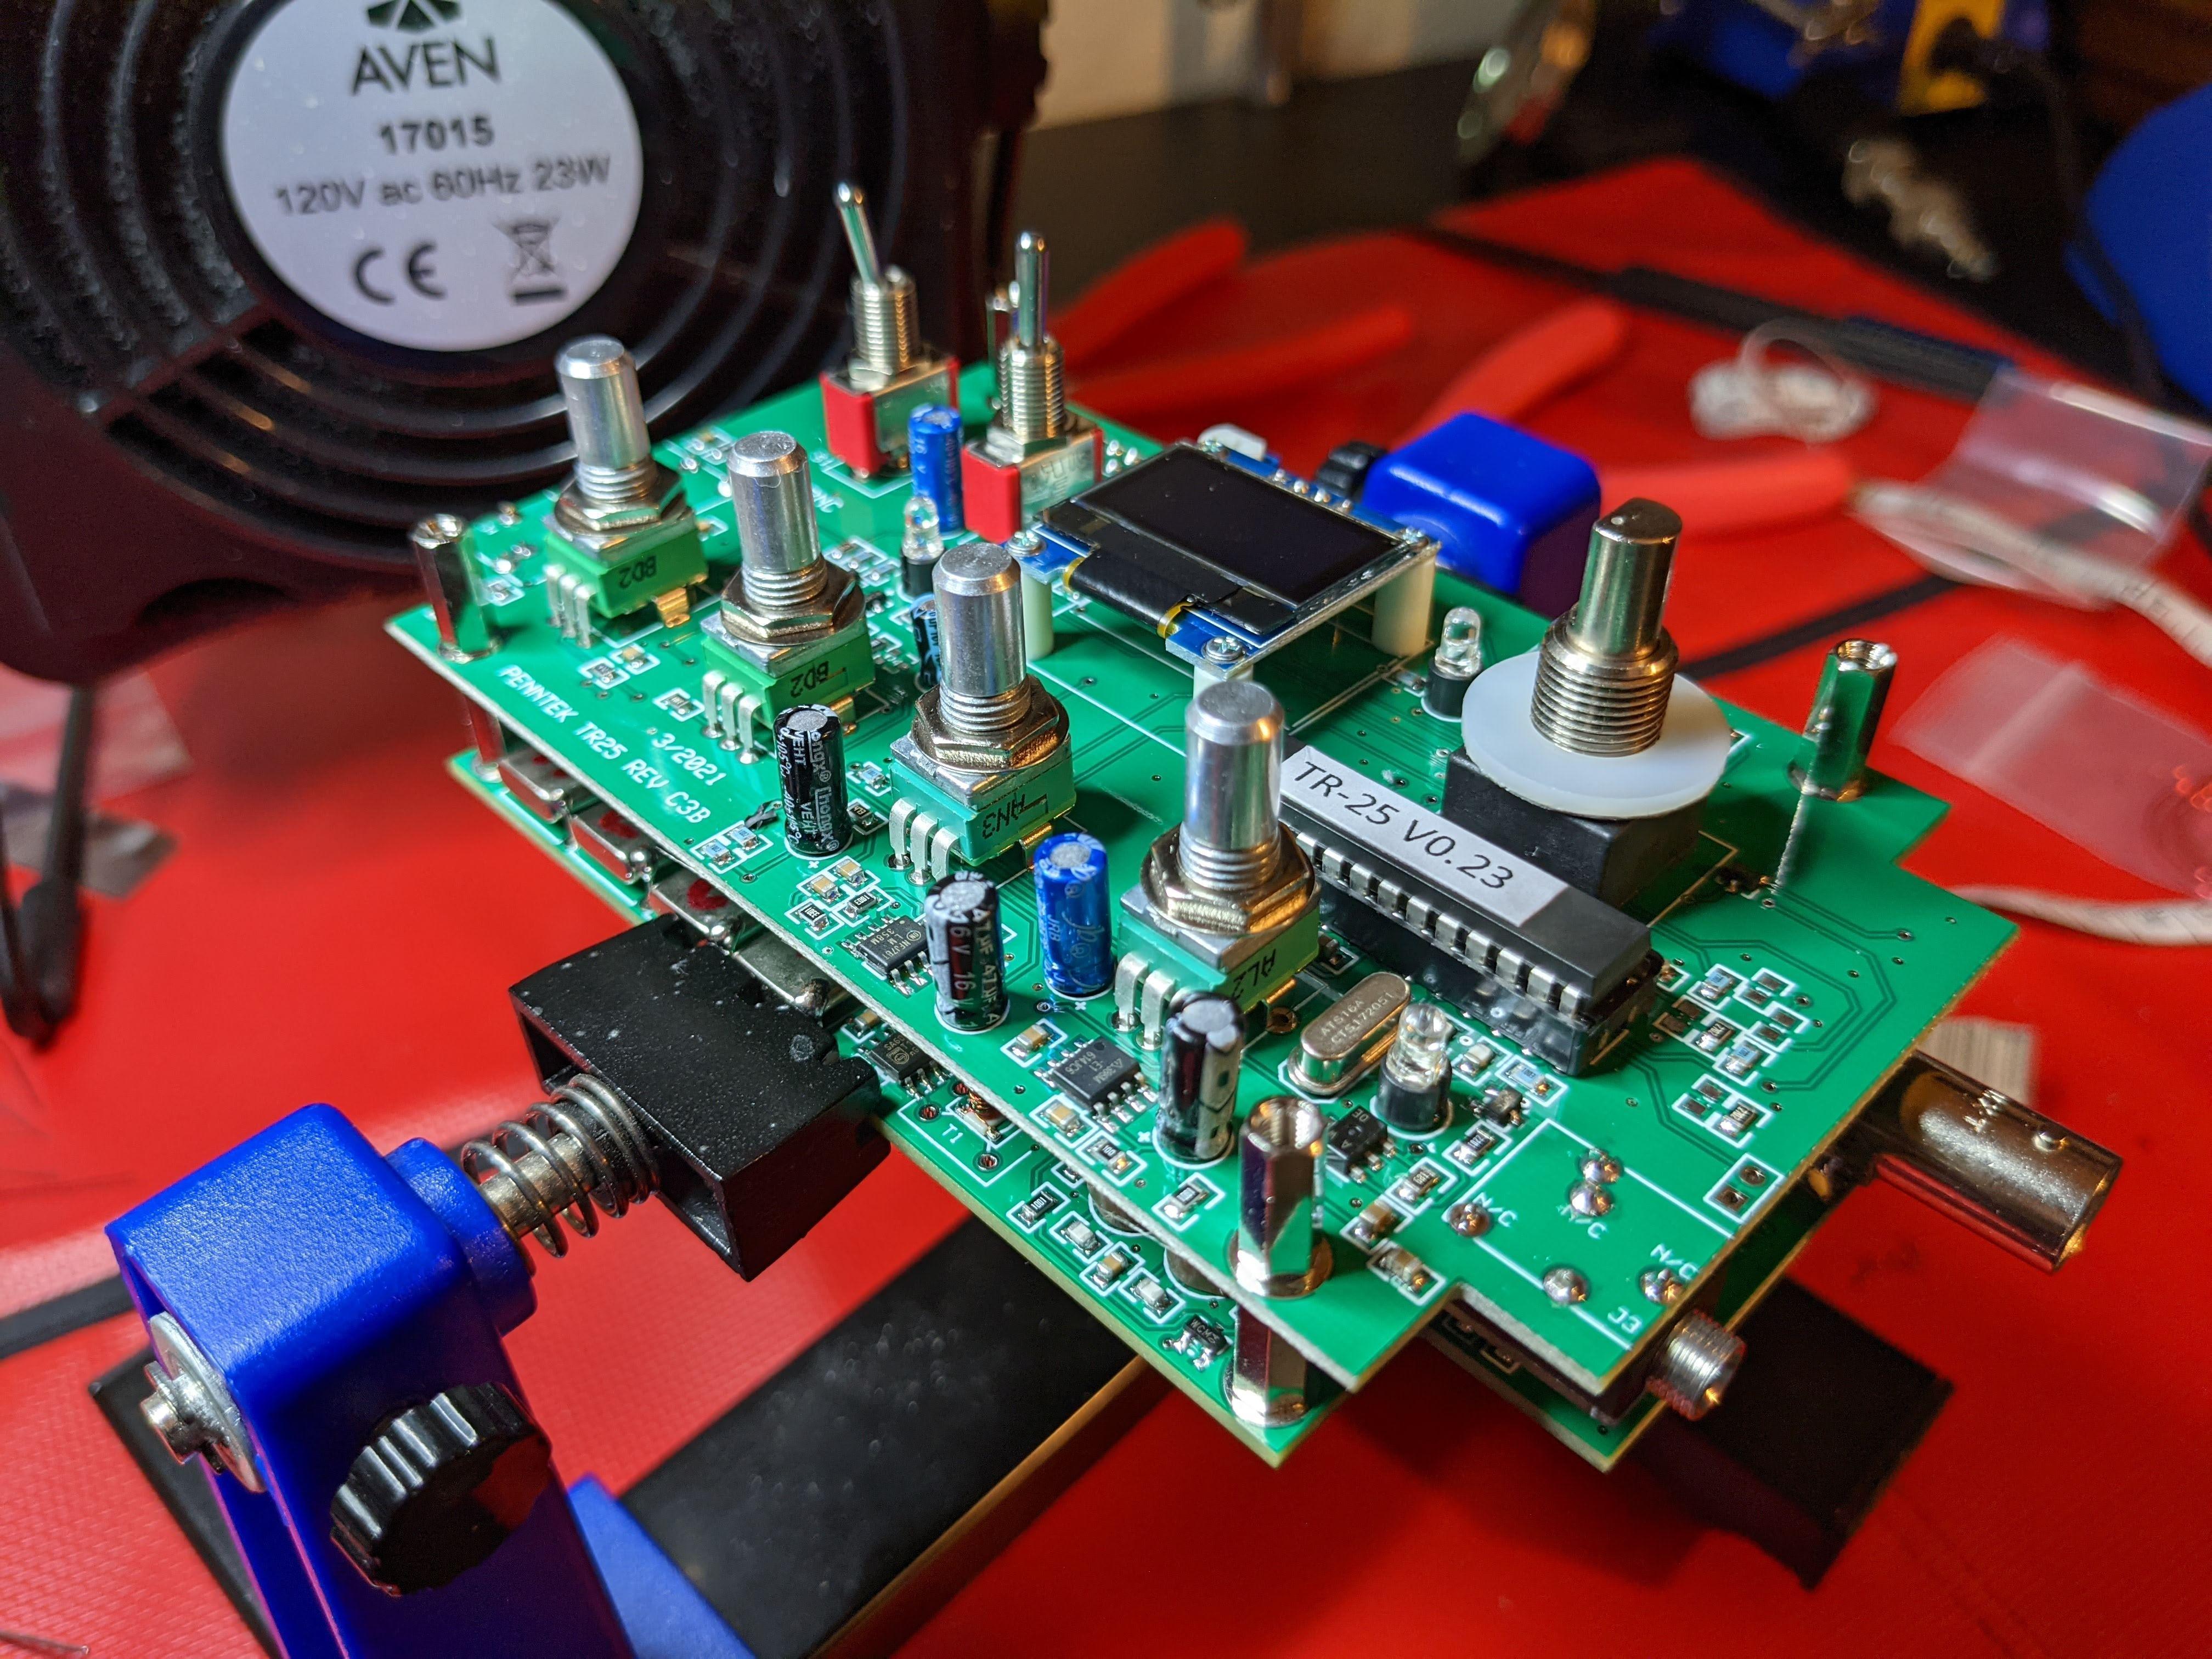
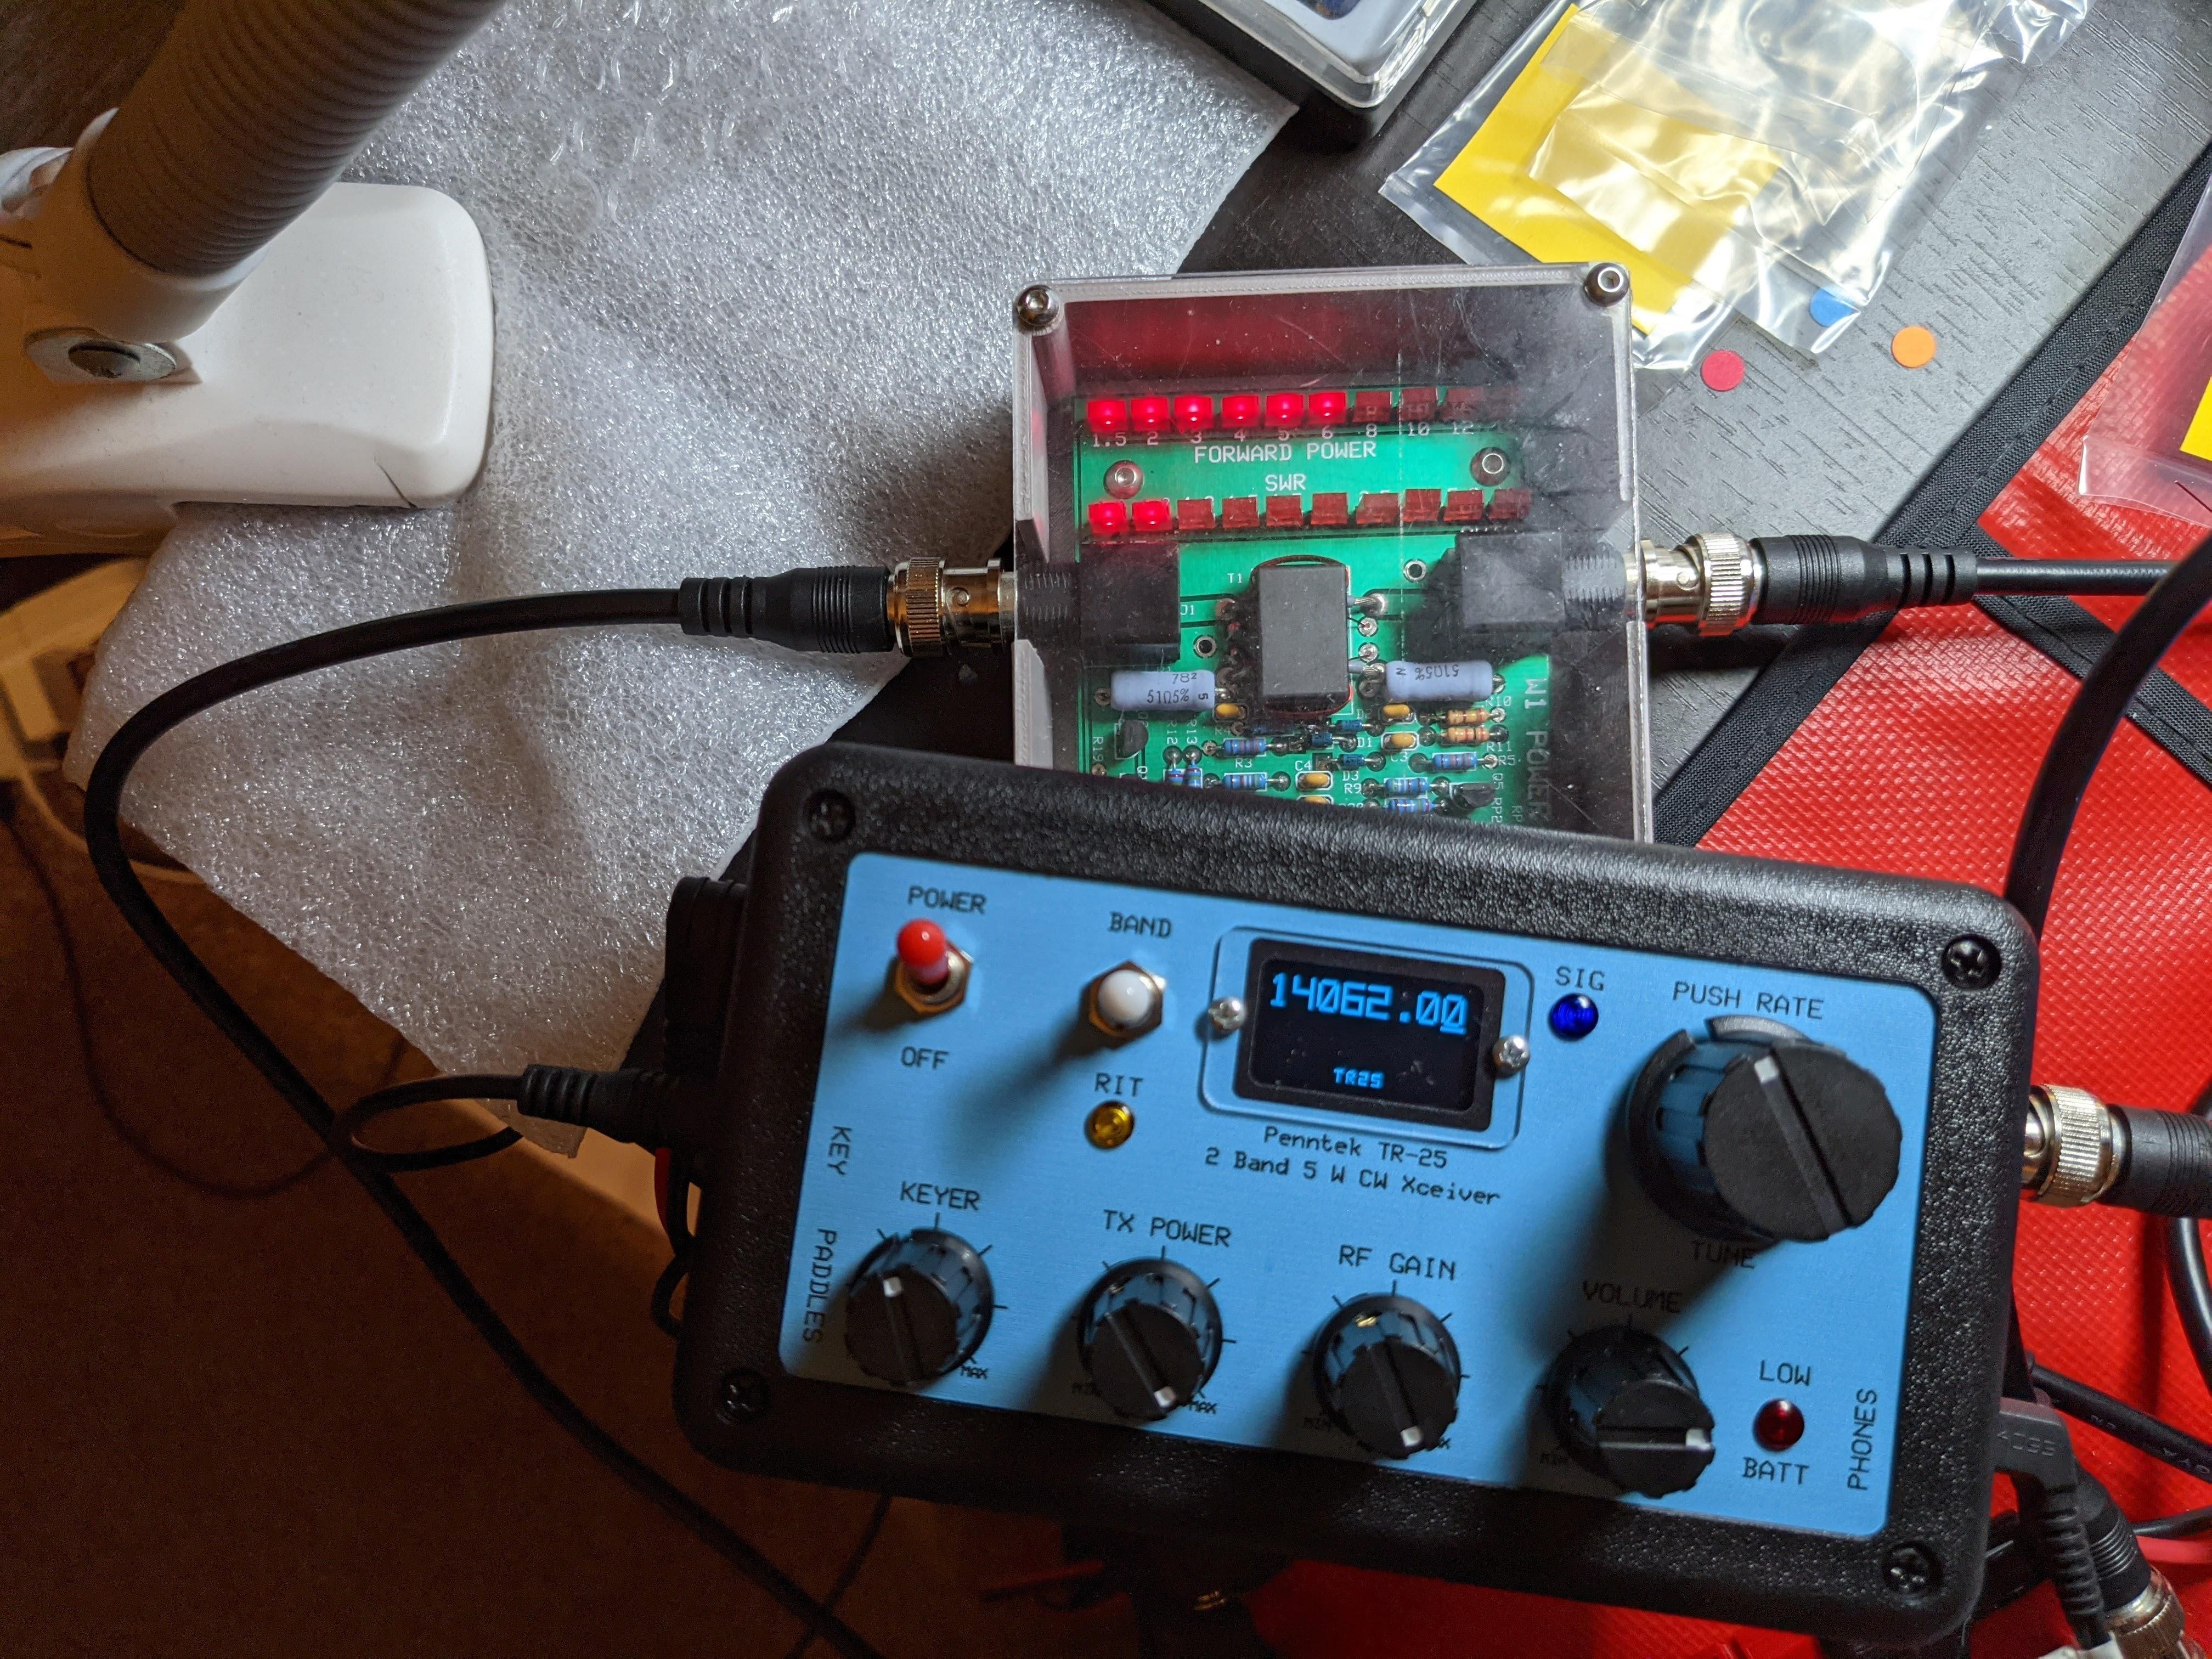
I am quite impressed with TR-25 power output - about 8 Watts on 40 meter band and 6 watts on 20 meter band with 12 V Bioenno battery.
About 8 Watts on 40 meter band About 6 Watts on 20 meter band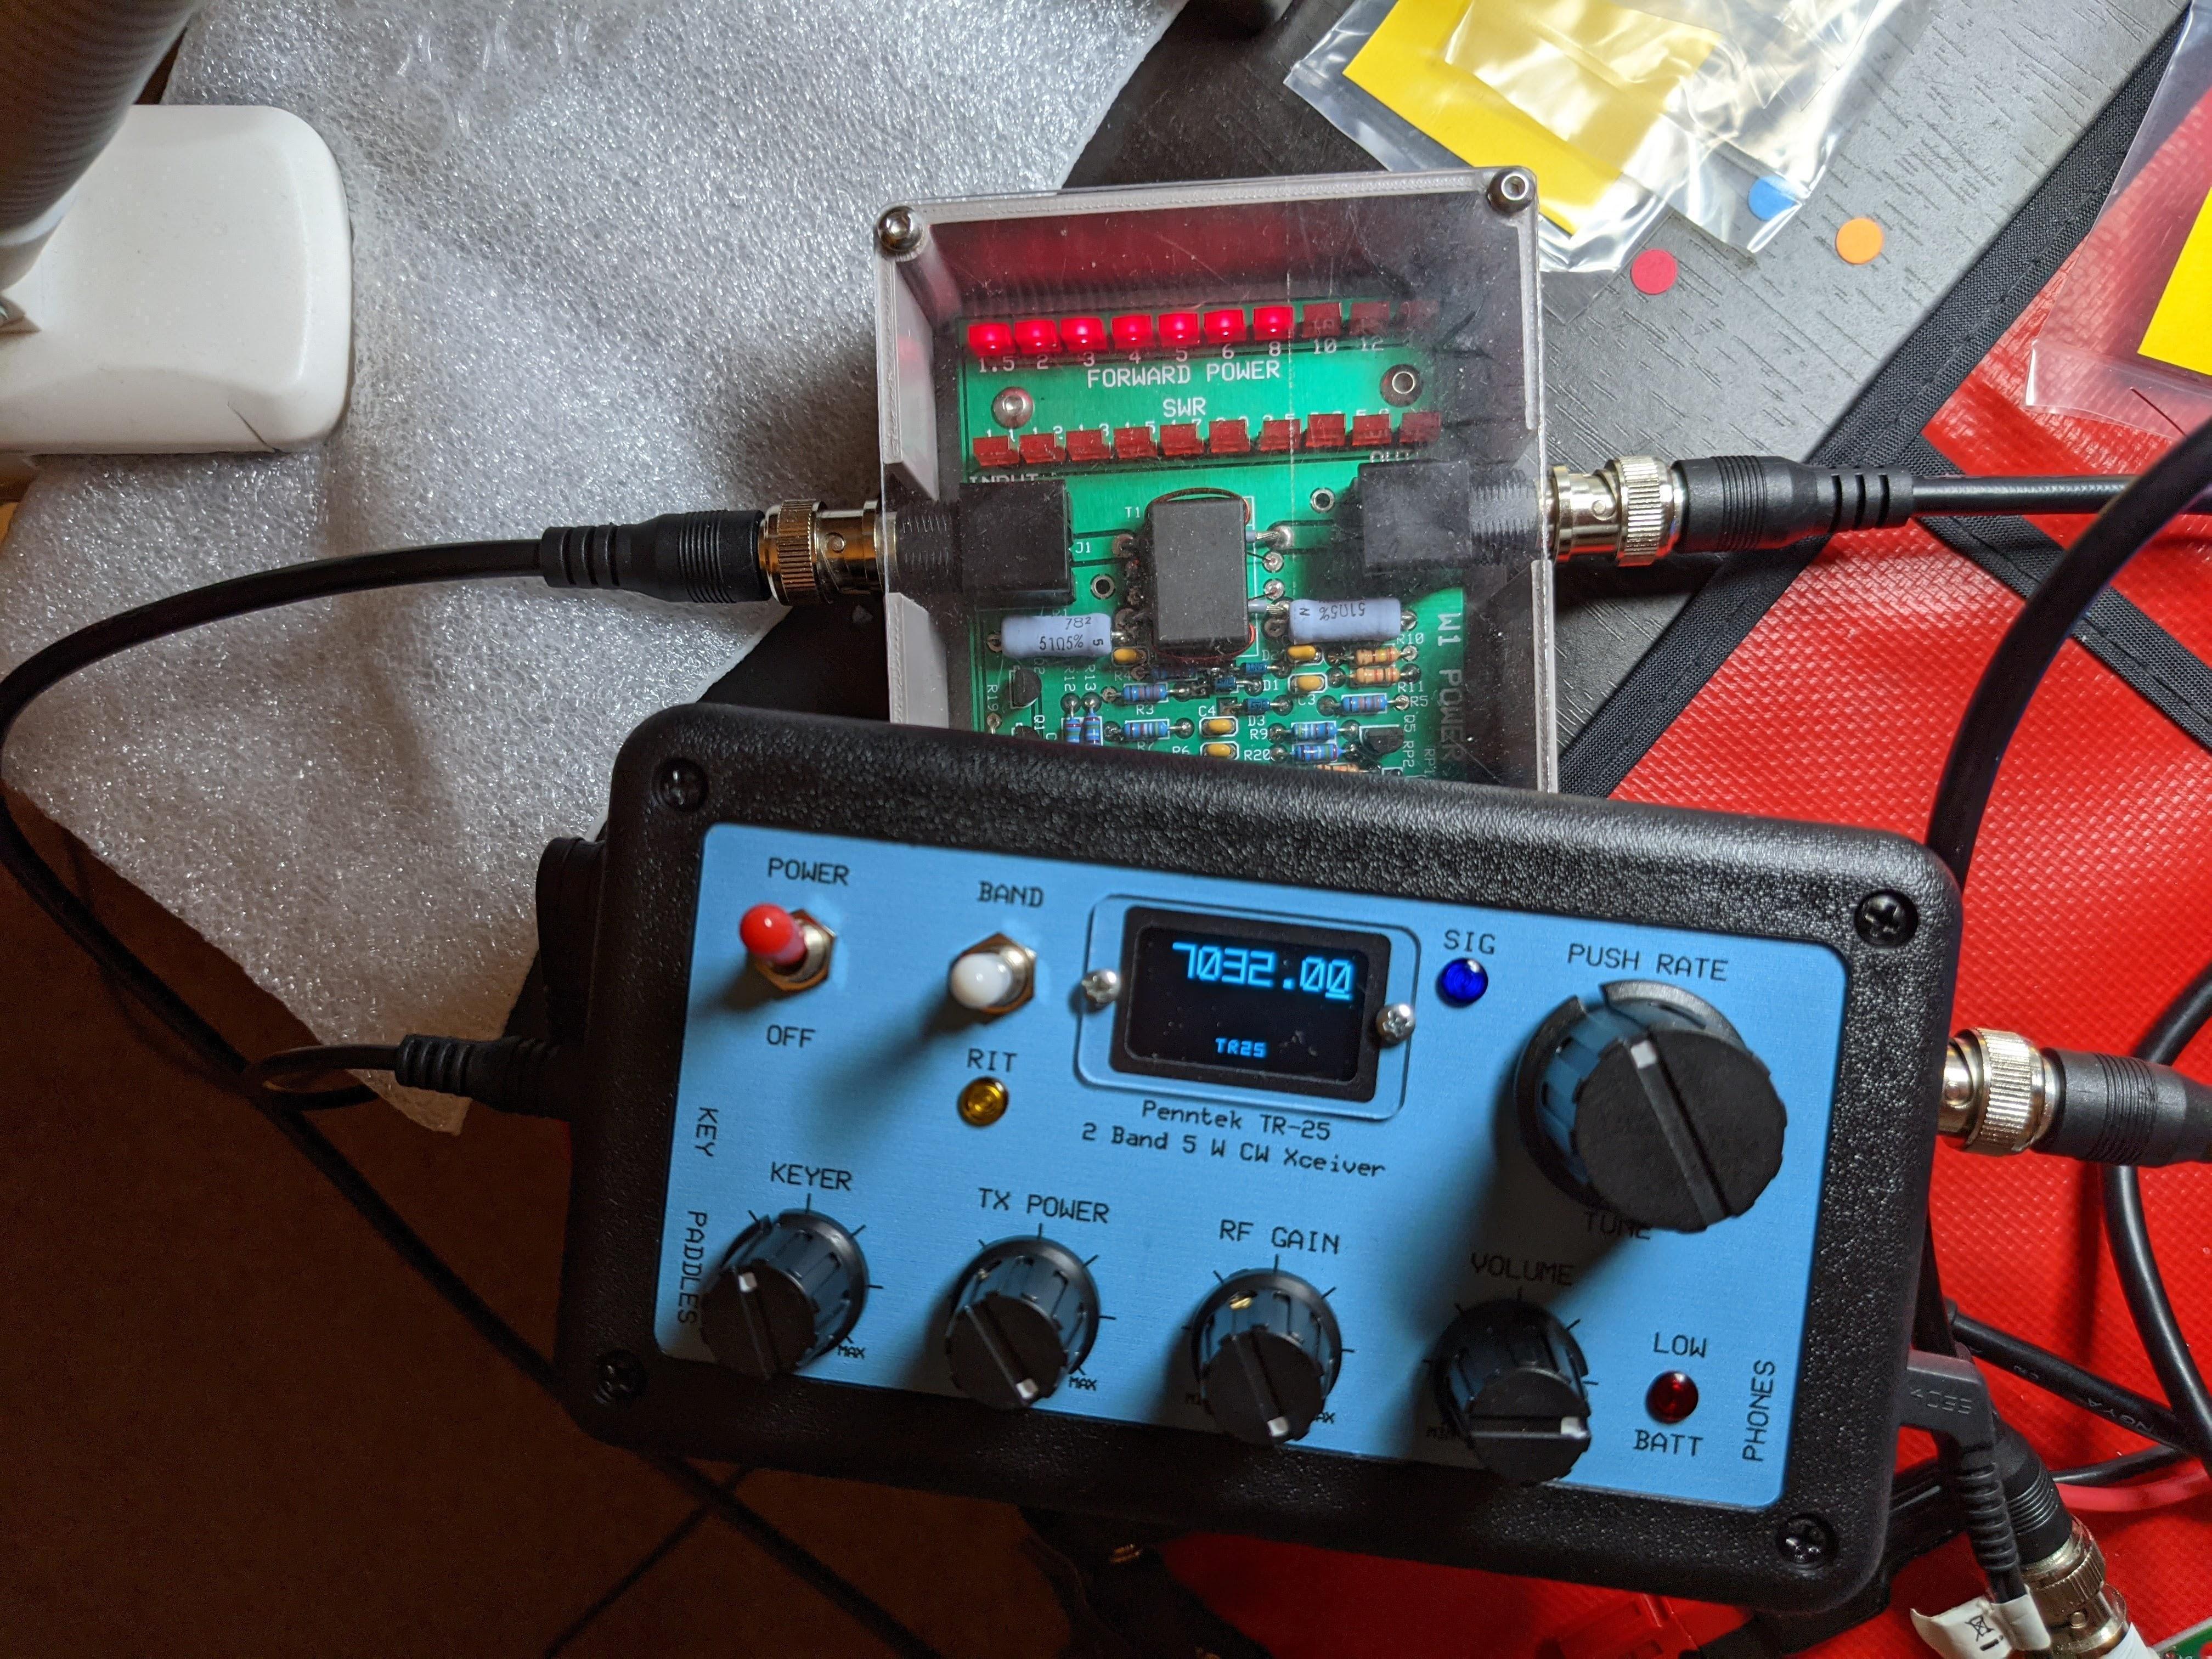
What I like about the kit
- Really easy and fun kit to build. Took me about six hours to assemble and one more to find a problem with my soldering.
- All needed controls are on the front panel. You don’t have to learn any magical button push combinations.
- Decent power.
- Need to confirm in the wild but tests in the shack show good sensitivity and appropriate filter sharpness.
- TR-25 has nothing I don’t need in my SOTA radio - no SSB, no antenna tuner, no bells and whistles.
Minor peeves
- Main thing I kinda wish the kit had is an internal message memory. I usually prerecord CQ calls and my QTH so I don’t jumble sent summit ID during activation. A workaround to this is using an external keyer with memory. Ultra picokeyer is what I am planning to use.
- There is no PTT port so unlike with QCX-mini you won’t be able to key an amplifier.
- I am certain TR-25 filters are adequate but I’m being spoiled by a filter in my Discovery TX-500 adjustable down to 50 Hz.
- I ordered the kit with the precision optic encoder option - unlike in the default encoder there are no parts inside engaging mechanically so in theory it will hold longer. In practice I don’t believe it matters much - the chasers are going to do most tuning anyway. Tune rate is a bit too high and there are no clicks when you turn the encoder so tuning to the desired frequency is a bit fiddly. Manual says the default encoder does not have clicks either. Note the encoder is not a drop in replacement, there are two different versions of the circuit board to accommodate them.
- There is no tactile click on the VFO knob press as well and it feels a tad mushy. Short VFO knob press cycles tune step between 10 Hz and 100 Hz. Long press changes tune step to 1 kHz. Once again I don’t feel this 1 kHz tune step is needed at all - most of the time I stick to a single frequency per band. I would much rather prefer to have a VFO lock on a long VFO knob press so my tuning is not affected by an accidental bump in the middle of a contact.
- DC, key, paddle, phone jacks peak out through holes in the enclosure. They are only attached mechanically to the circuit board so there is a potential to break them off if you are not careful. Don’t be shy with solder installing jacks.
- Adjusting sidetone volume and blue LED brightness requires taking knobs off and enclosure disassembly.
- The enclosure is not dust- or splashproof.
- A bit concerned about peeling knobs off the rig in a backpack - some kind of a protector bag needed.
Note all these are fairly minor peeves and I believe as of now (October 2021) TR-25 is the best present for a person interested in SOTA as well as a best buy as a first CW only rig.
No internal message memory so an external keyer makes sense TR-25 compared in size to other popular QRP radios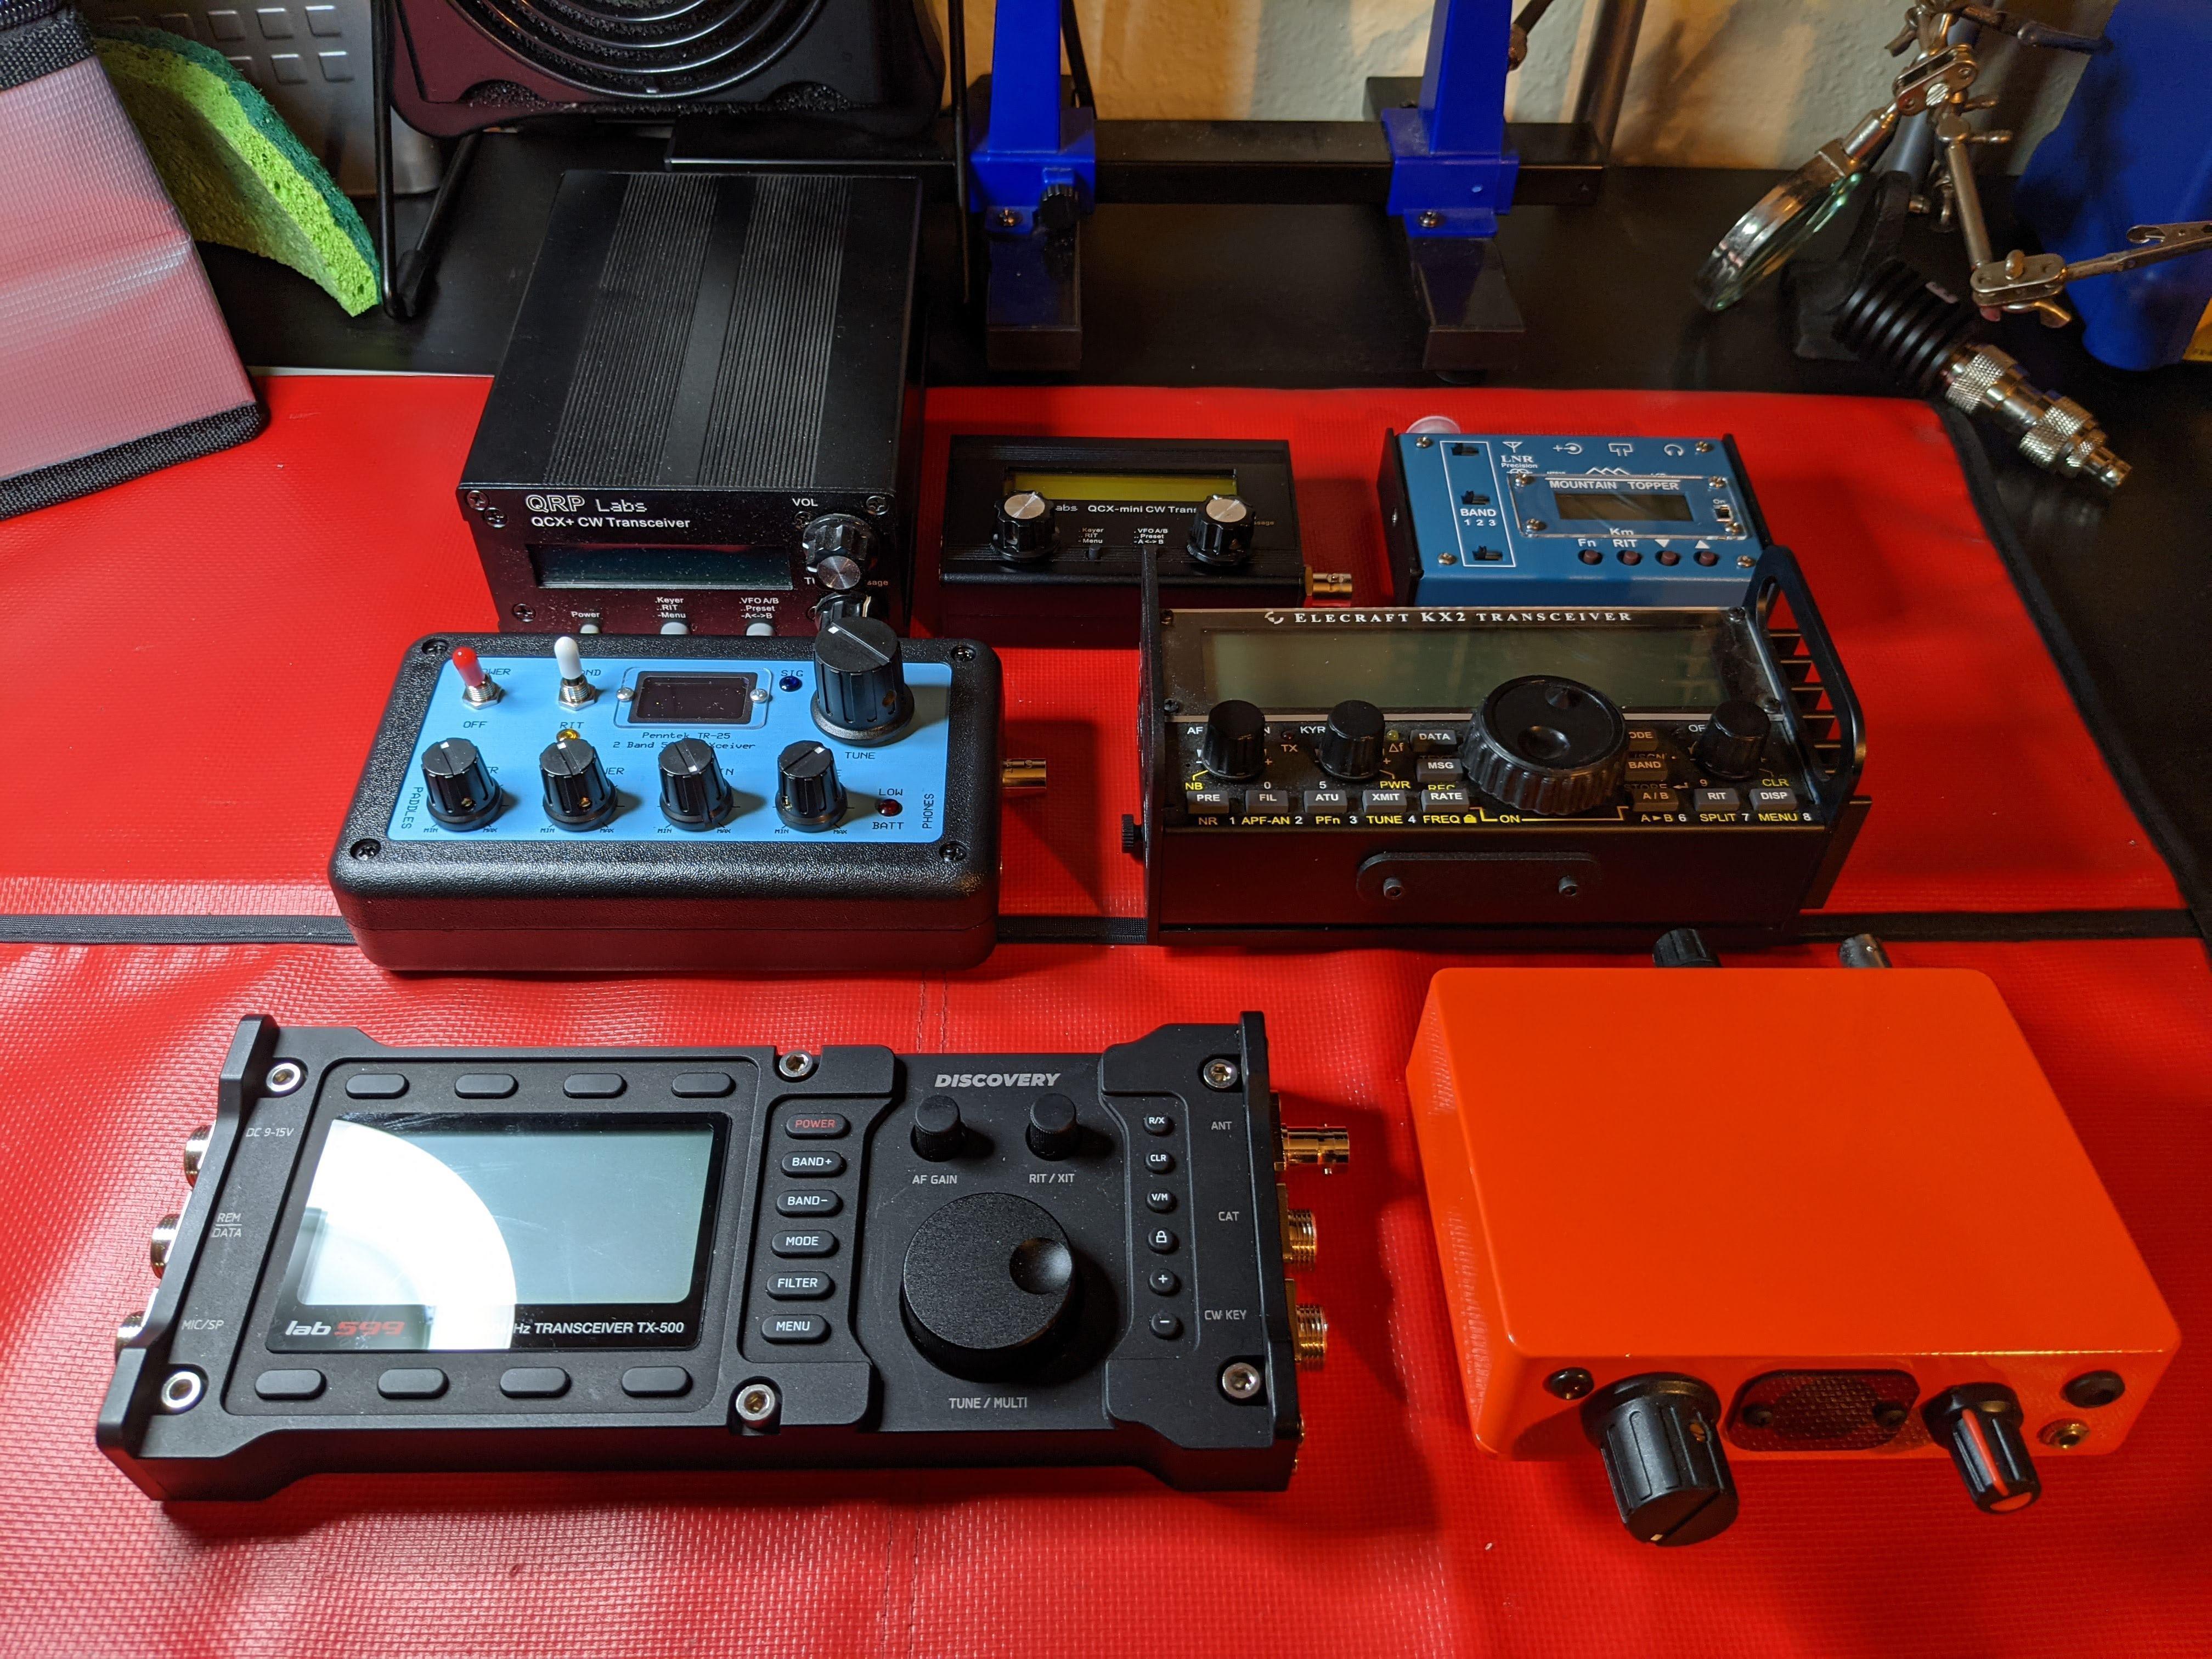
Now it’s time to test TR-25 in the wild, stay tuned for a report, 73 K0SSK out!
Updates
Update 2021-10-18: here is my positive review after testing TR-25 in the field.
Update 2021-10-18: John saw my review and wrote there is a VFO lock added into software rev 0.24.