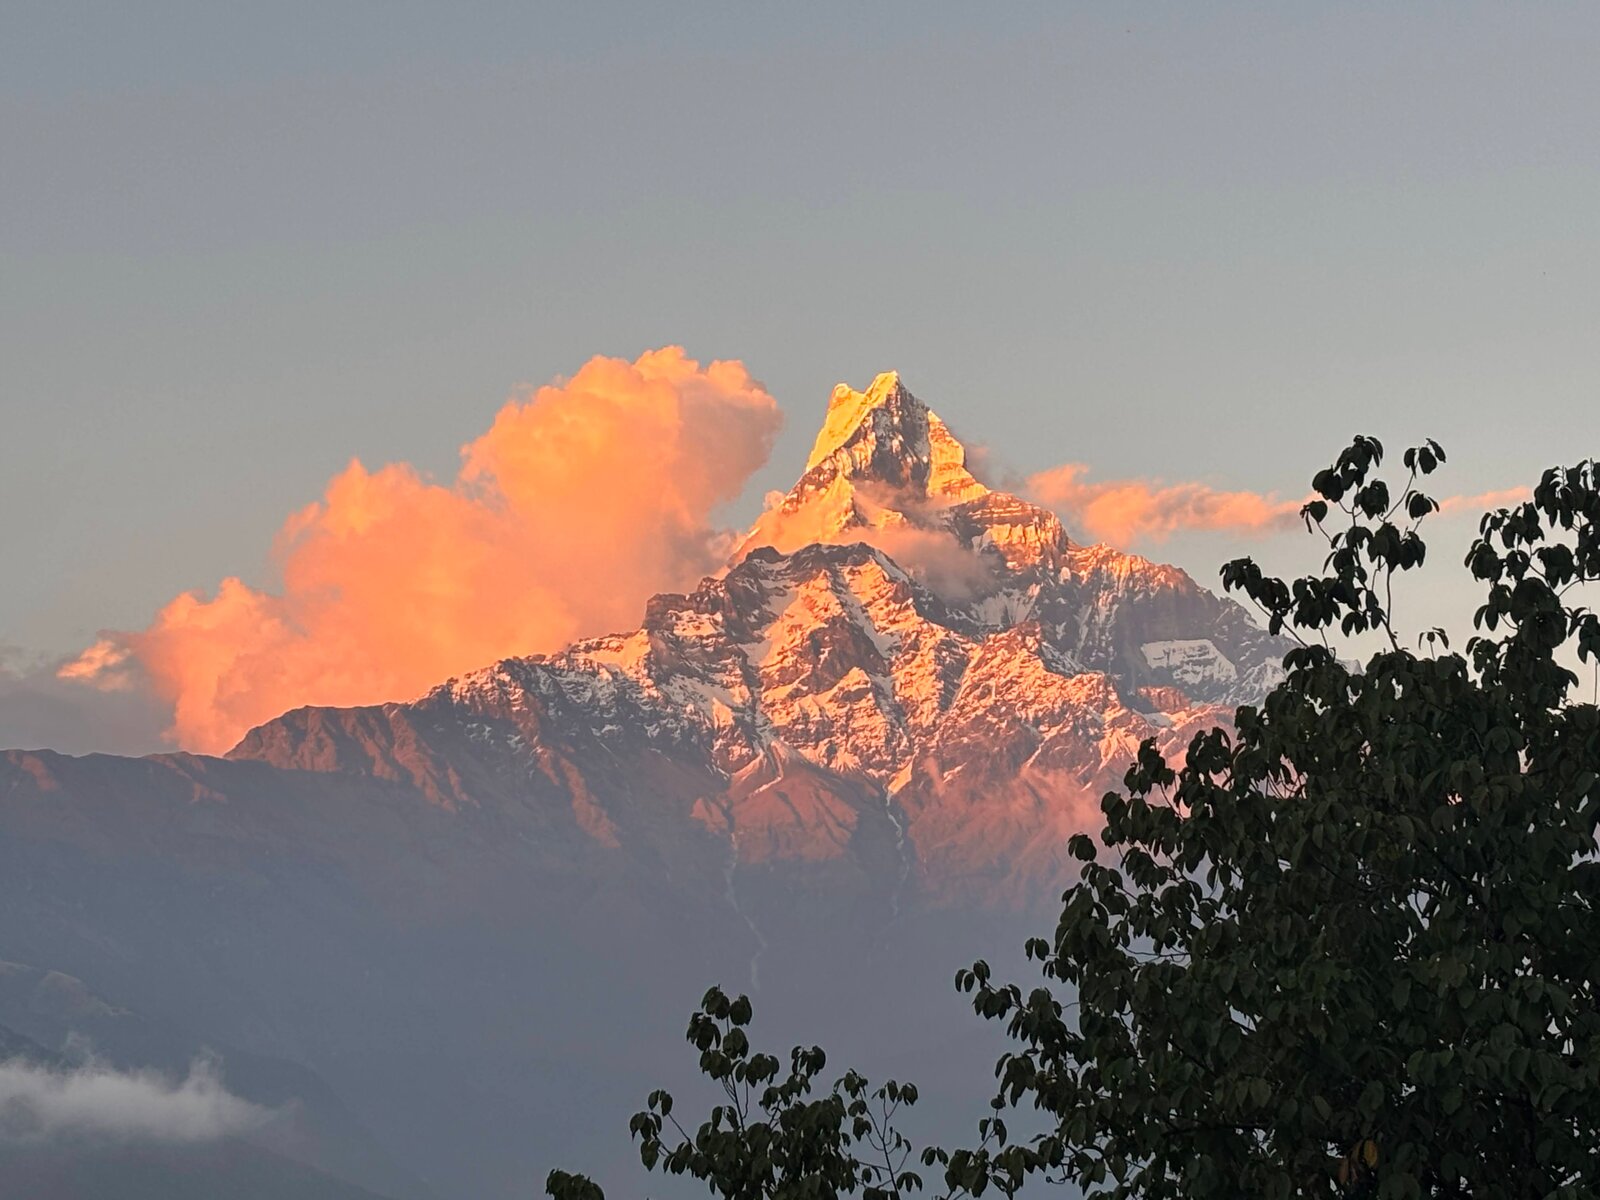
My first time in Nepal! I wrote this post for people who are likewise planning their first trip to this beautiful country and are trying to decide what to start with. I believe Mardi Himal Trek is a great first adventure, because
- It is a short-ish, five day trek - me and my partner were not sure how fit we really are and how well we are going to handle altitude. The trek tops at 4500m which is decent but not very high.
- (still?) less crowded than Annapurna Circuit and Annapurna Base Camp (aka ABC) treks while being in the same general area with ABC. In fact a lot of people bundle ABC and Mardi Himal together.
- You can do Mardi Himal with no guide which makes it less expensive and somewhat more immersive (now you need to look for lodging yourself).
Prices I share are as they were in October 2026.
Quick Facts
- Duration: 5 days, Kande to Sidhing (3 days is possible but not much fun)
- Highest point: Mardi Himal Base Camp East, 4500m
- Total distance: about 39km
- Best season: October - November (and, I heard, April - May)
- Guide: not required
- Permit: ACAP, 3000 Rs per person, arranged in Pokhara. TIMS card is not required
- Trailhead: Kande, a 2000 Rs taxi ride from Pokhara
- Return: jeep from Sidhing to Pokhara, 1000-1500 Rs per passenger
- Budget: about 3000 Rs per person per day on the trail; 42000 Rs (about $280) for two of us in total, including permits and rentals
- Cash only: there are no ATMs along the trail
In the shadow of a fish tail: Pokhara
Our base of operations is Pokhara: a medium sized city (600k people as of 2026) in central Nepal. A birthplace of trekking, it hugs beautiful Phewa lake with its Lakeside district.
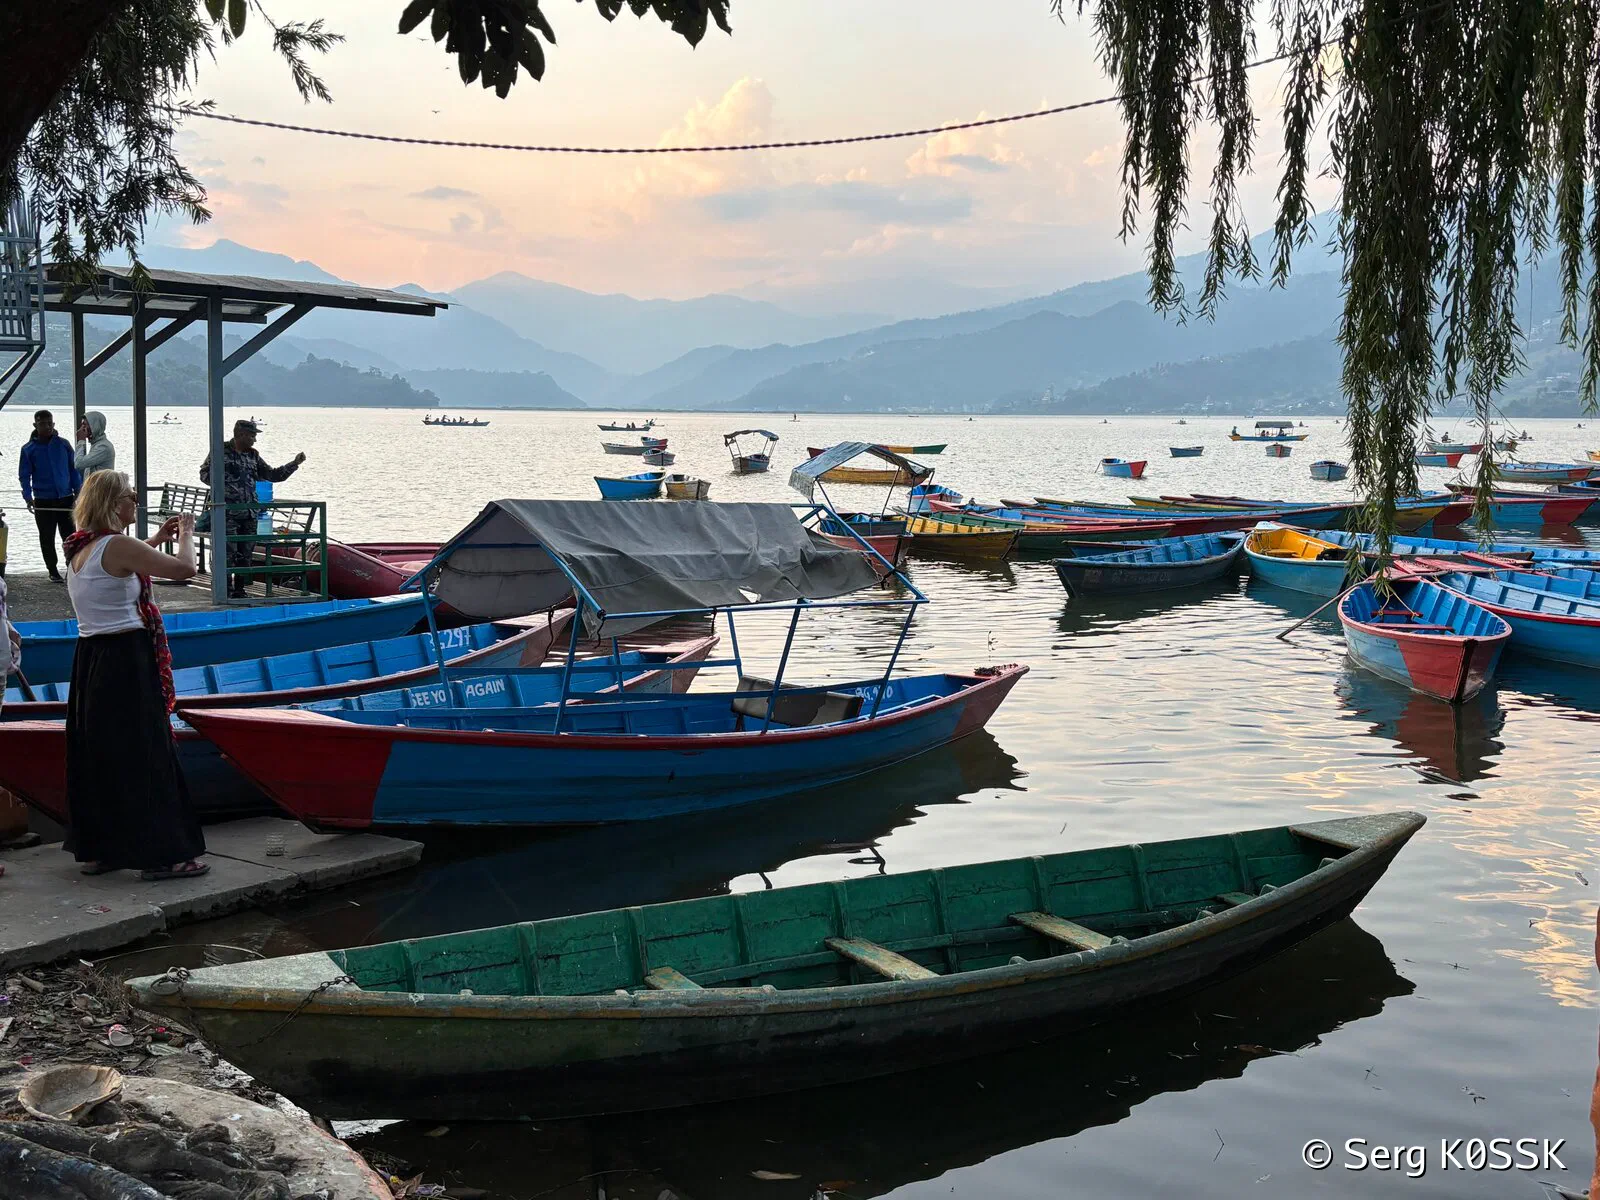
Phewa lake in Pokhara
Lakeside Road is where most gear shops are located - some rent gear out too. We didn’t bring sleeping bags and hiking poles with us from home to cut on weight and luggage volume for example and rented them locally. Do note - all brand gear sold here, like “North Face” and “Arcteryx” is knock offs; things that matter most - like shoes, packable puff jackets and backpacks - are better brought from abroad.
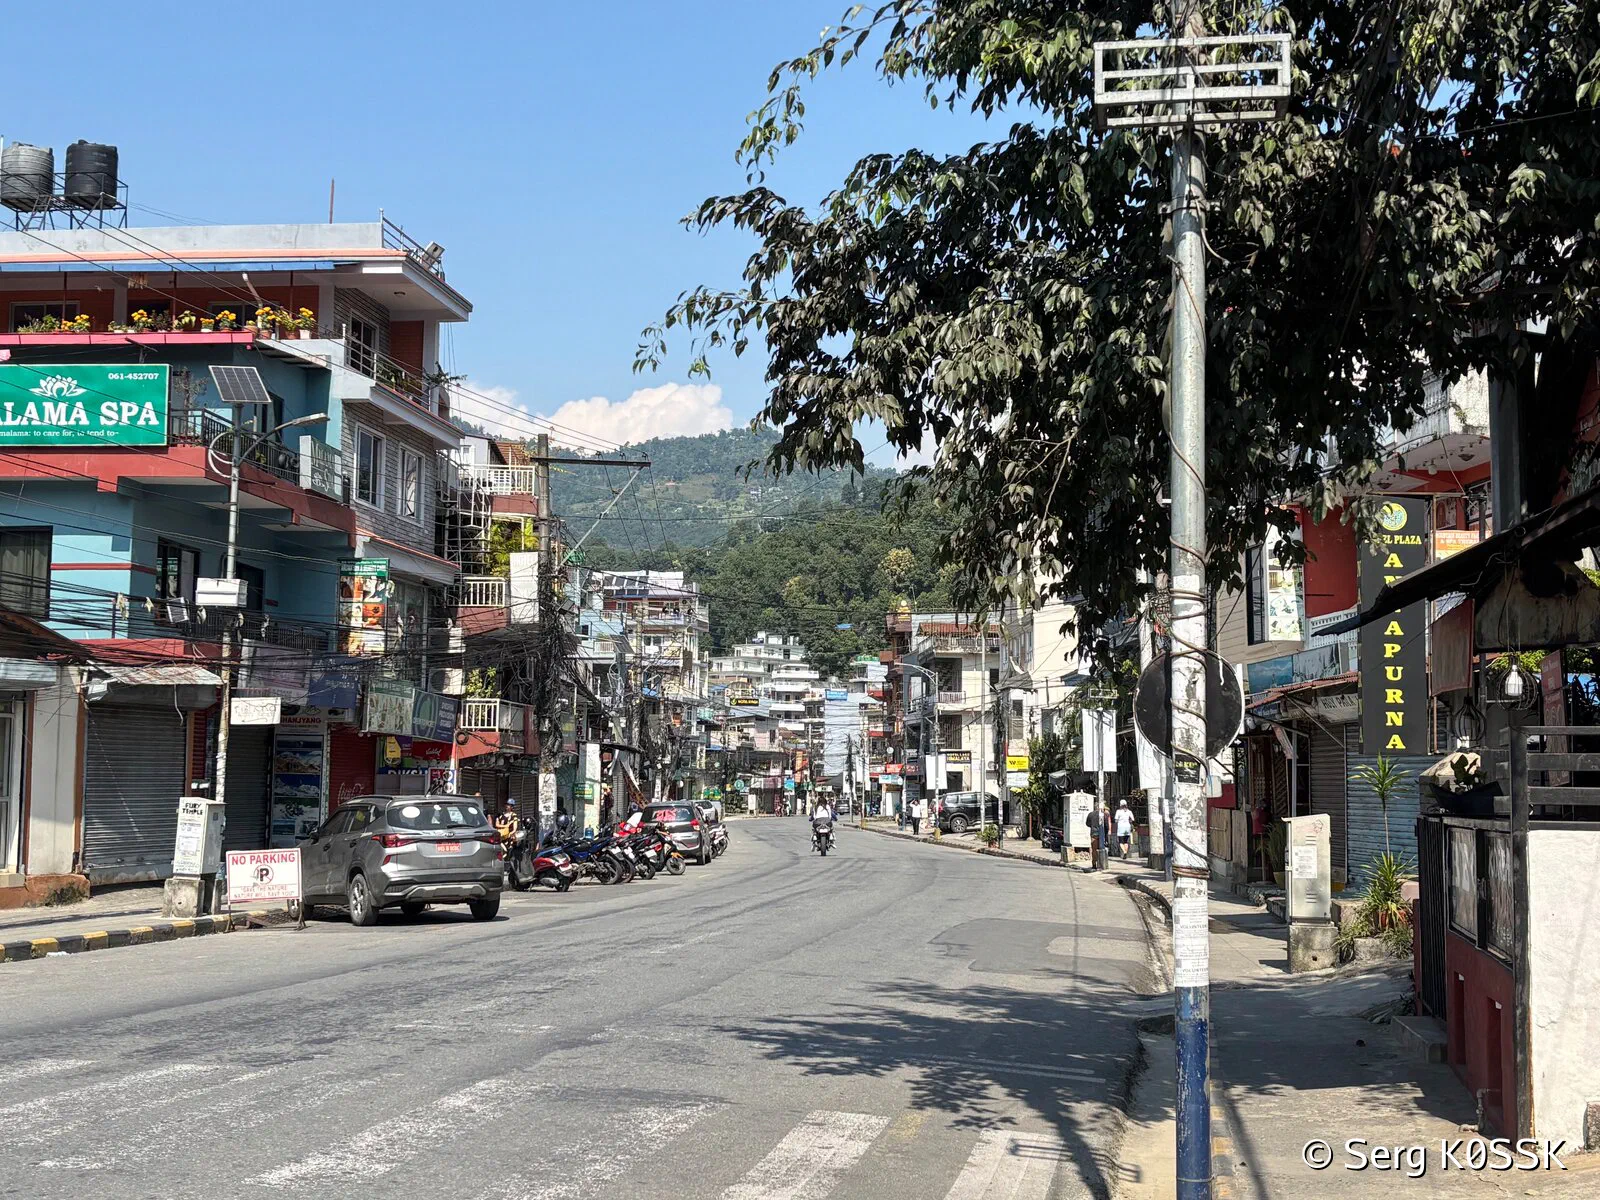
Pokhara street
From Kathmandu it takes about 6-7 hours to reach Pokhara by bus, or, if you have an extra $100 to spare, you can fly - look for Annapurna mountains on the right if the weather is fine.
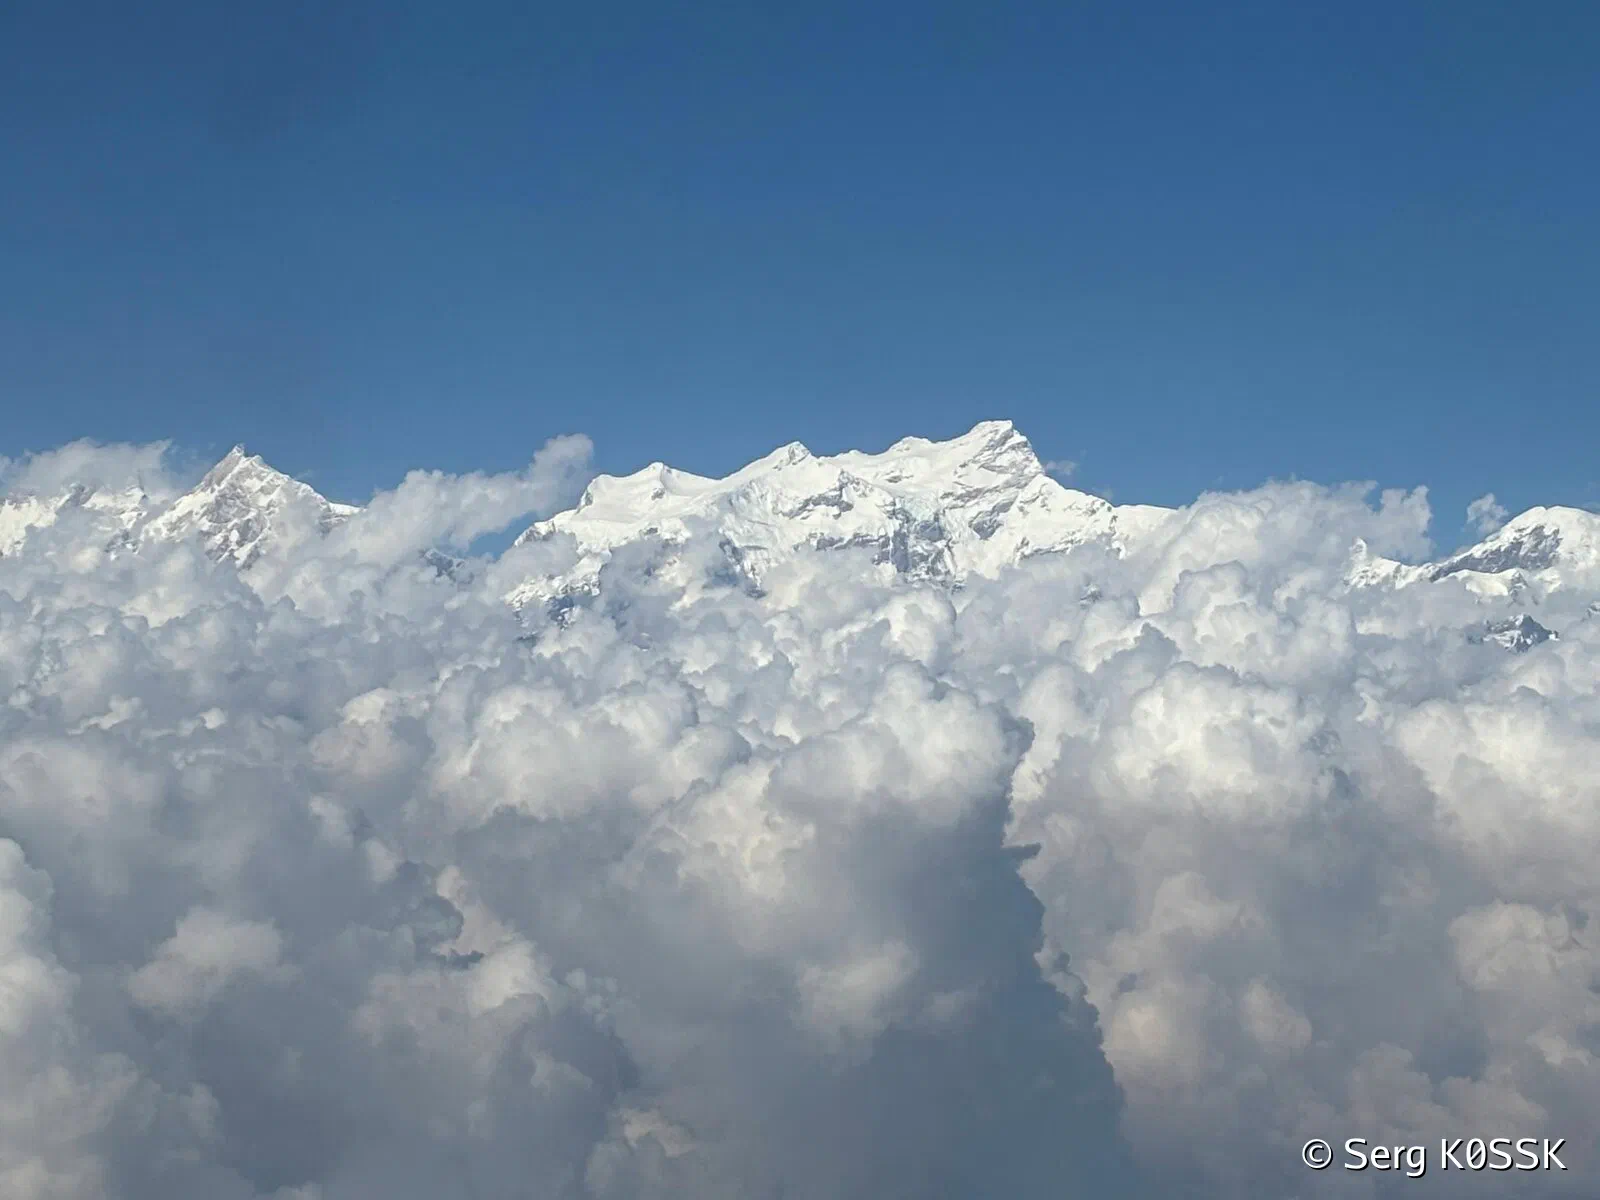
Annapurna range as seen from a plane
Jutting south from Annapurna massif toward Pokhara is a long rocky ridge, topped by Macchapuchare - the “fish tail” mountain. From the city you see it in profile as a narrow pyramid.
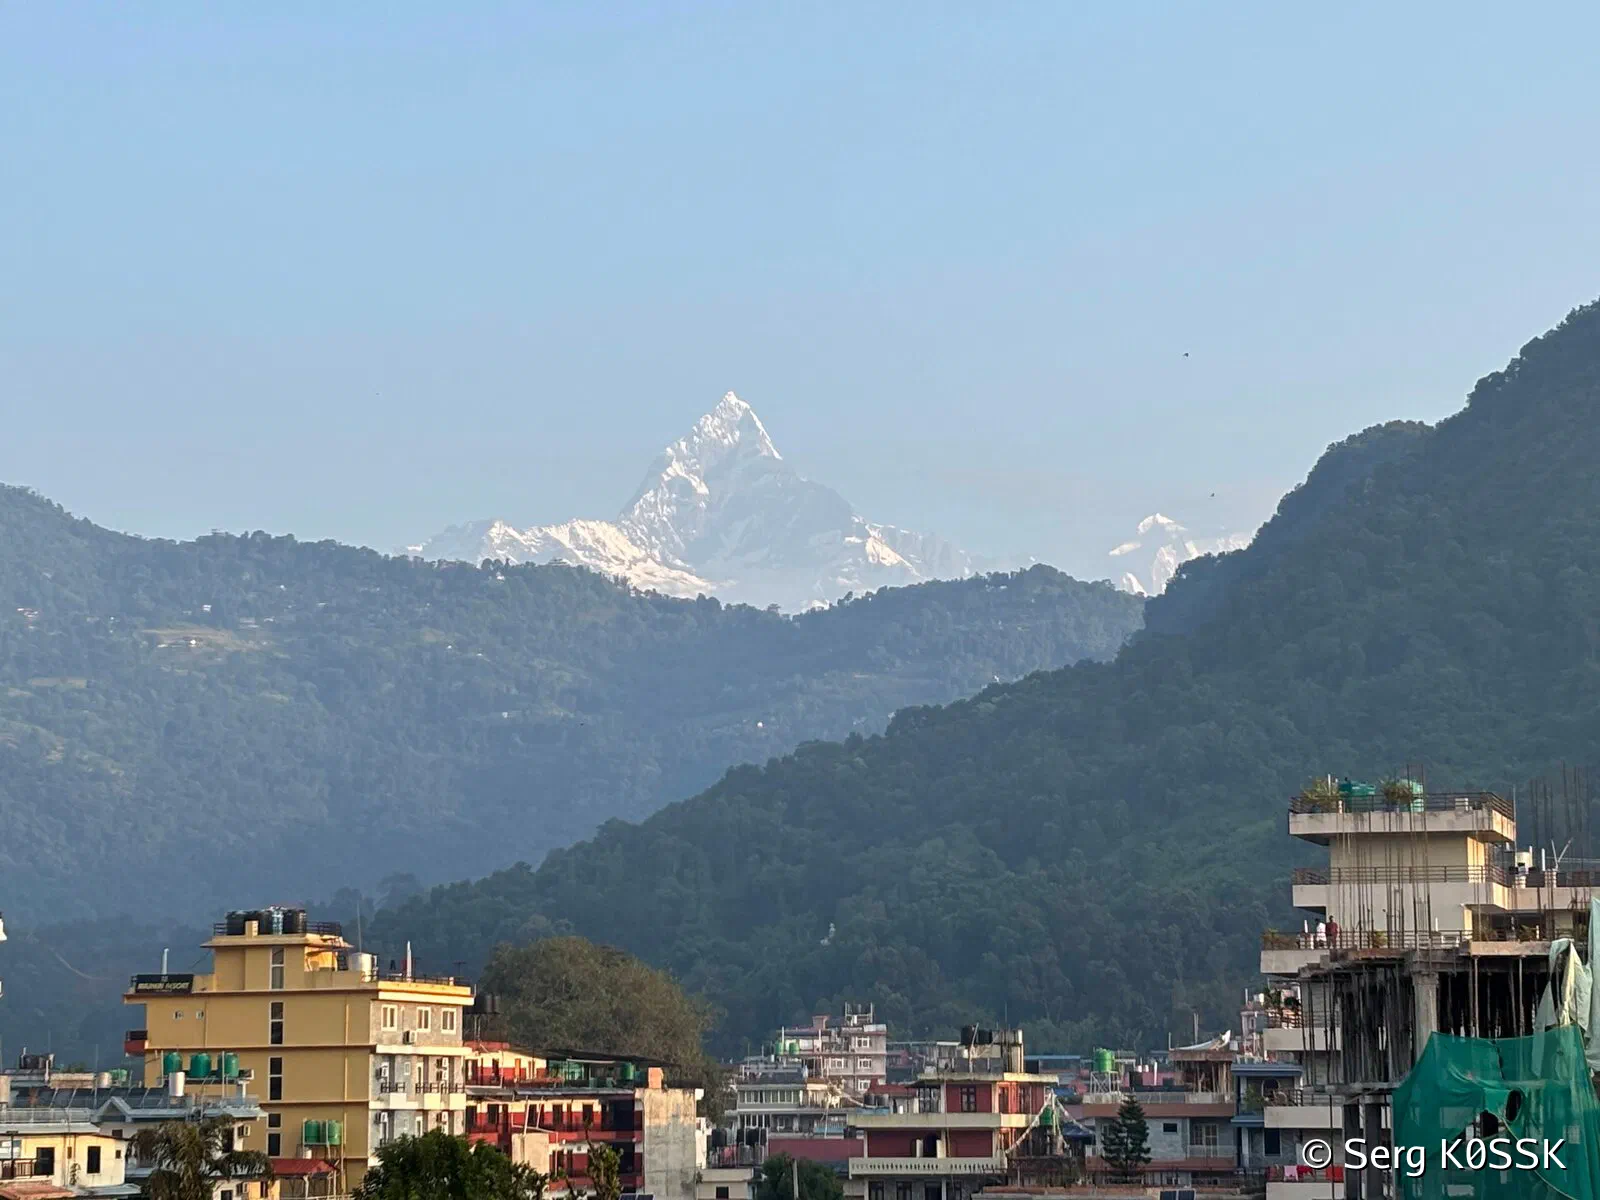
Macchapuchare view from Pokhara
The tail (or, what to me looks like ears of a cat) can be seen when you approach the mountain from southwest. Mardi Himal is a lower, harder to notice hump, down from Macchapuchare. Our goal is the Mardi Himal Base Camp East further down the ridge, Macchapuchare and Annapurna views along the road.
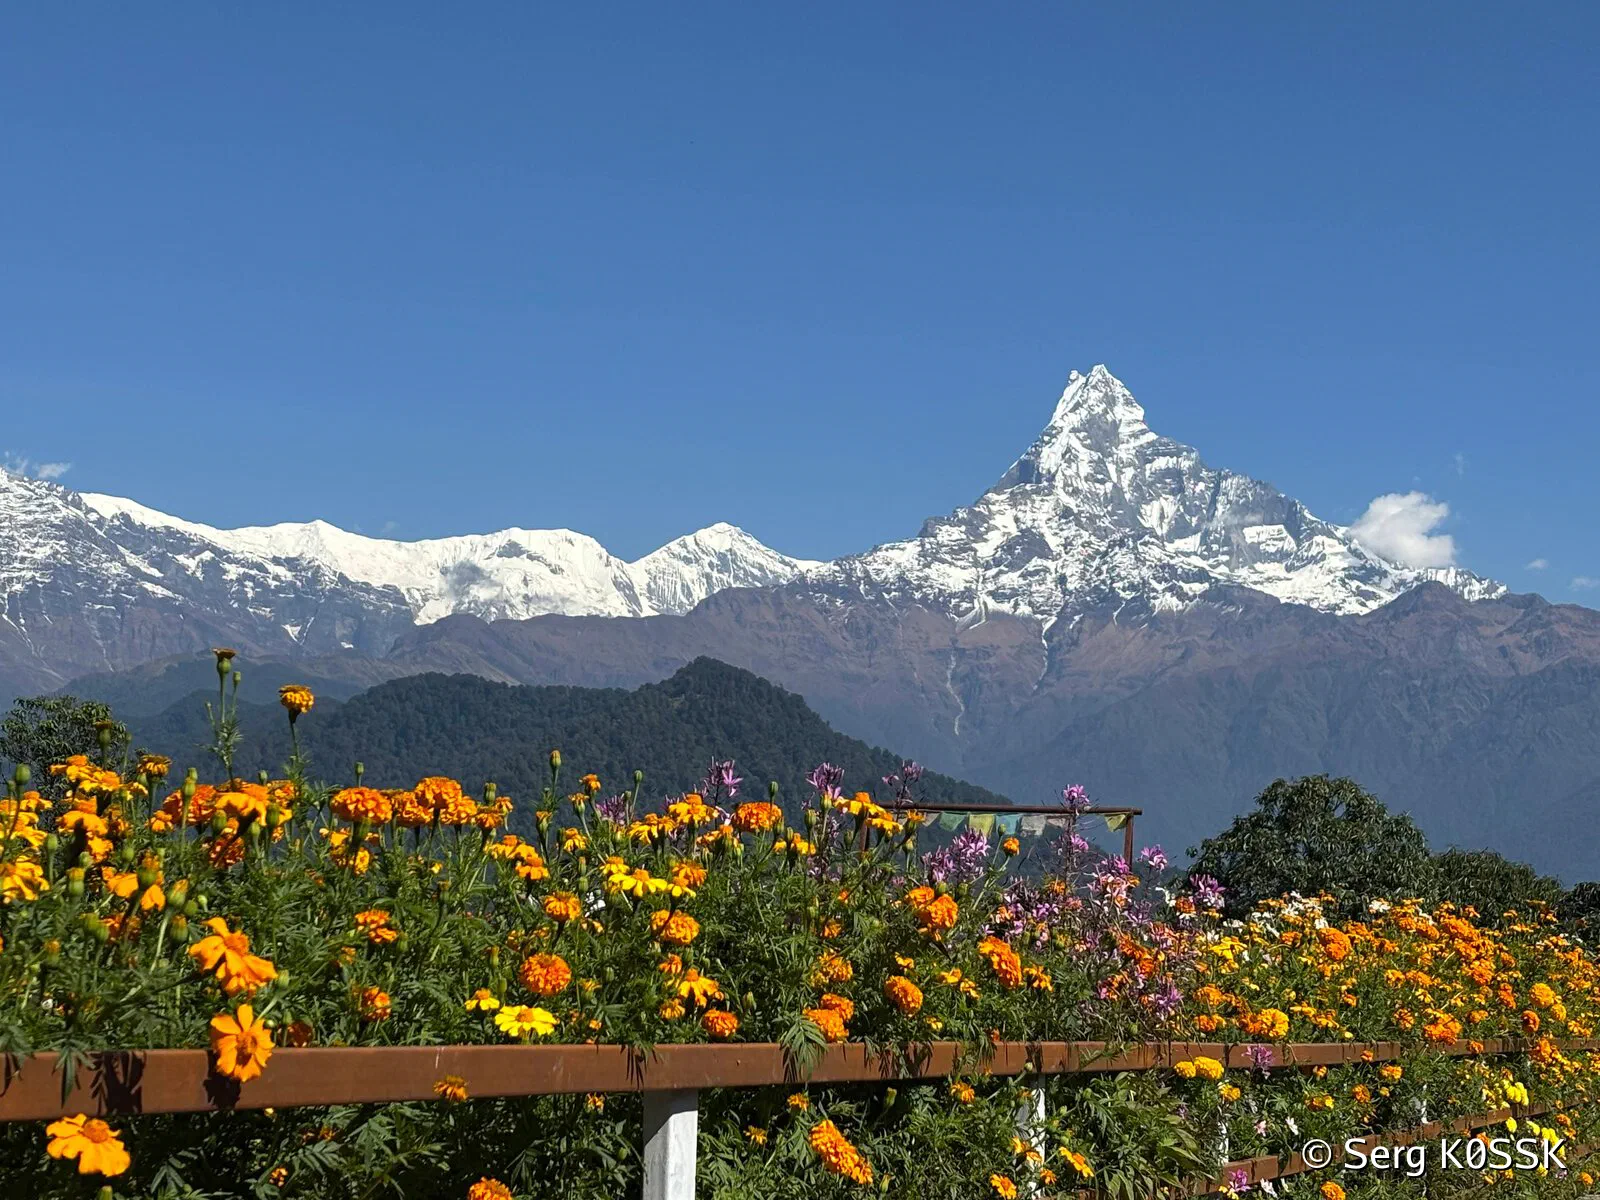
Macchapuchare as seen from Australian Camp - I see a lazy cat reclining on a bean bag
Macchapuchare, according to a local belief, is god Shiva’s abode, similar to Mount Kailash (probably his winter home?). Nepali government never issued permits to climb it and there were no confirmed / publicized successful ascents.
Best Seasons to Do the Trek
The best season to visit is October - November and, I heard, April-May. We did the trek in the late October and the weather was great - crisp clear skies in the morning and afternoon, with clouds rolling up the mountain in the late evening. We only had to layer up at night and in the High Camp and above - 4000 meters and up.
Do note - October - November is the time when Dashain and Tihar / Deepawali festivals are celebrated. Nepali people have some time off so the trail gets busier and lodges may get full.
I would not recommend going above the lower vista point early in spring - there are several sketchy places I would not dare without crampons if there was ice. No such problem in October. If I were you, I would research lodges in High Camp based on Google Maps reviews, find one you’re likely to book and ask them about trail conditions via WhatsApp (they have contact phone numbers listed on Google Maps).
Lodges Are Not Made Equal
While I expected all lodges regress to the mean and provide same-ish level of service this is just not how it works in reality.
Do your research using Google Maps. I highly recommend Hotel View Point in Low Camp - the host was kind, the beds were clean, there was a charging outlet in the room and the Macchapuchare view was superb. Aside from this lodge our experience was a mixed bag. While off-season walk-ins are not a problem it was not easy to find a room in-season. You can ask a host in a lodge to help you booking the next lodge, but you are buying a pig in a poke: food can be ugh, pillows may be moldy etc. Don’t expect anything approaching fancy above Low Camp. Expect spartan. Clean spartan if you’re lucky. So my advice is to get a local sim, install WhatsApp and contact lodges you plan staying in. LTE internet is available through most of the trek.
I highly recommend renting a sleeping bag - even though there are always blankets available for you in lodges. Reason is you can inspect and smell a sleeping bag when you rent it and not rent it if you don’t like the look or smell. You can also bring a sleeping bag liner - a silk one only weighs around 150 grams, adds about 5 degrees of warmth to your setup and shields you from a blanket and a pillow case that in some cases were never washed.
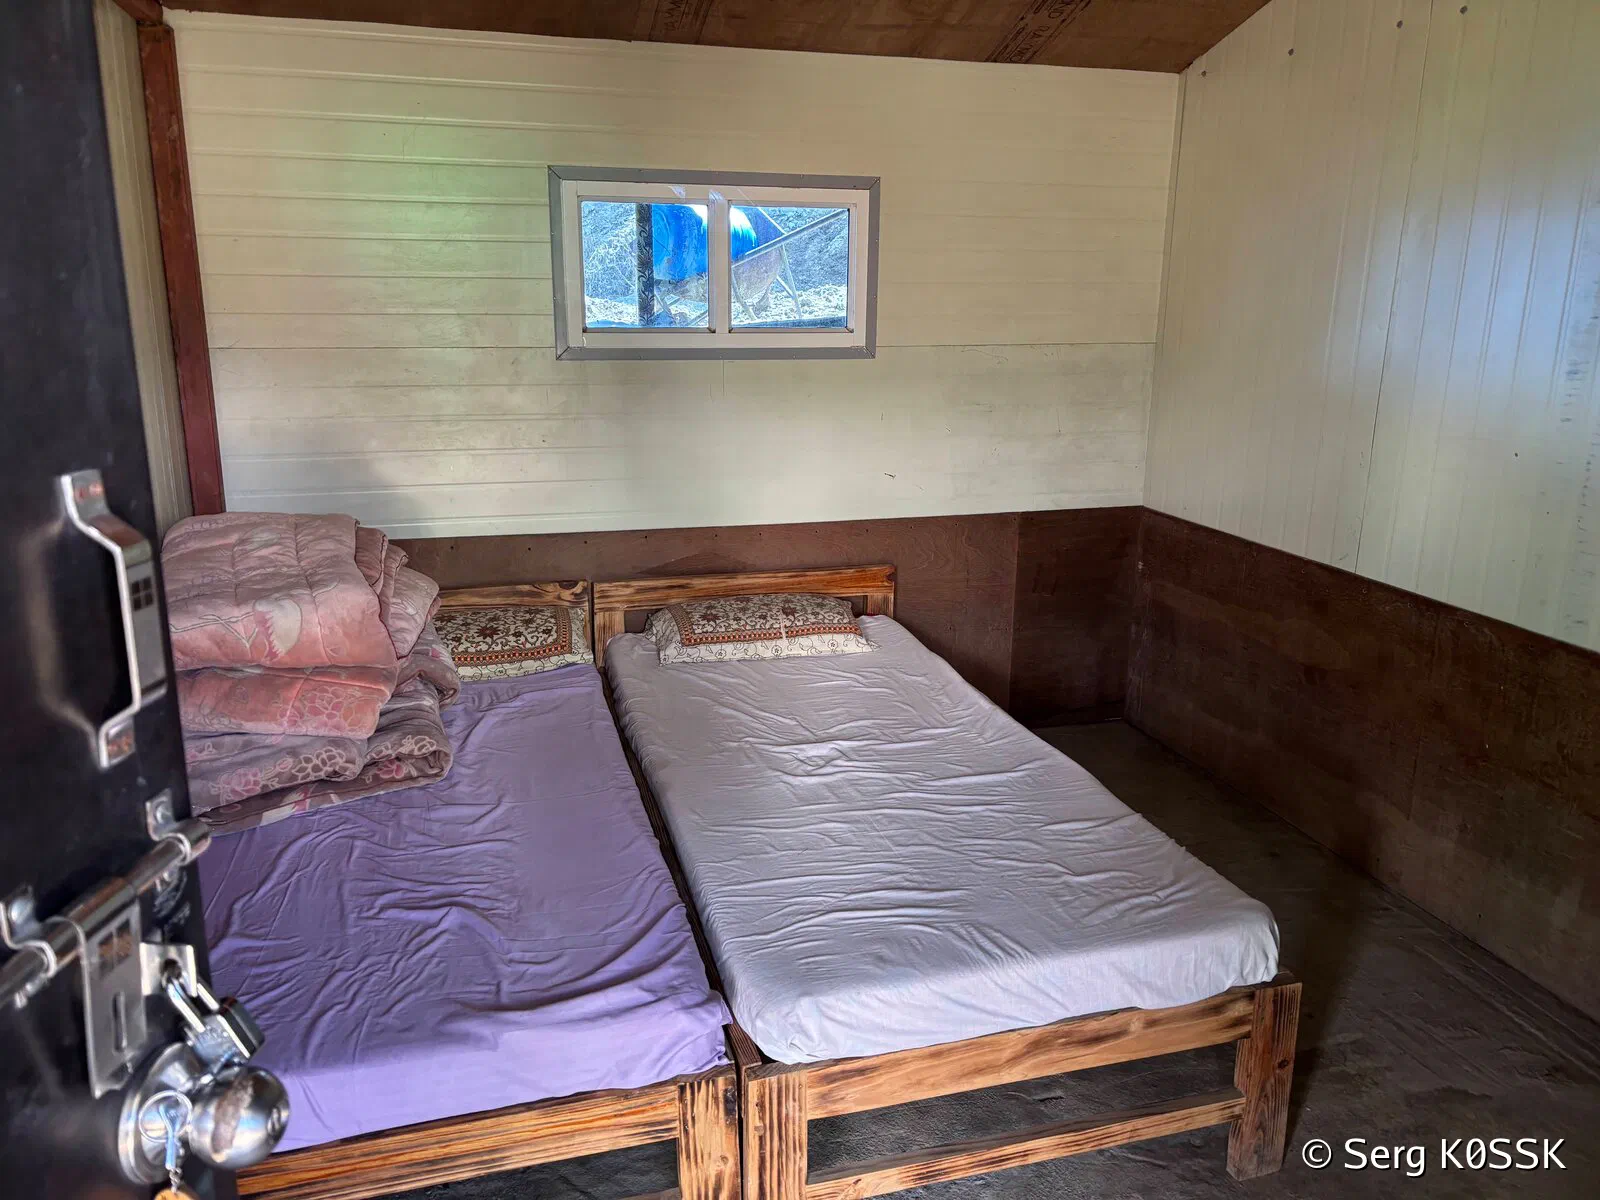
Double room in a lodge in High Camp - we were quite happy with this, no power outlet though
Some lodges operate solely on a solar power - and prohibit charging power banks because it drains too much power.
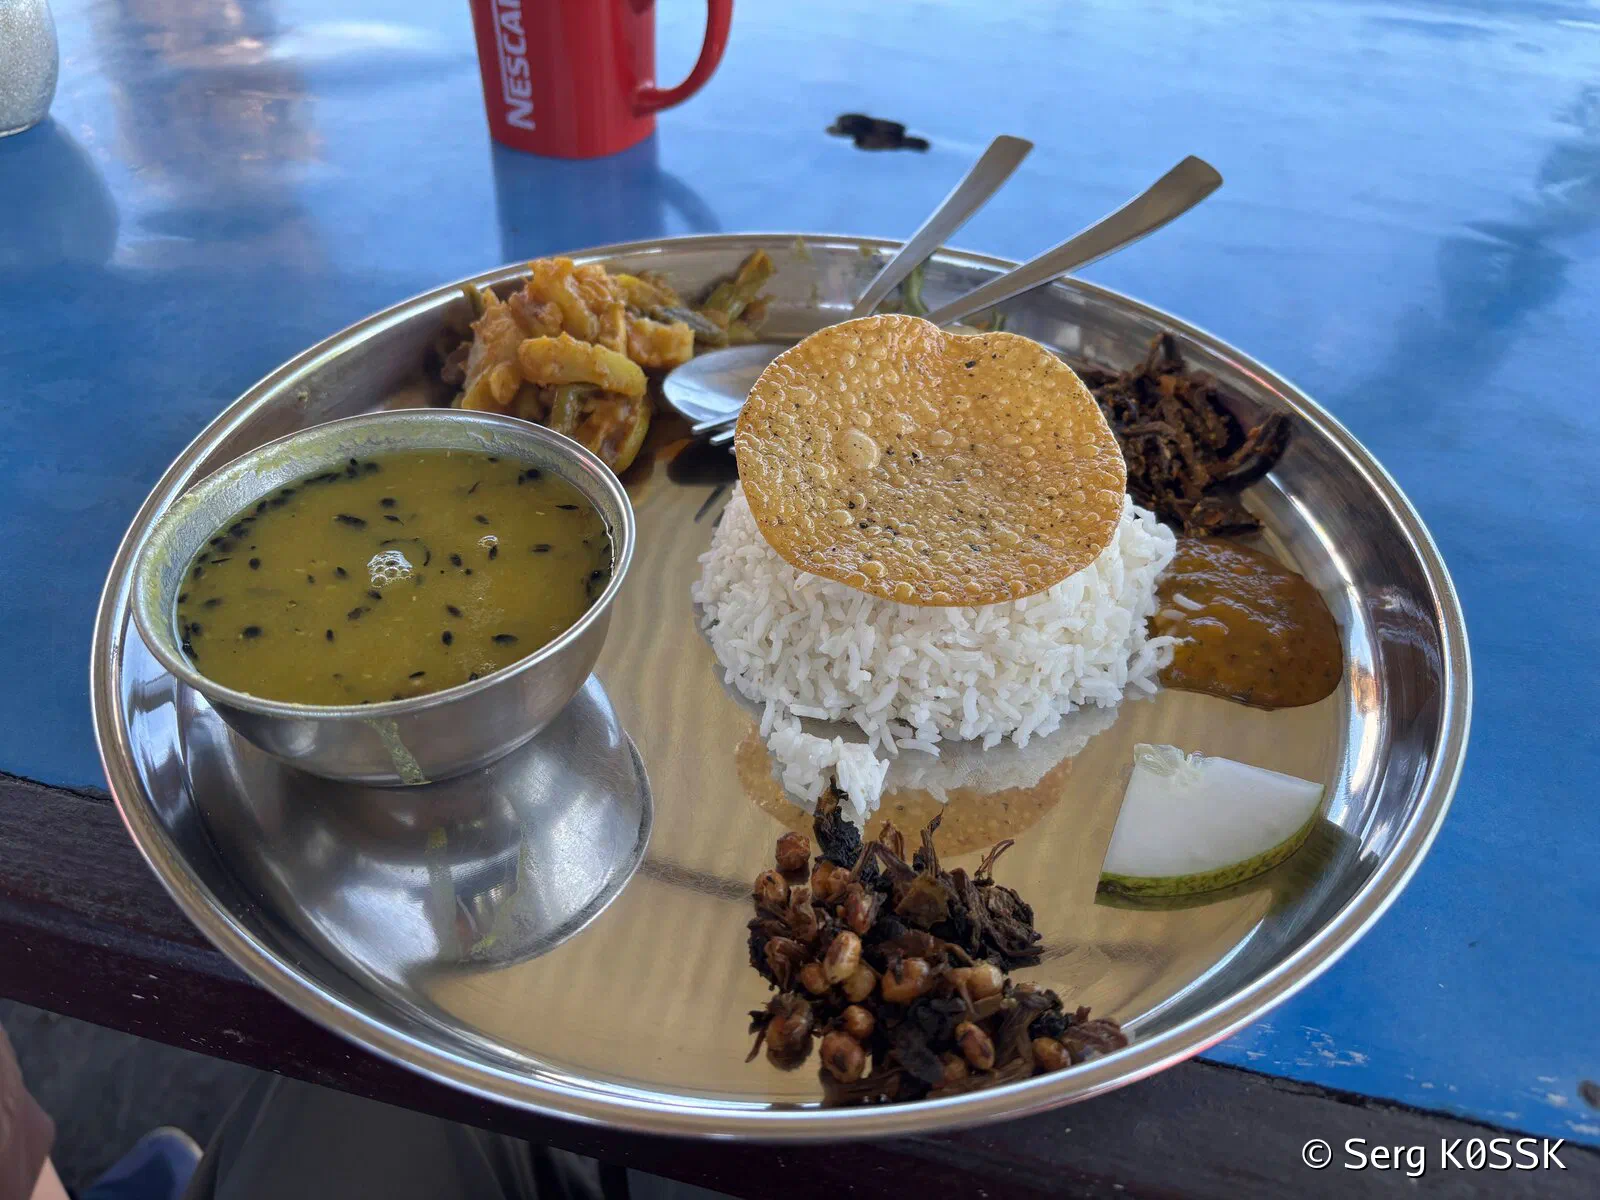
Dal Bhat - your main fuel - carbs and protein
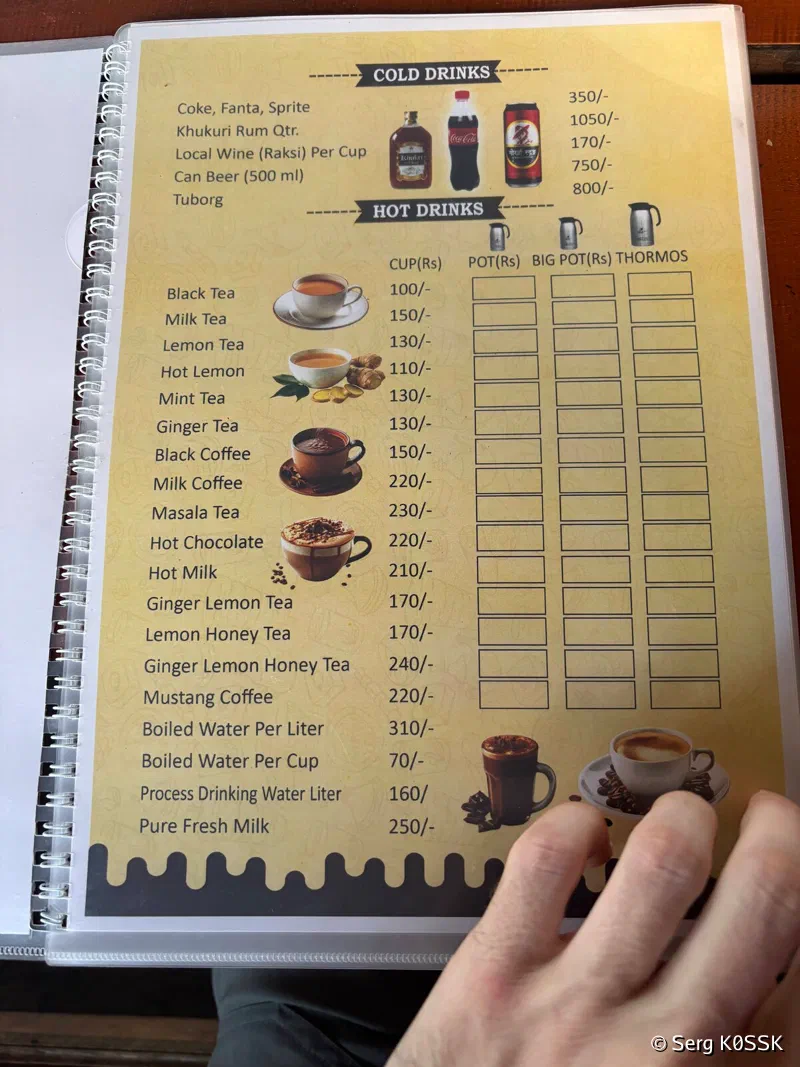
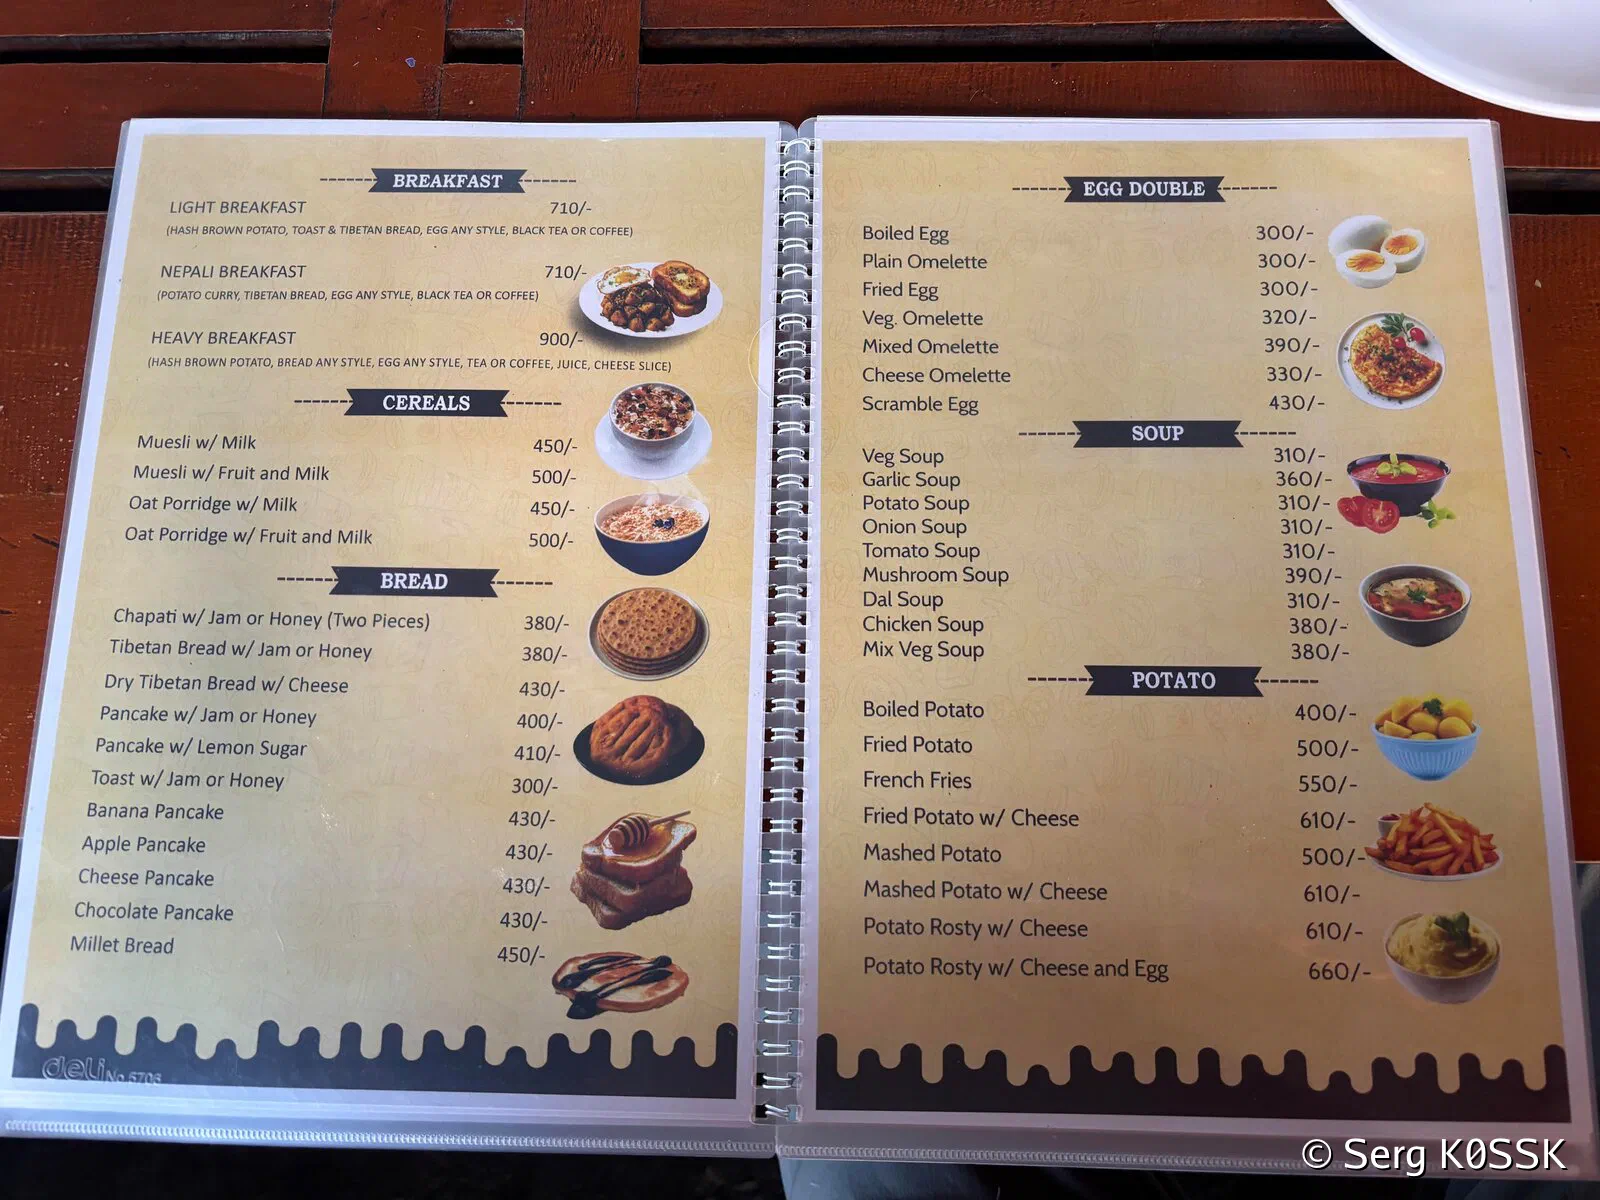
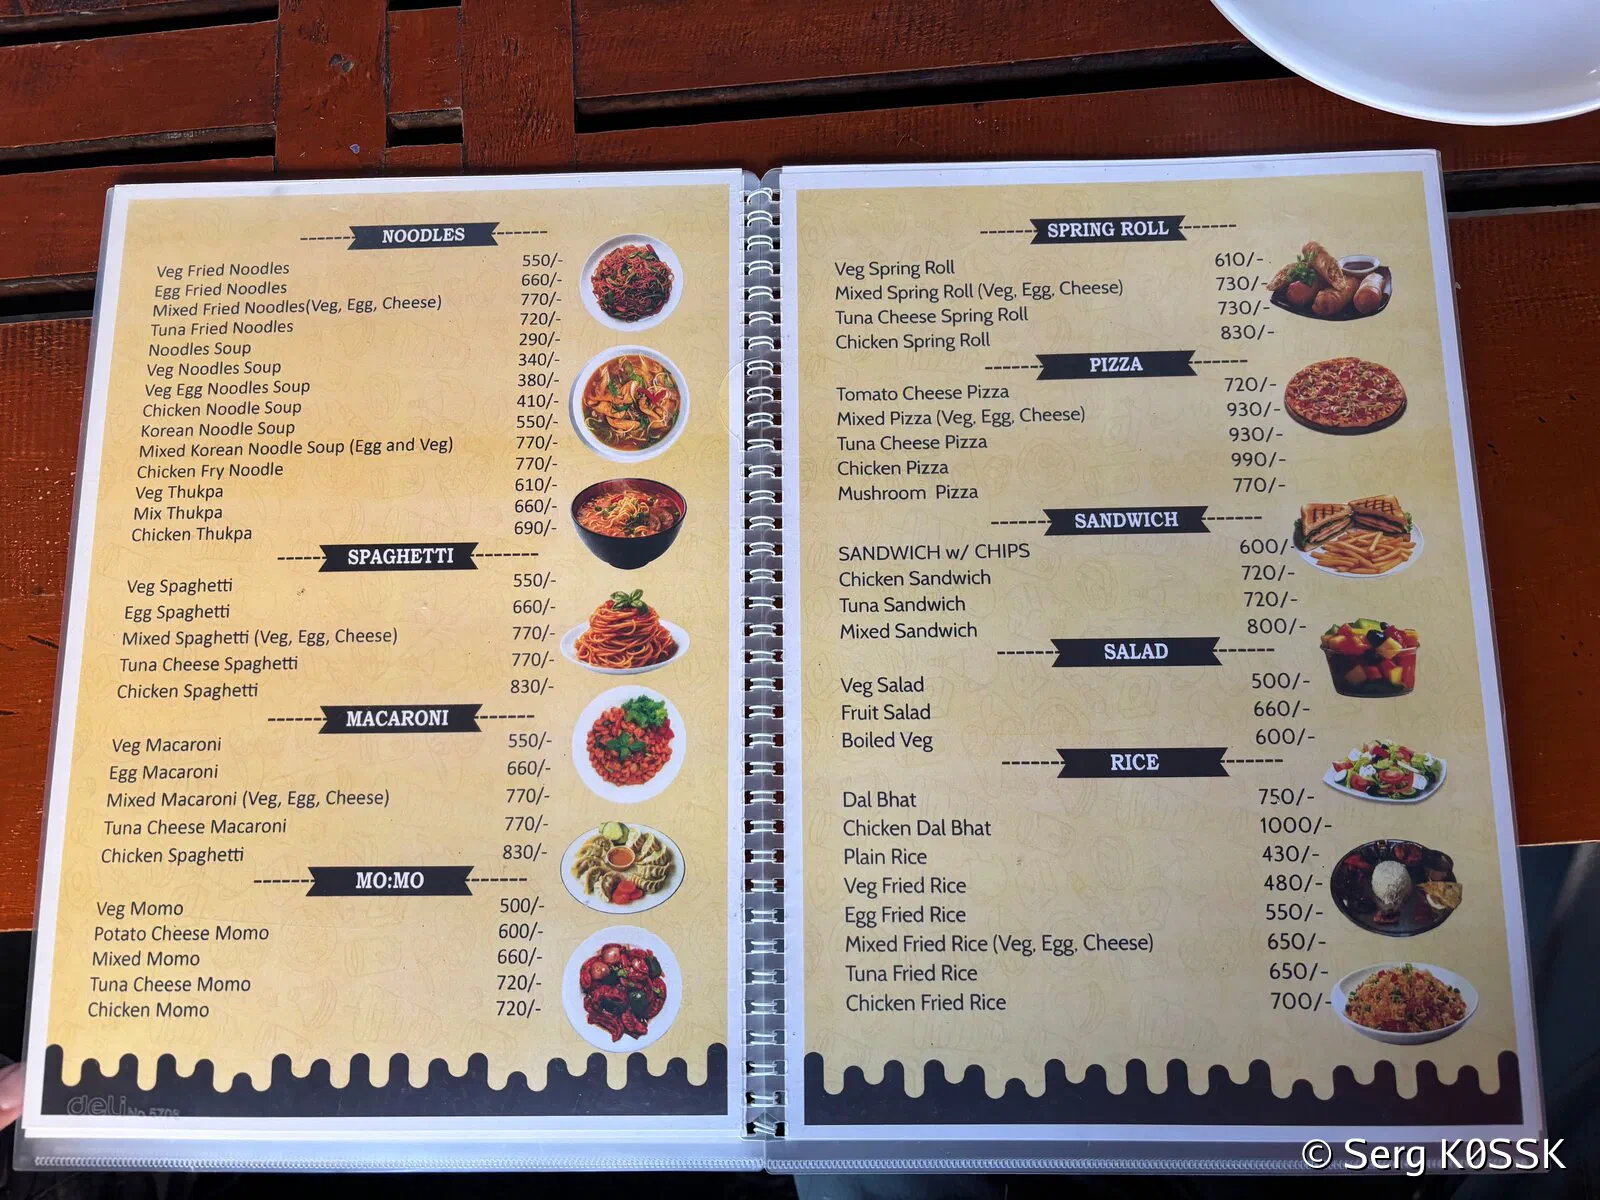
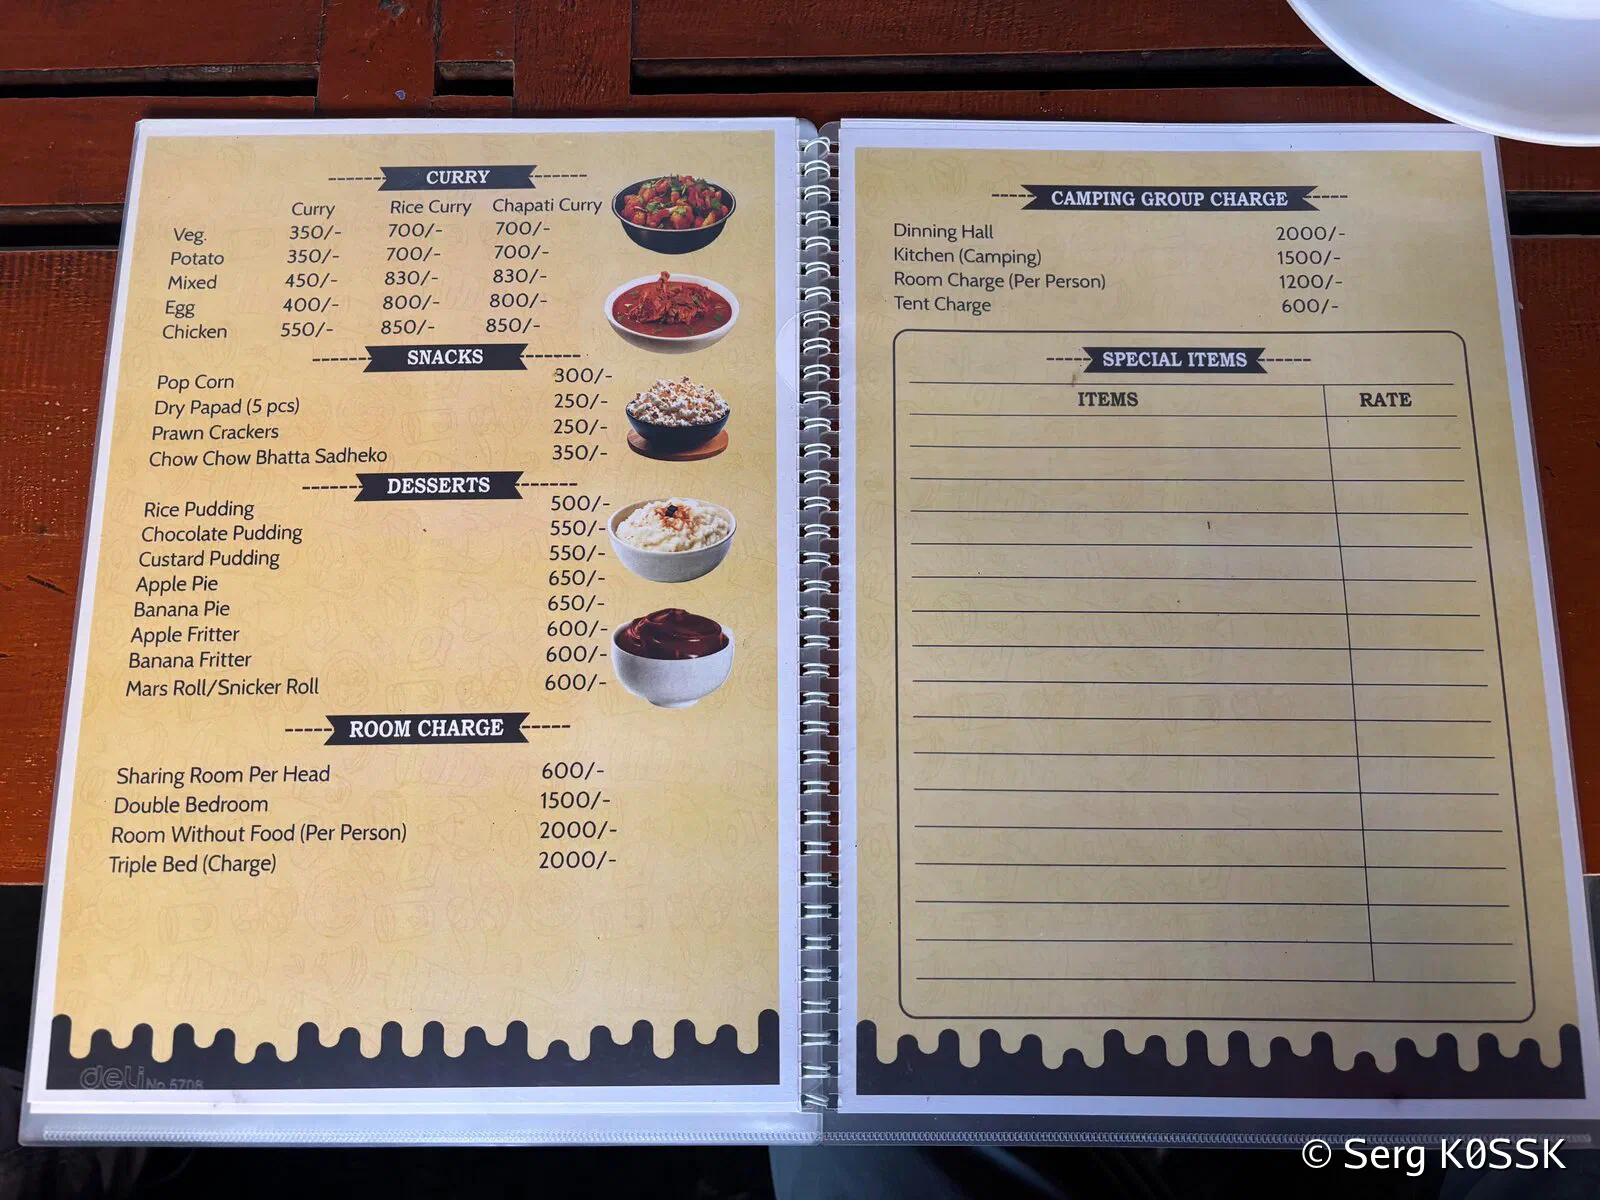
Food prices seem to be fixed no matter the altitude - we found the same menu printed in all lodges we stayed in, but the price of water rises with altitude, there are no in-room outlets to charge your devices above Low Camp - you have to plug your phone in a dining hall - and I don’t think you can shower anywhere above Low Camp either. There are no european-style toilets - only squat - above Low Camp and even below they are not guaranteed. Bring your own toilet paper - local people are using water to clean themselves.
It is expected that you eat in the same lodge where you stay.
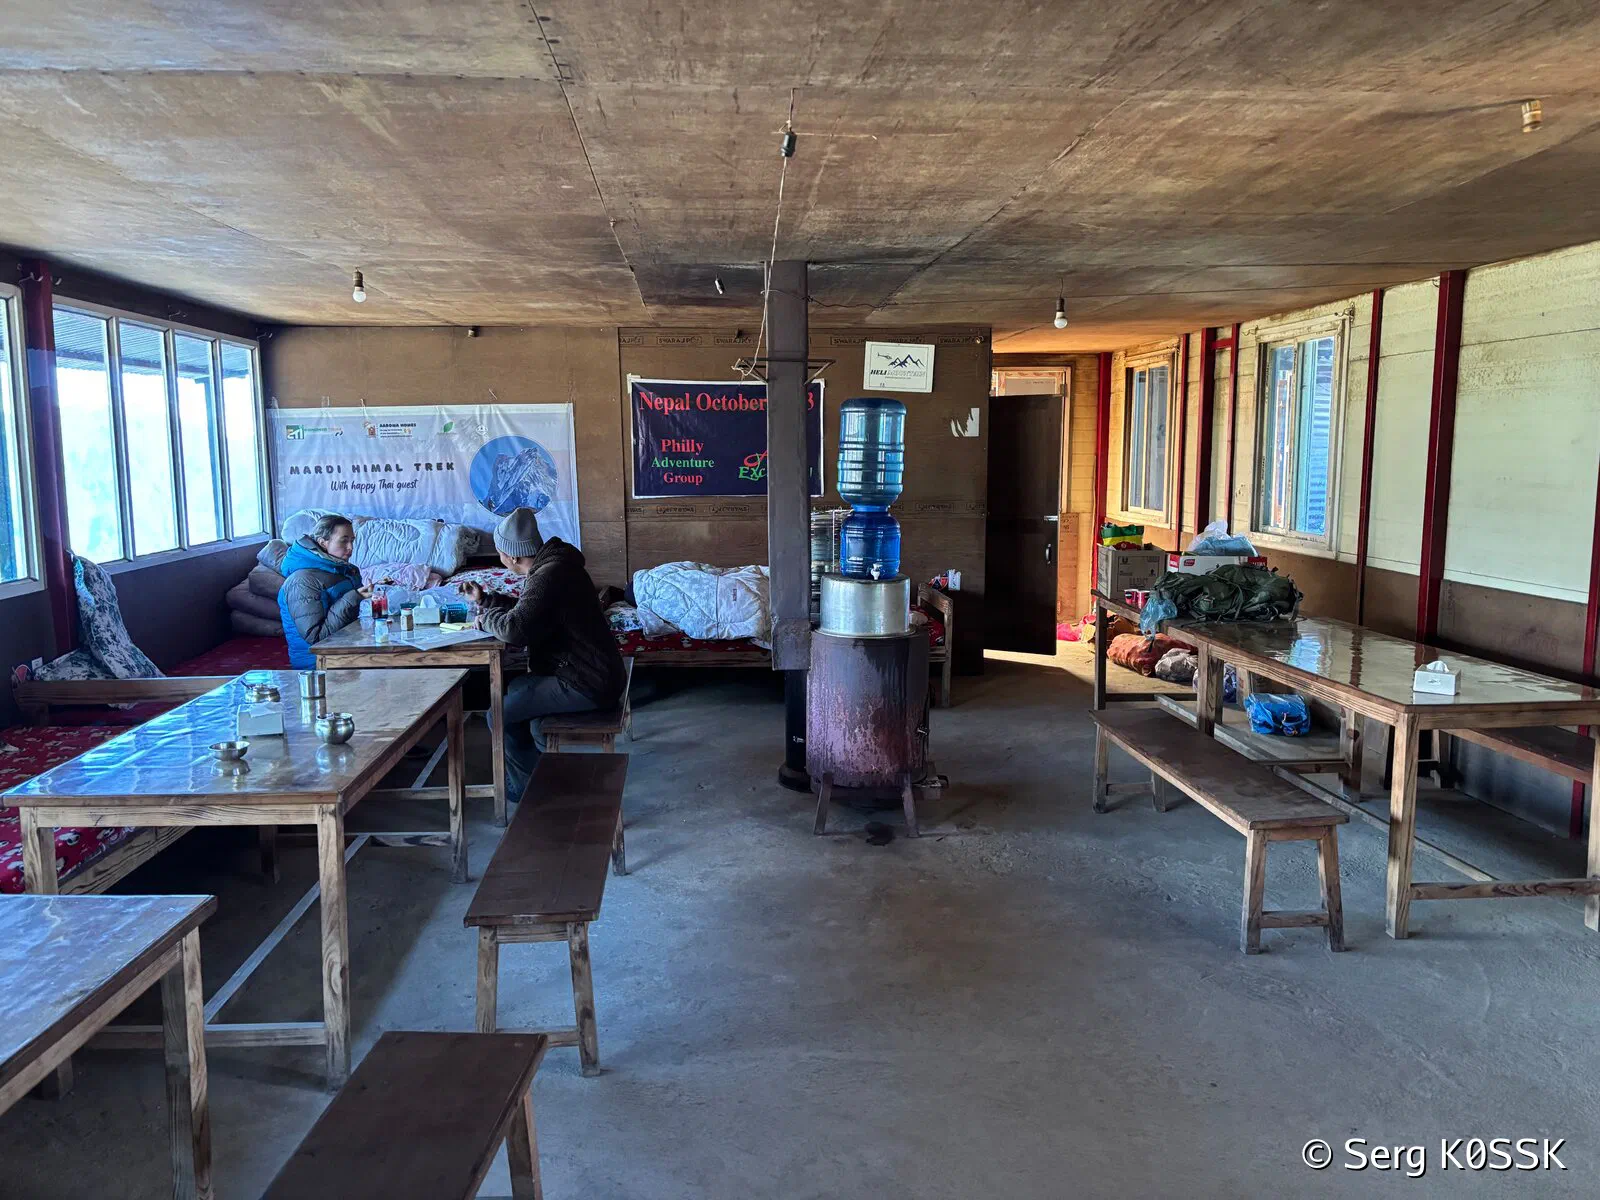
A dining hall of a lodge in High Camp
Costs
I recommend installing Pathao or InDrive apps to hail a cab from Pokhara. Jeeps in Sidhing are waiting at the trail head so you don’t need to hail them, just confirm the cost before you board.
Our daily expenses were about 3000 Rs per day per person - do note we don’t drink alcohol and our meals were vegetarian, but we didn’t penny pinch either - if we wanted banana pancakes - we had banana pancakes. And chocolate pancakes too. Two of us spent 42000 Rs or about $280 in total.
There are no ATMs anywhere along the trail, some lodges have Fonepay QRs but I would assume all payments are cash-only and the price listed is what you should expect to pay. Tips are generally not expected.
What Things Cost
- ACAP permit - 3000 Rs per person
- To rent two pairs of hiking poles for five days in Pokhara: 2000 Rs
- To rent two sleeping bags for five days in Pokhara: 2000 Rs
- Taxi from Pokhara to the trailhead in Kande: 2000 Rs
- Liter of water: 50-160 Rs, higher - more expensive
- Hot shower: 400 Rs
- Wi-fi: 250-300 Rs
- Phone charge: 250-300 Rs
- Dal Bhat: 750 Rs
- Triple bedroom: 2000, Double bedroom 1500 Rs, Shared bedroom 600 Rs per night. I believe in a pinch you can sleep in a dining hall - as guides sometimes have to do if there is no room for them.
- Jeep from Sidhing to Pokhara 1000-1500 Rs per passenger, depending on how many passengers there are. The driver expects to make 7000 Rs from a trip and costs are split by riders.
Amenities prices in Low Camp Standard lodge drinks menu Standard lodge food menu pt 1 Standard lodge food menu pt 2 Standard lodge desserts menu and lodging prices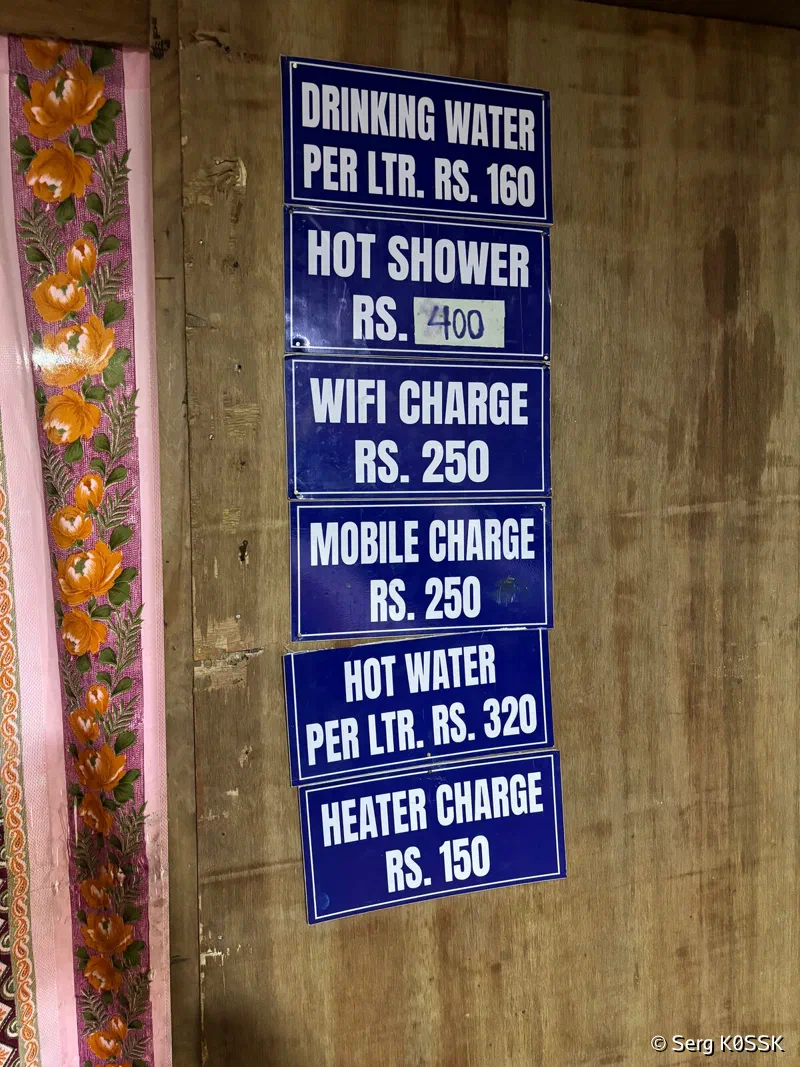
Example Itinerary
Most people do the trek in five days. Depending on your fitness and weather your timings may differ.
| Day | Route | Start | End | Walking time | Distance | Elevation |
|---|---|---|---|---|---|---|
| 1 | Kande to Dhod Kharka | 1700m, 9:20 | 2500m, 15:50 | 6:30 | 11km | +800m |
| 2 | Dhod Kharka to Low Camp | 2500m, 12:15 | 3000m, 16:50 | 4:35 | 6.5km | +500m |
| 3 | Low Camp to High Camp | 3000m, 8:50 | 3500m, 13:20 | 4:30 | 4km | +500m |
| 4 | High Camp to Base Camp and back to Low Camp | 3500m, 3:40 | 3000m, 15:00 | 11:20 | 14km | +1000m / -1500m |
| 5 | Low Camp to Sidhing, then jeep to Pokhara | 3000m, 8:50 | 2000m, 12:00 | 3:10 | 3.2km | -1000m |
Day 4 peaks at Mardi Himal Base Camp East, 4500m. On day 5 the walking time ends in Sidhing; the jeep ride back to Pokhara took us until about 14:00.
There is no fast food - if you want your food faster - order Dal Bhat. The fastest service we had was 40 minutes, slowest - about 75 minutes. When you order your food in the evening, make sure you are on the same page with the host on when you want to have it. Plan ahead, bring snacks, skip lunch in a pinch.
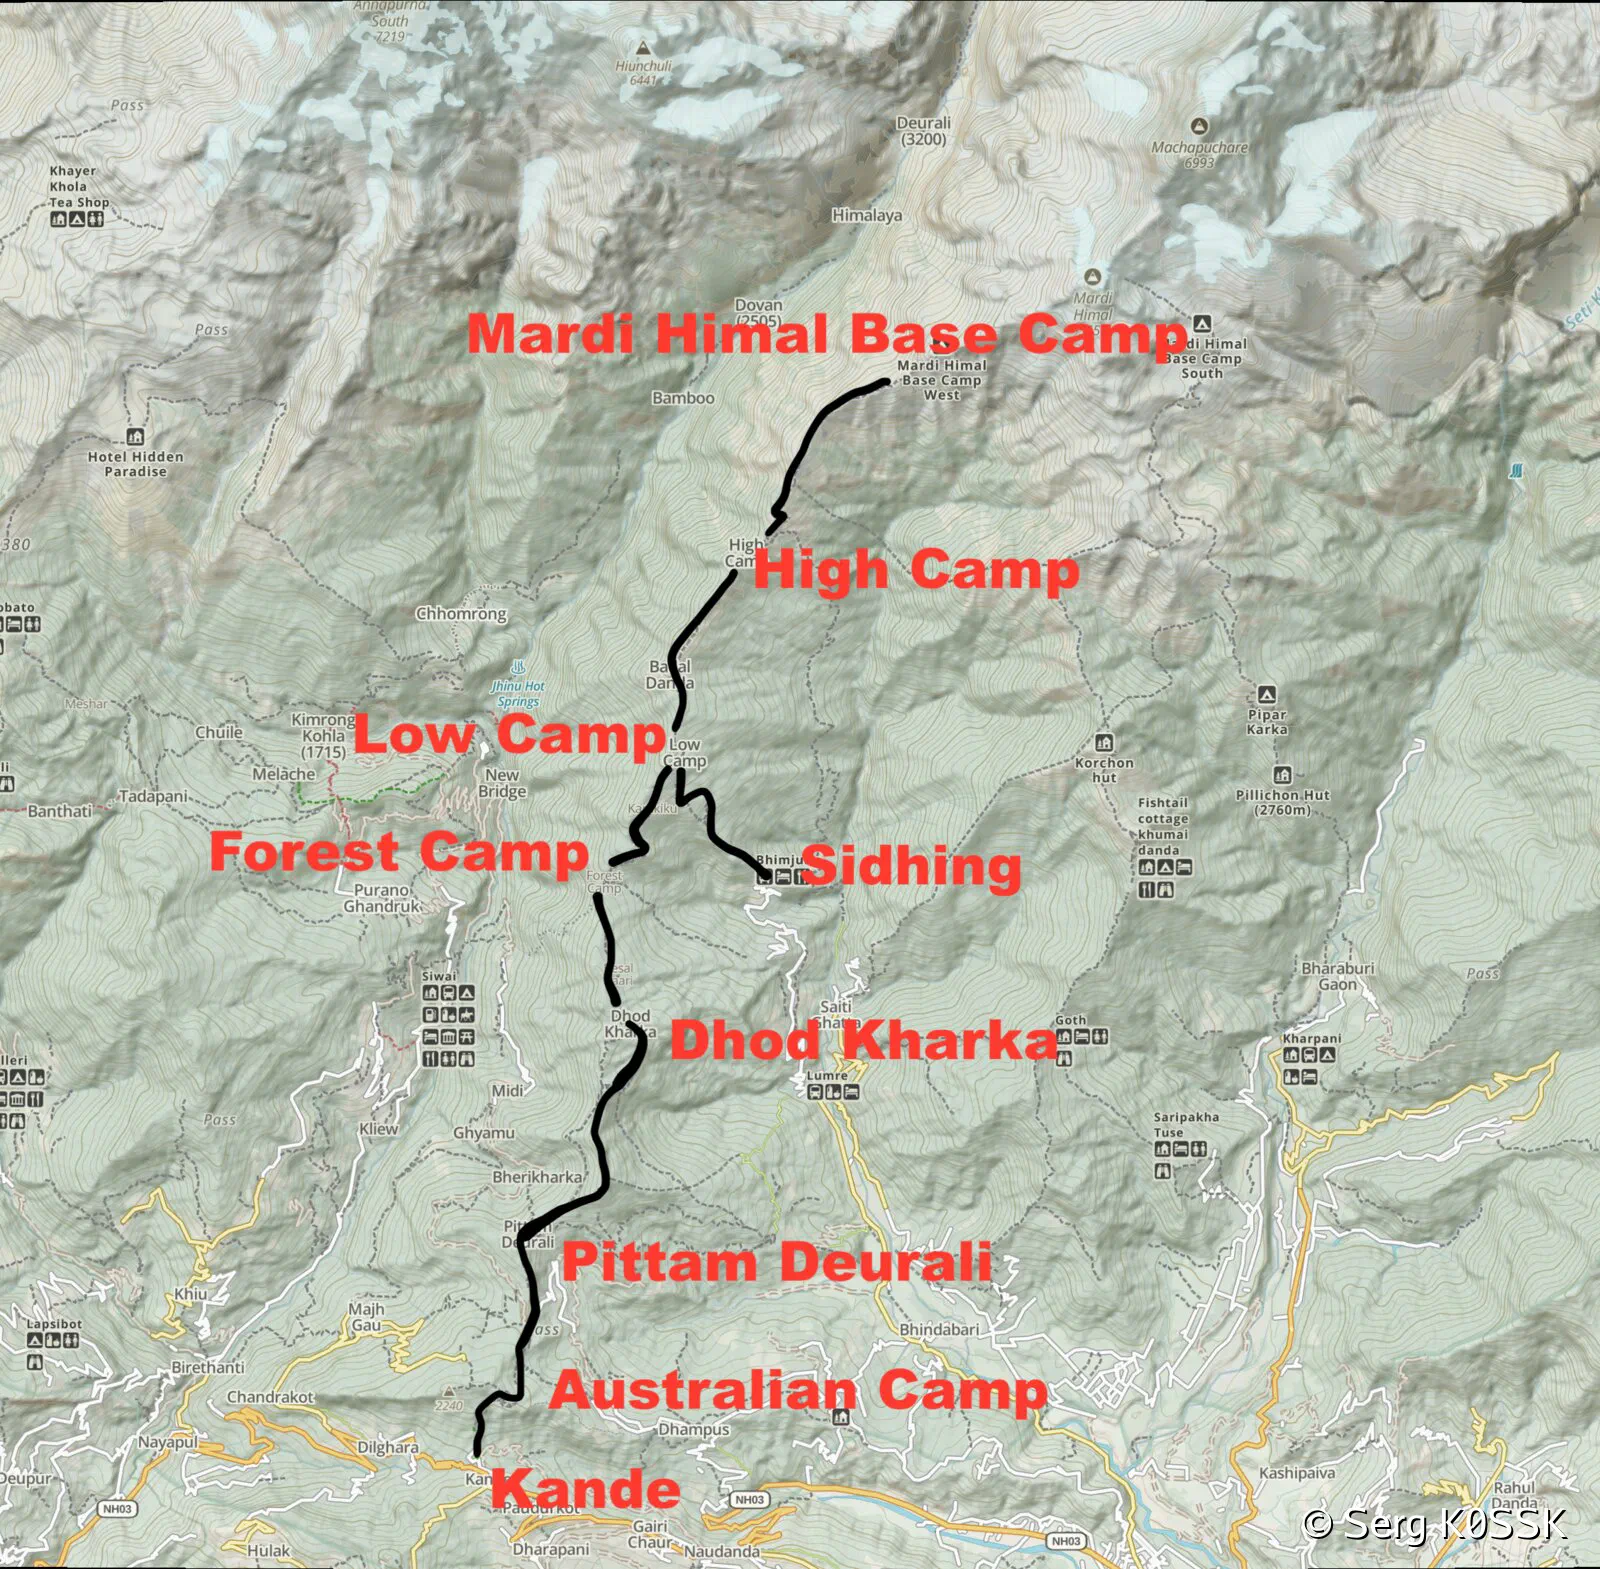
Mardi Himal Trek Map
Day 1: Kande to Dhod Kharka
Day starts with hailing a cab from the place you stay in Pokhara to the trailhead in Kande. I recommend asking your host to call a cab for you, alternatively you can use apps like Pathao or InDrive. In 2026 the expected price is 2000 Rs to get you to the trailhead.
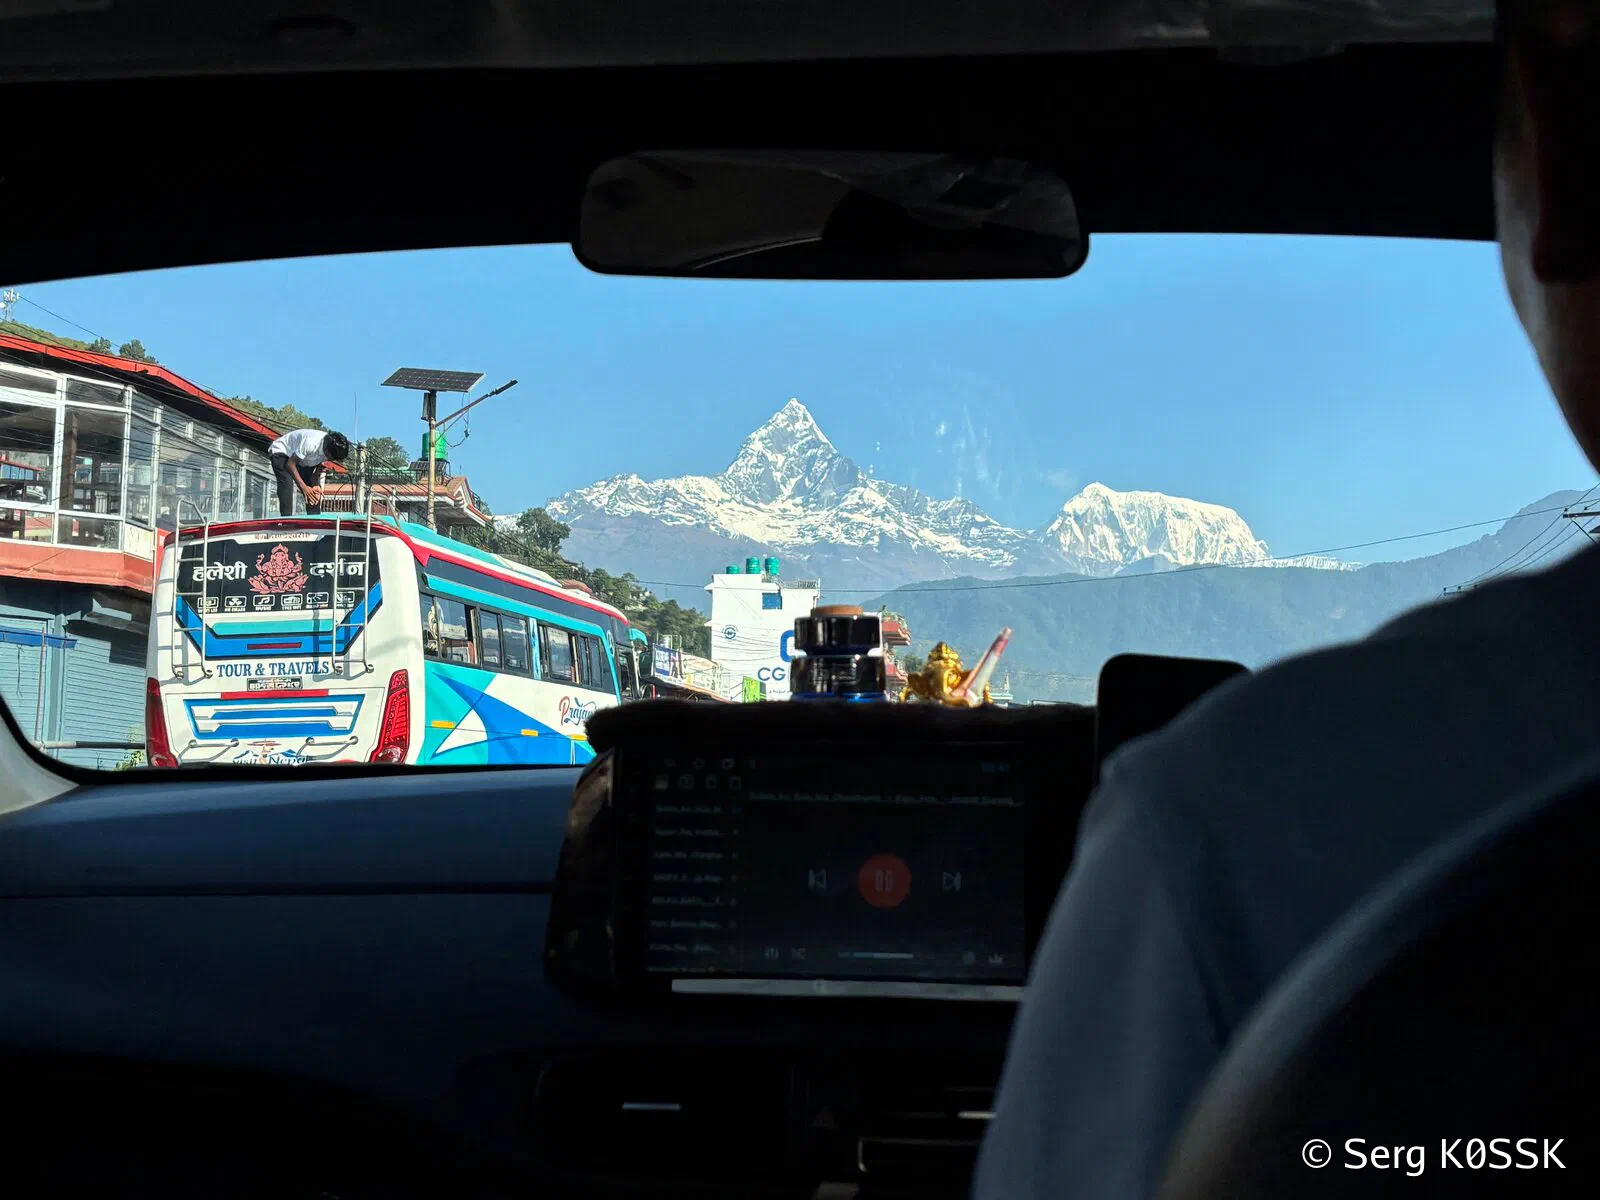
Taxi to the trailhead
Find the trailhead marker - fun starts here - your first stair for today. There are going to be a lot of stairs next five days…
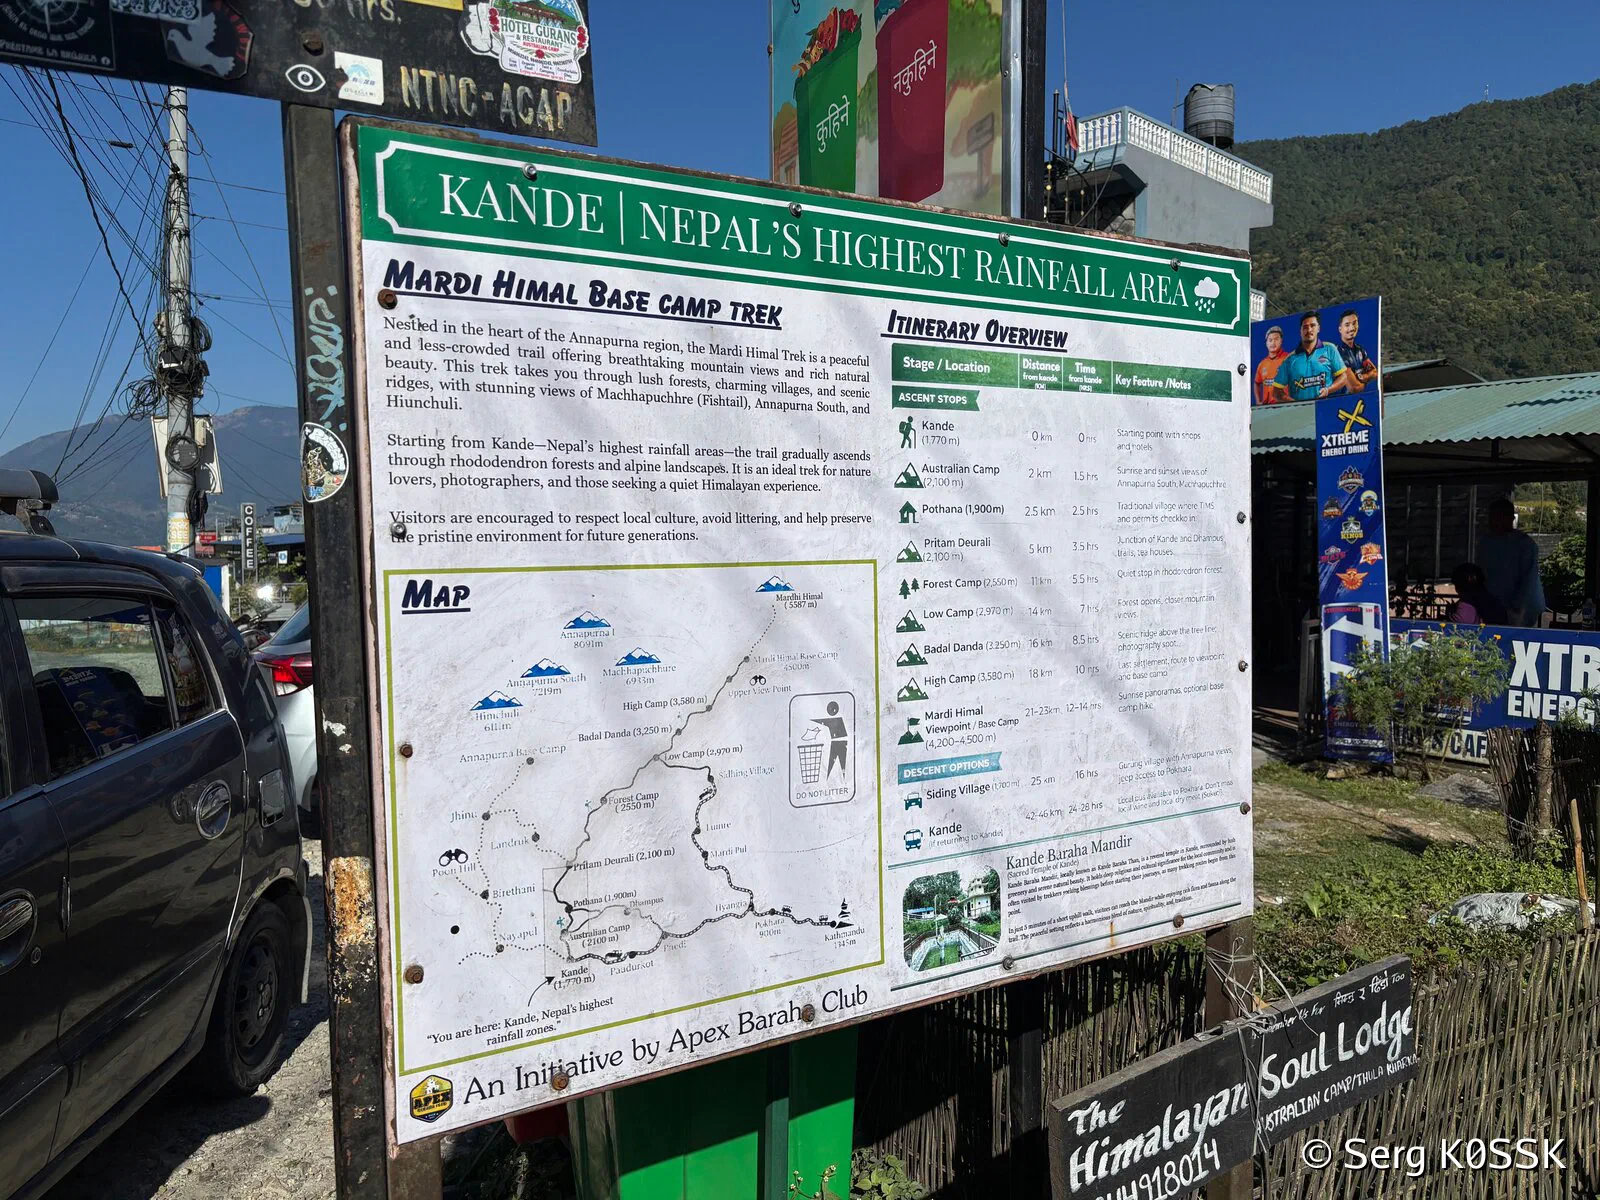
Trailhead board
Australian Camp is where you see the cat’s ears for the first time.
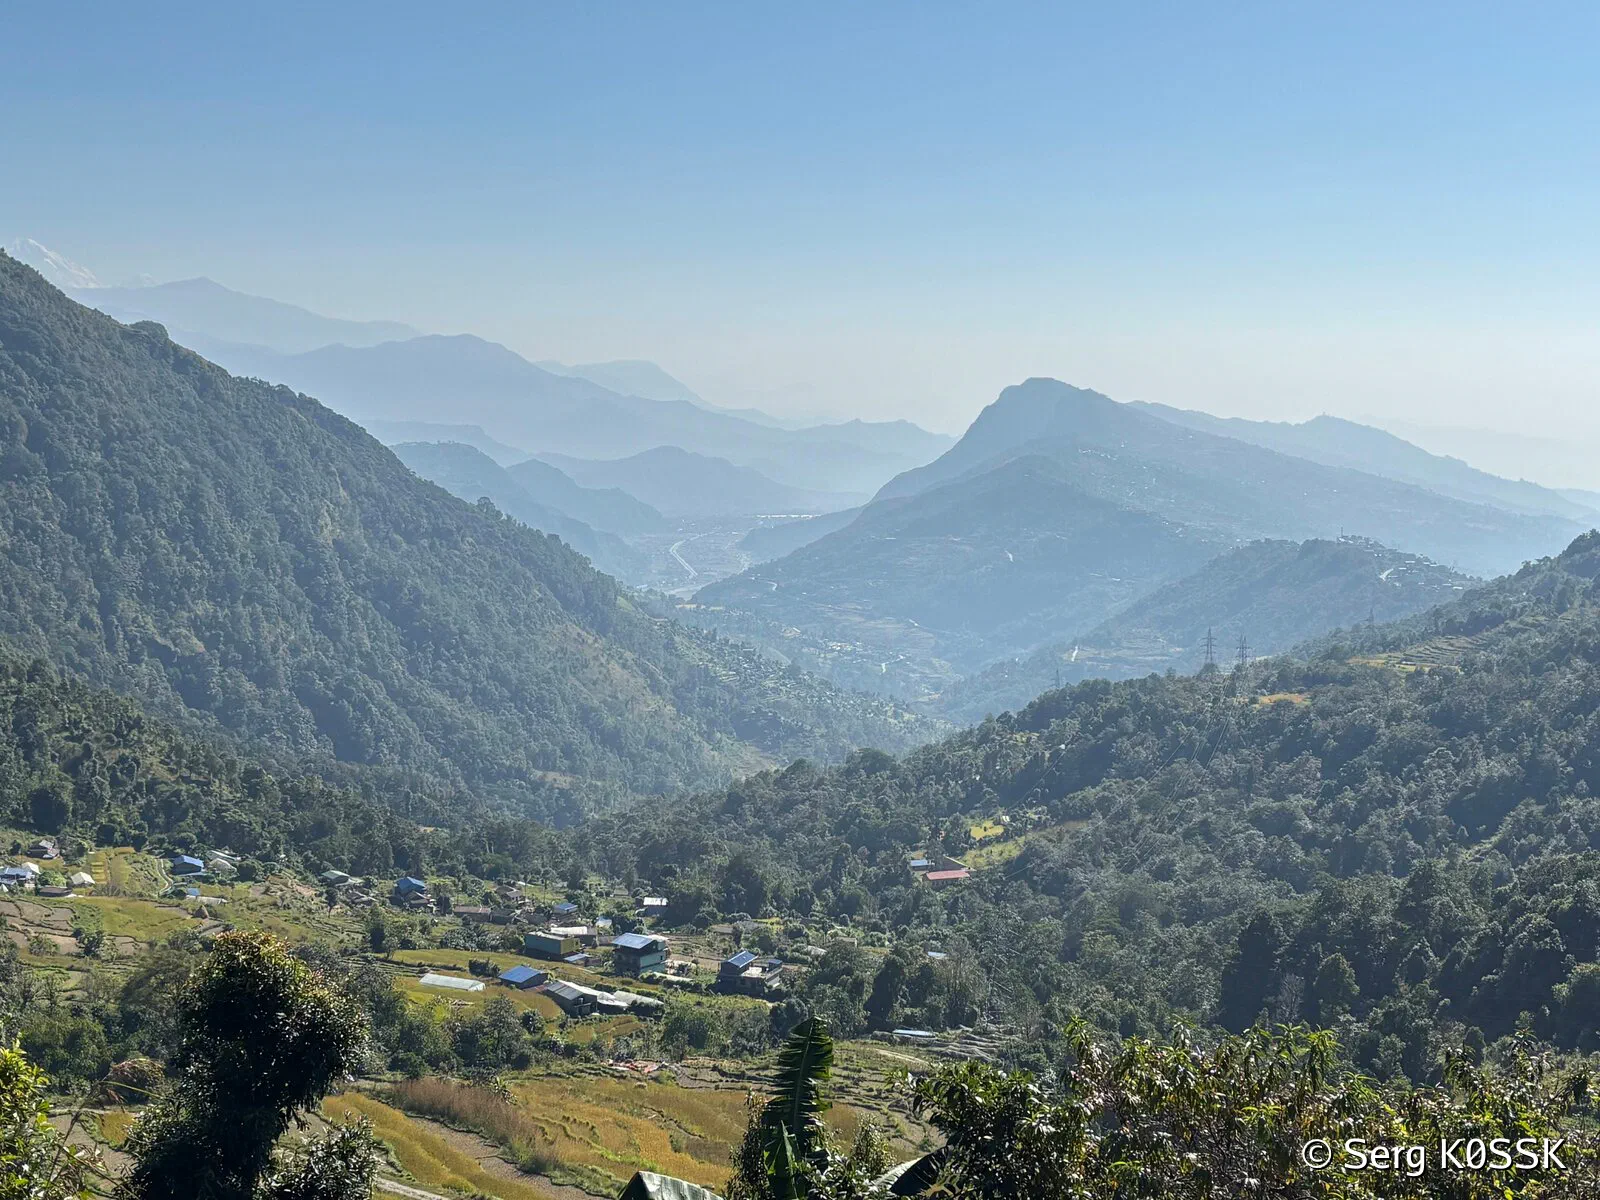
View toward Pokhara from below Australian Camp
Most people aim for Forest Camp on the first day, we didn’t make the pace we expected and opted to stop in Dhod Kharka, about a half of an hour earlier. The view is better from Dhod Kharka, Forest Camp has more lodging options to choose from.
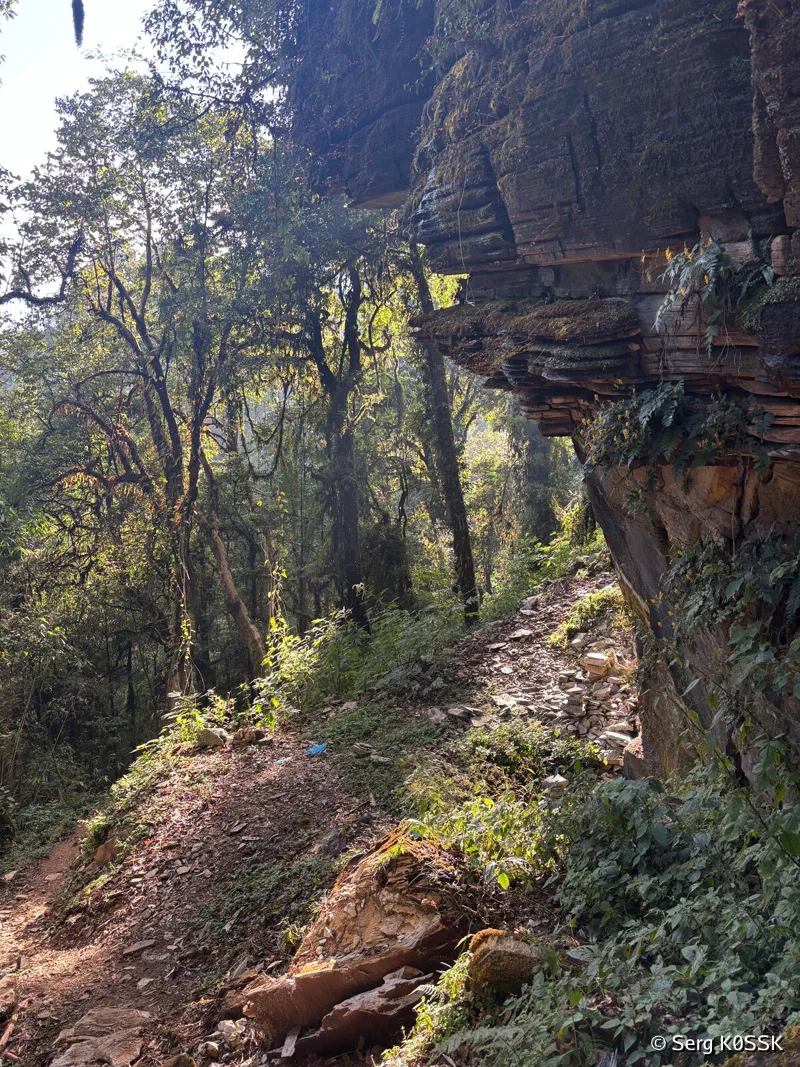
Cliffs near Dhod Kharka
The trail is well shaded except in the very beginning, before Australian Camp.
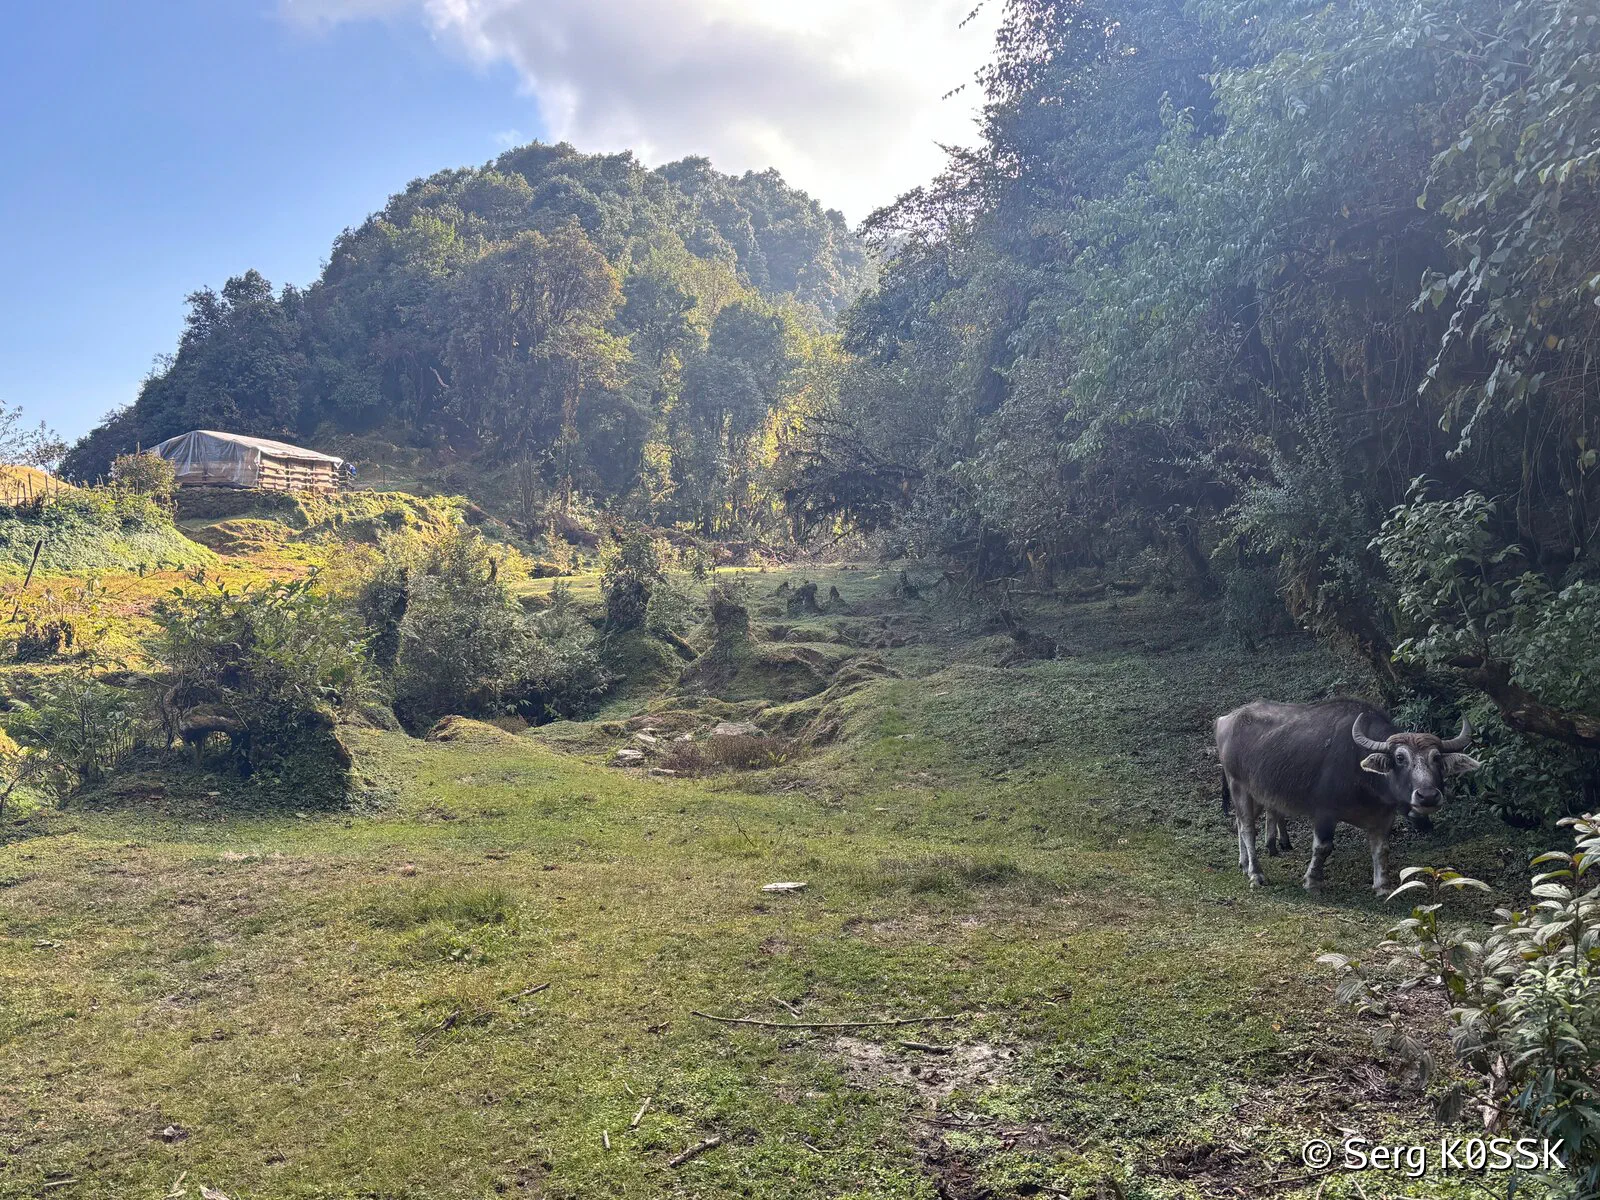
Near Dhod Kharka
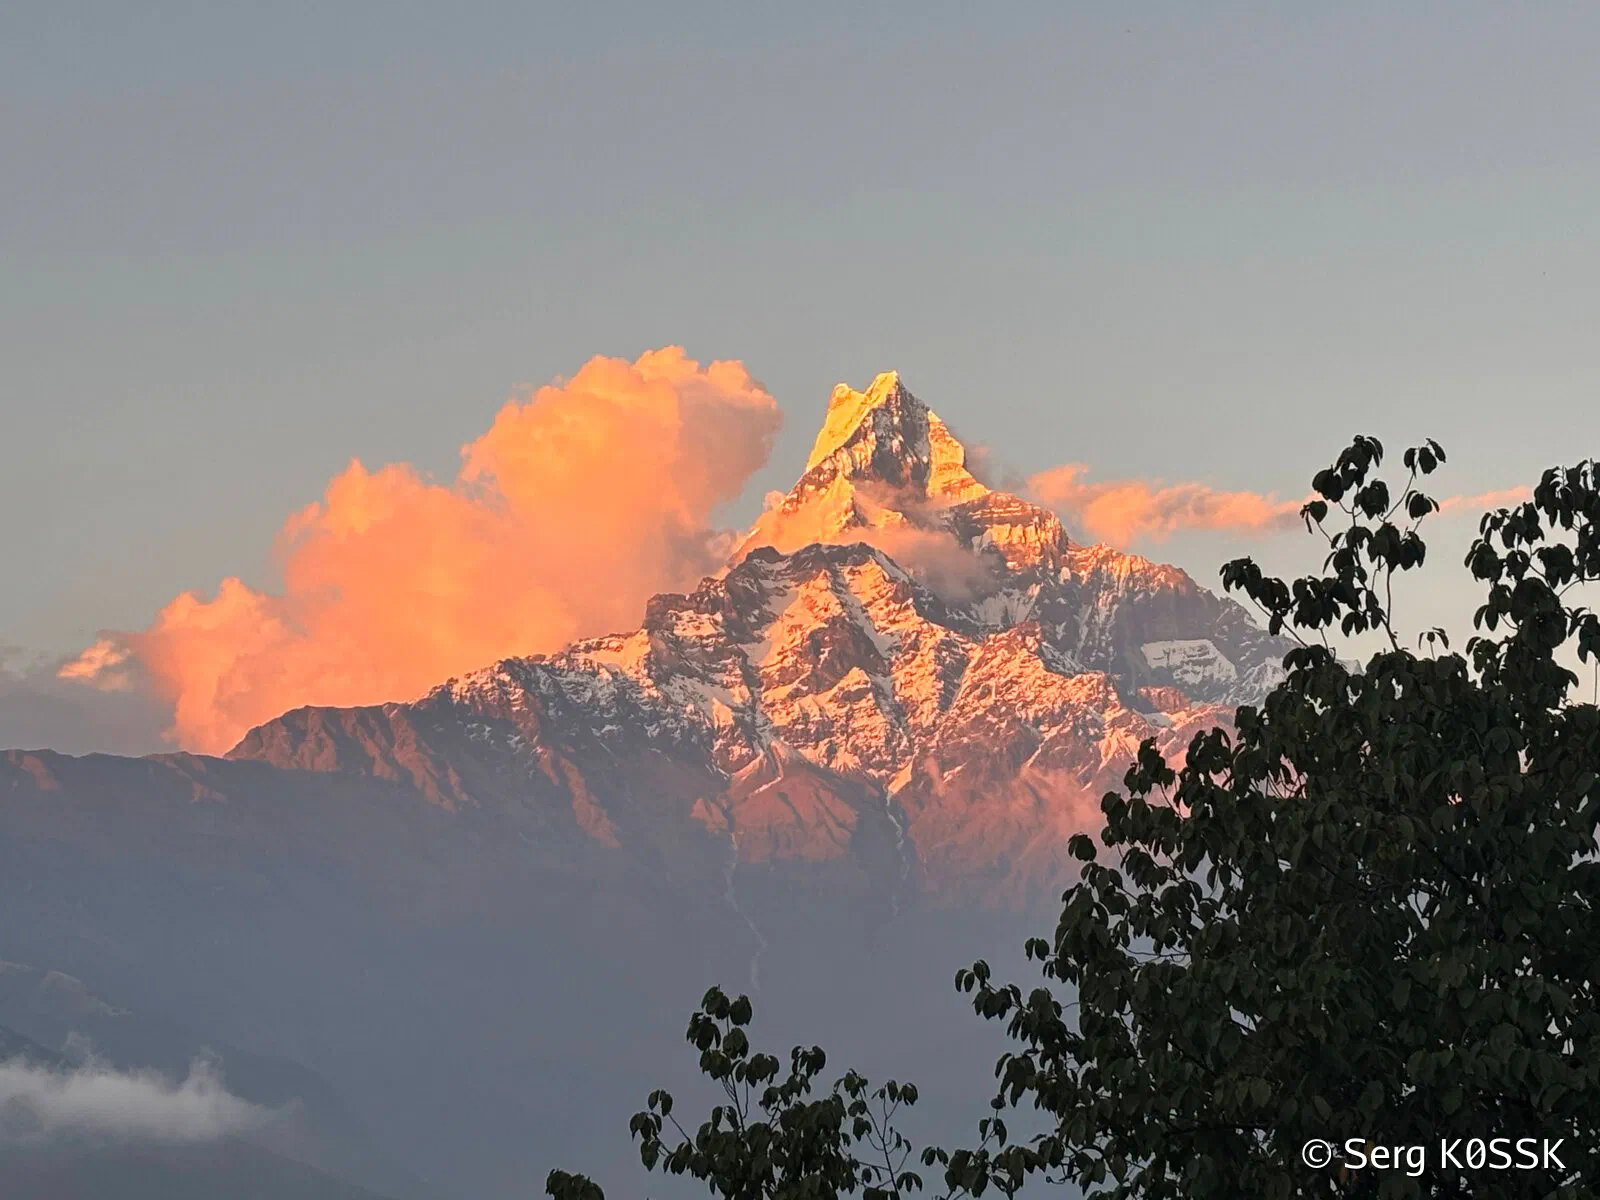
Macchapuchare view from Dhod Kharka
- Start: Kande, 1700m, 9:20
- End: Dhod Kharka, 2500m, 15:50
- Camp-to-camp time: 6:30
- Distance: 11km
- Elevation gain: 800m
Day 2: Dhod Kharka to Low Camp
We decided to make the second day an easy day. A bit of a climb but not much.
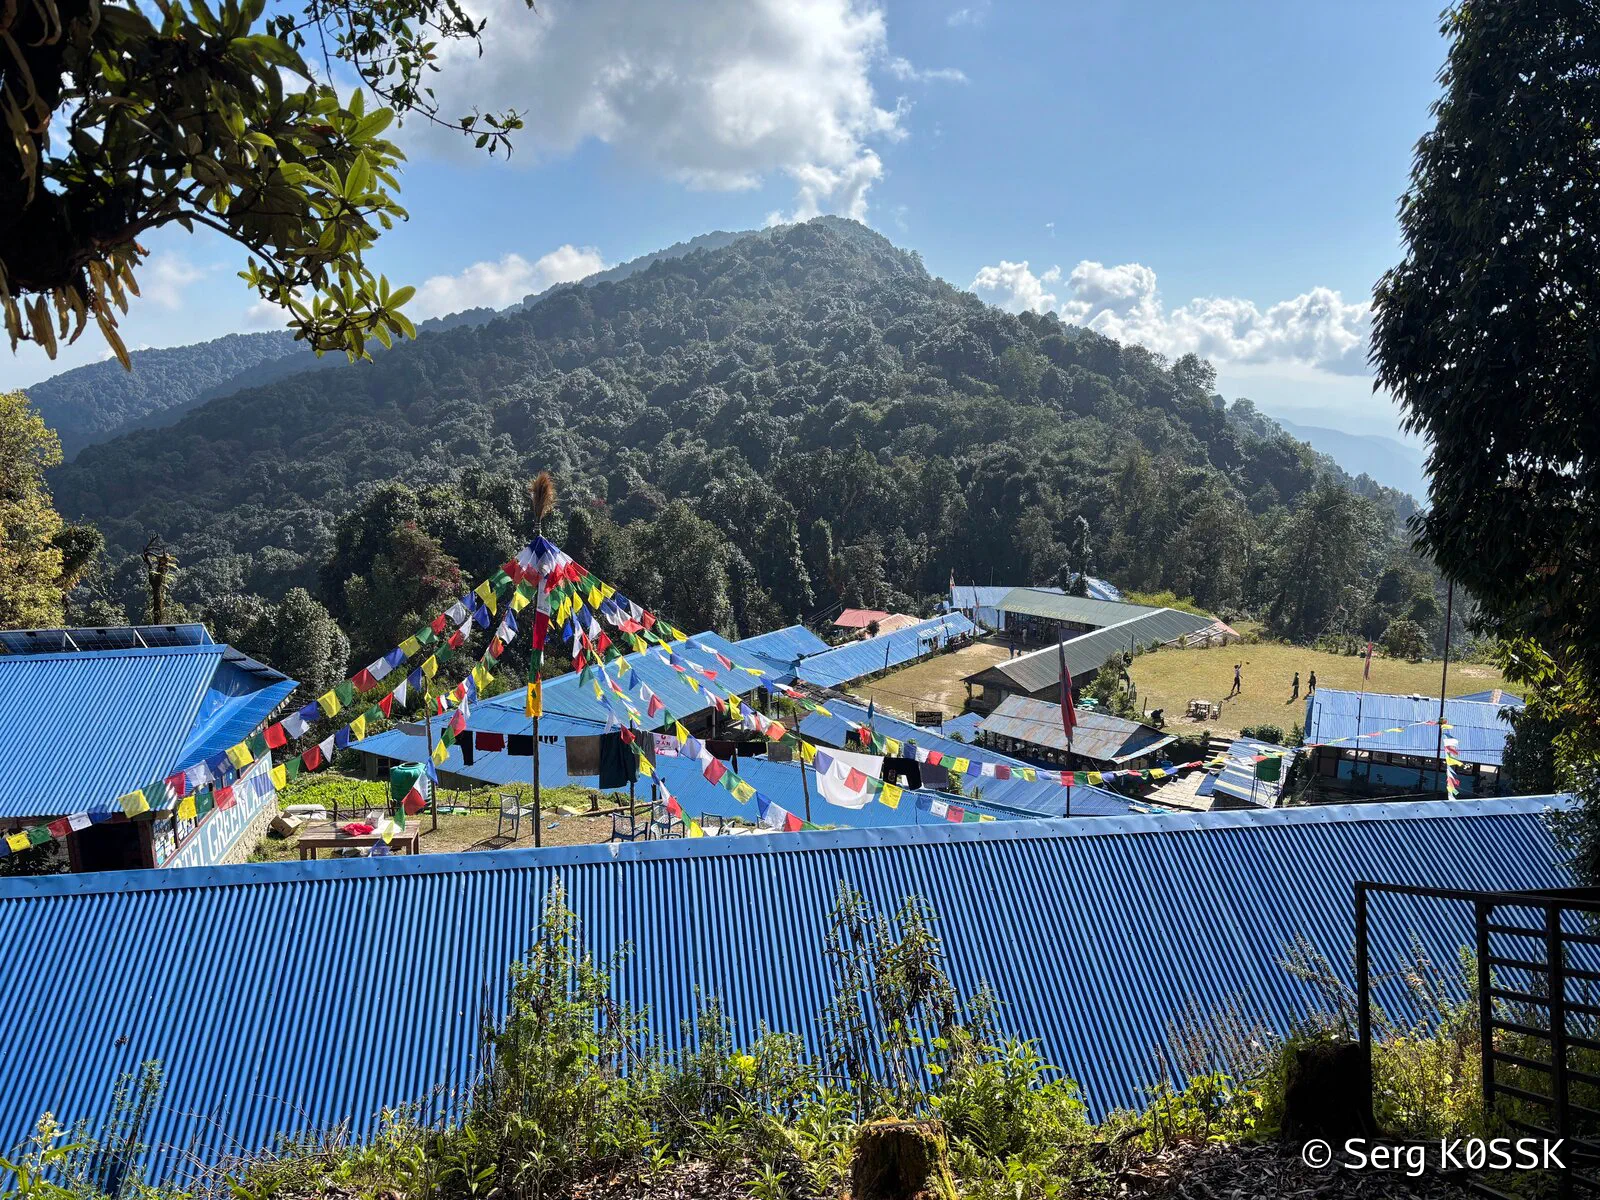
Forest Camp
Low Camp is the biggest hub with most lodging options. This is also where the return trail down to Sidhing village branches off: meaning quite a lot of people staying in Low Camp both on the way up and on the way down. Plan ahead, book ahead: we didn’t and had to do several rounds around the lodges before securing a double room.
Make sure you charge your powerbank and all you need charged: I would not count on being able to charge anything in your room or get a shower anywhere above the Low Camp: water goes up on the back of the mules and higher lodges are solar powered.
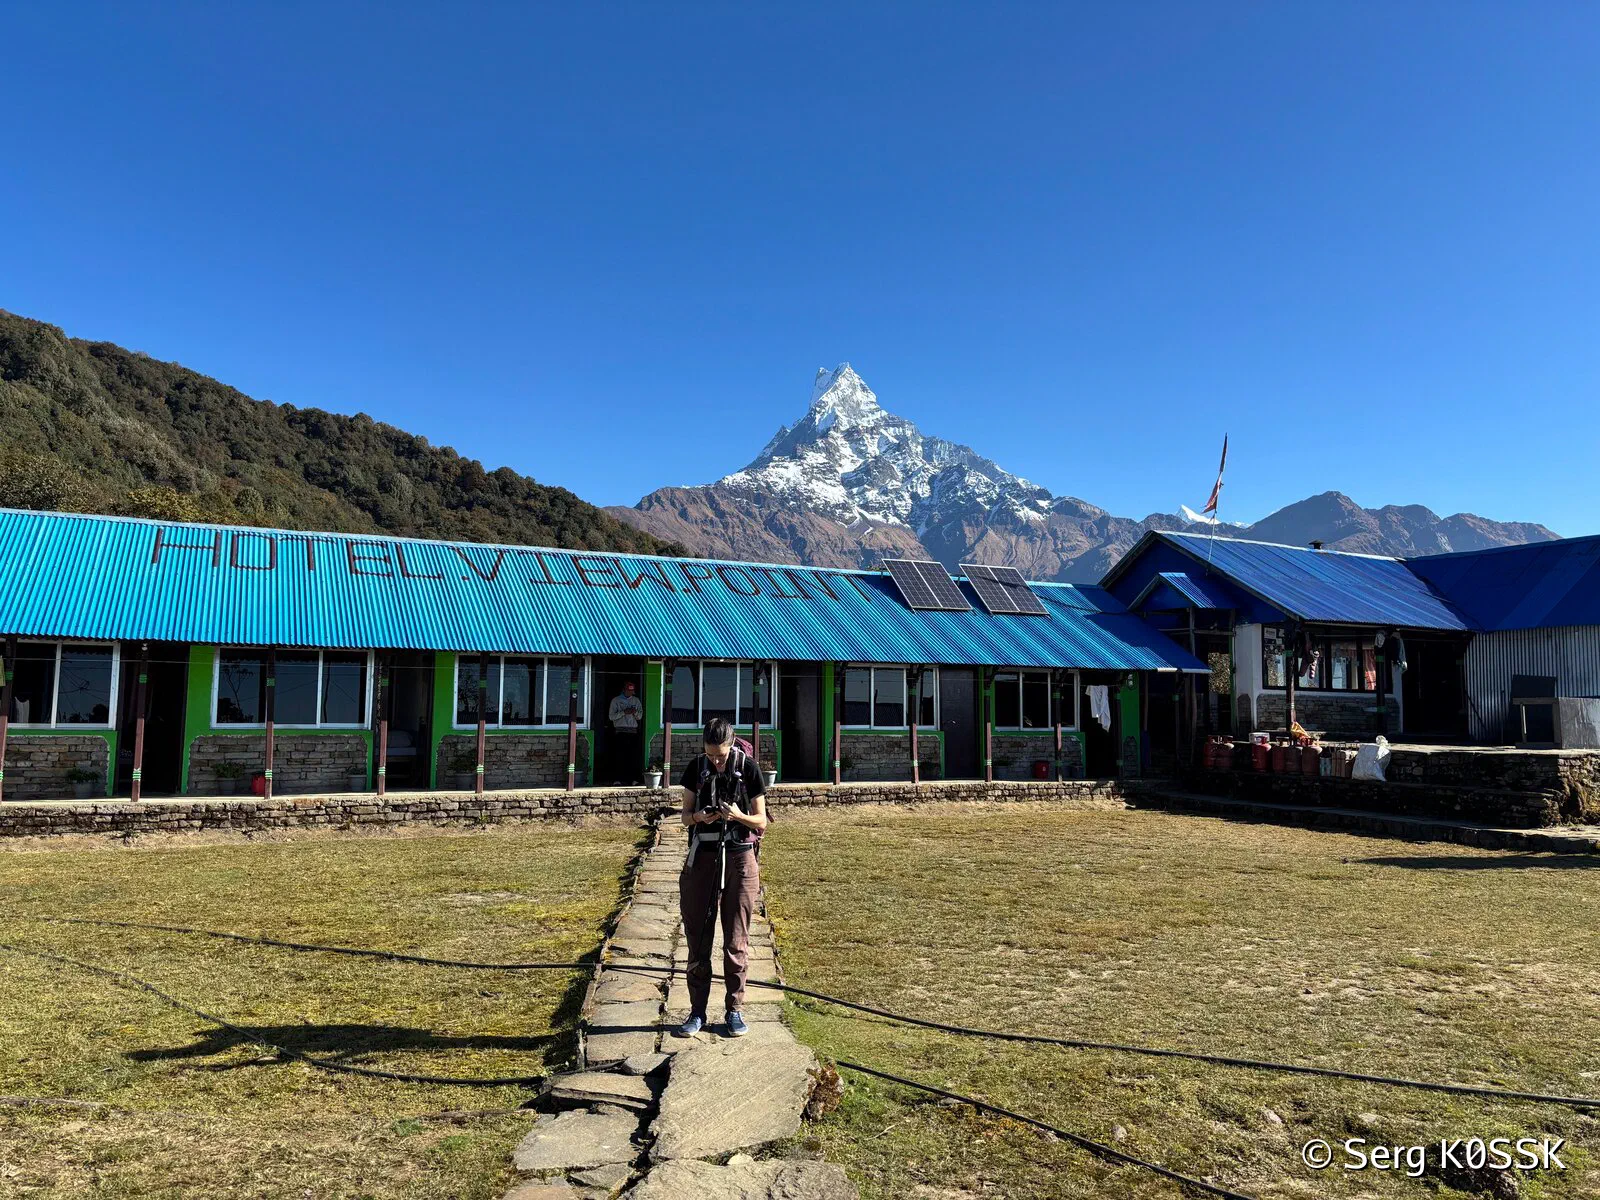
Macchapuchare from Low Camp
- Start: Dhod Kharka, 2500m, 12:15
- End: Low Camp, 3000m, 16:50
- Camp-to-camp time: 4:35
- Distance: 6.5km
- Elevation gain: 500m
Day 3: Low Camp to High Camp
This day you climb above the treeline. Don’t forget your sunscreen. This is also where we started to feel altitude. Nothing serious but you should pace yourself.
Macchapuchare from Badal Danda Clouds rolling up the mountain in the afternoon Thermos in the lodge in High Camp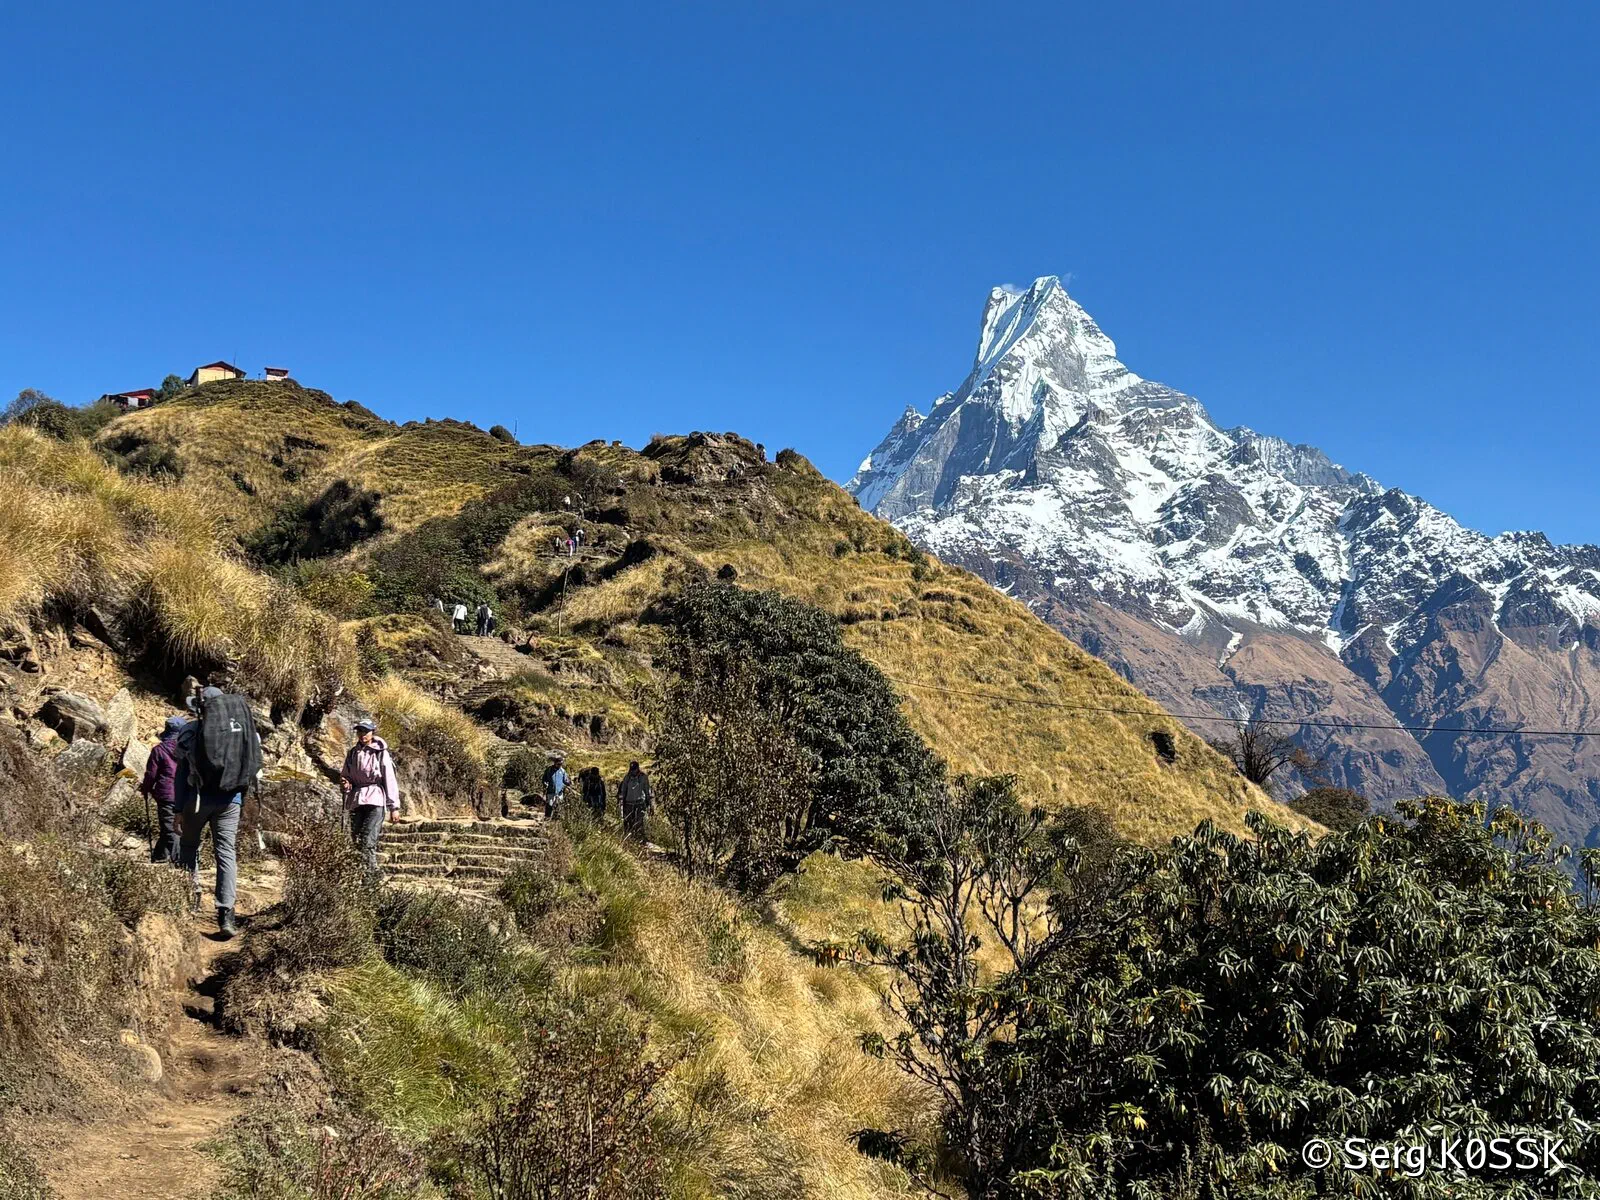
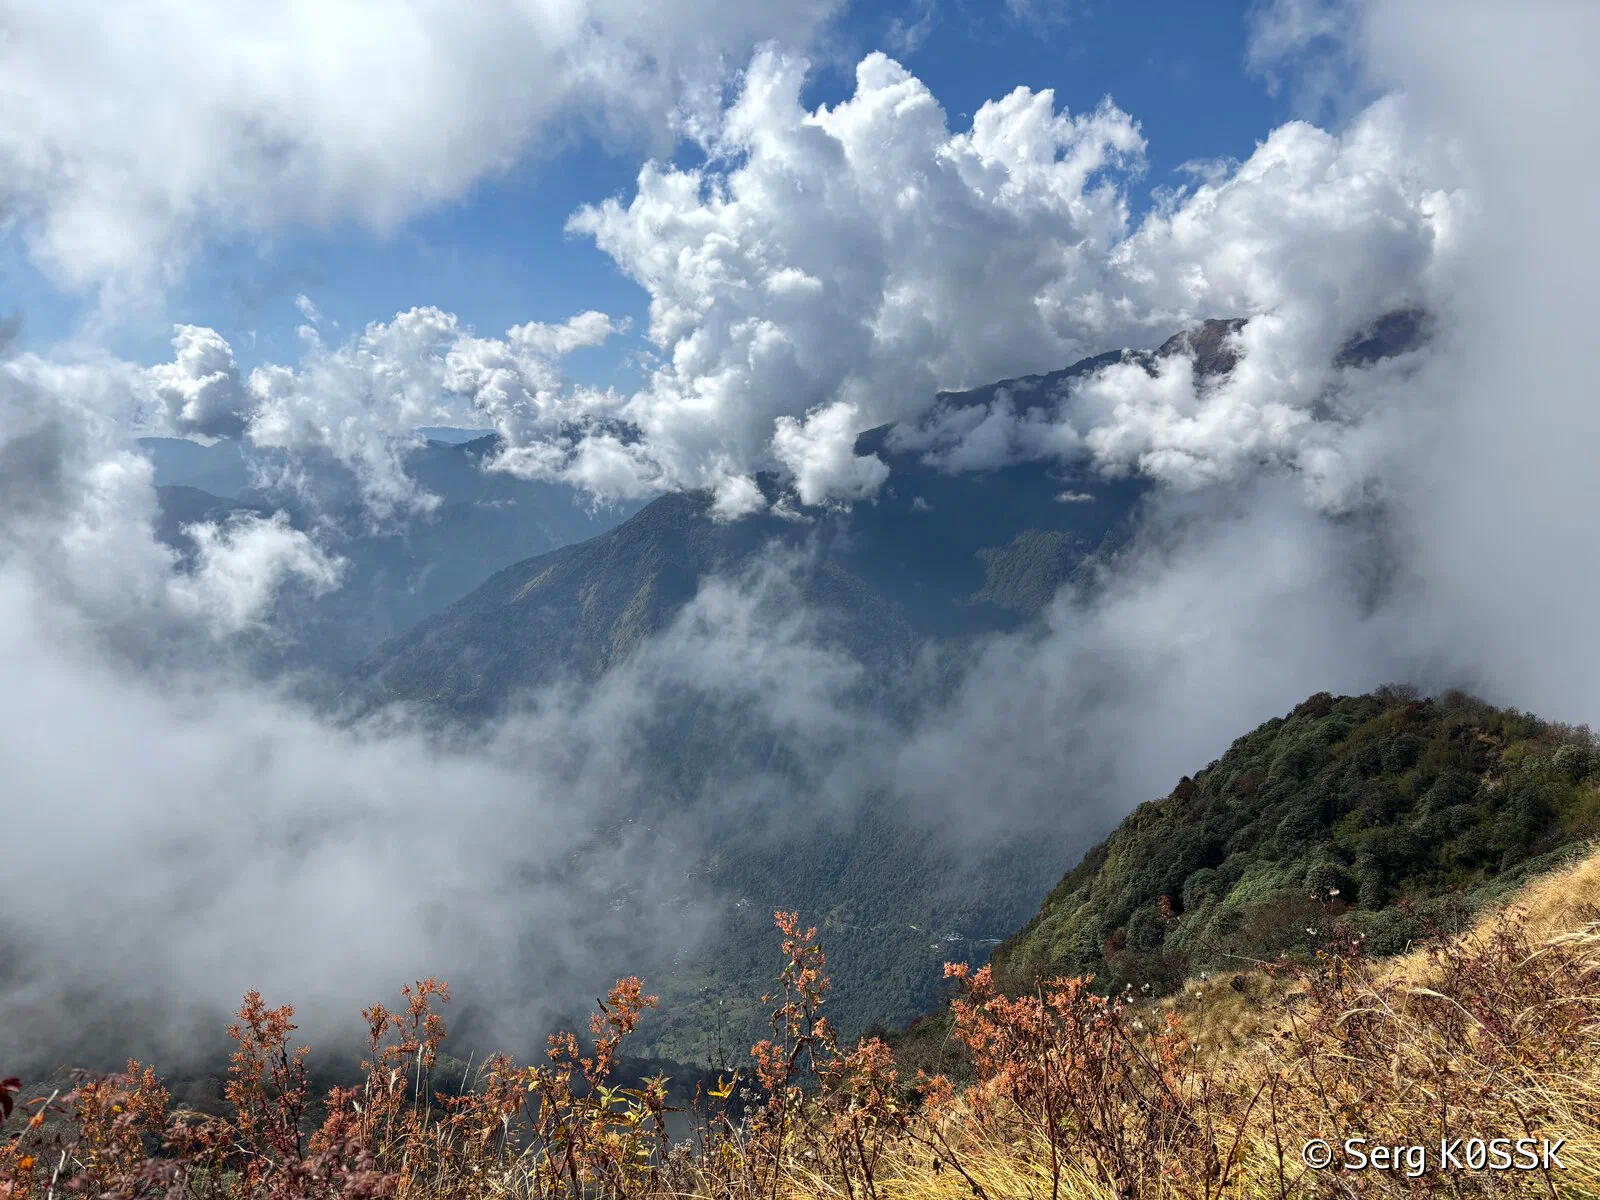
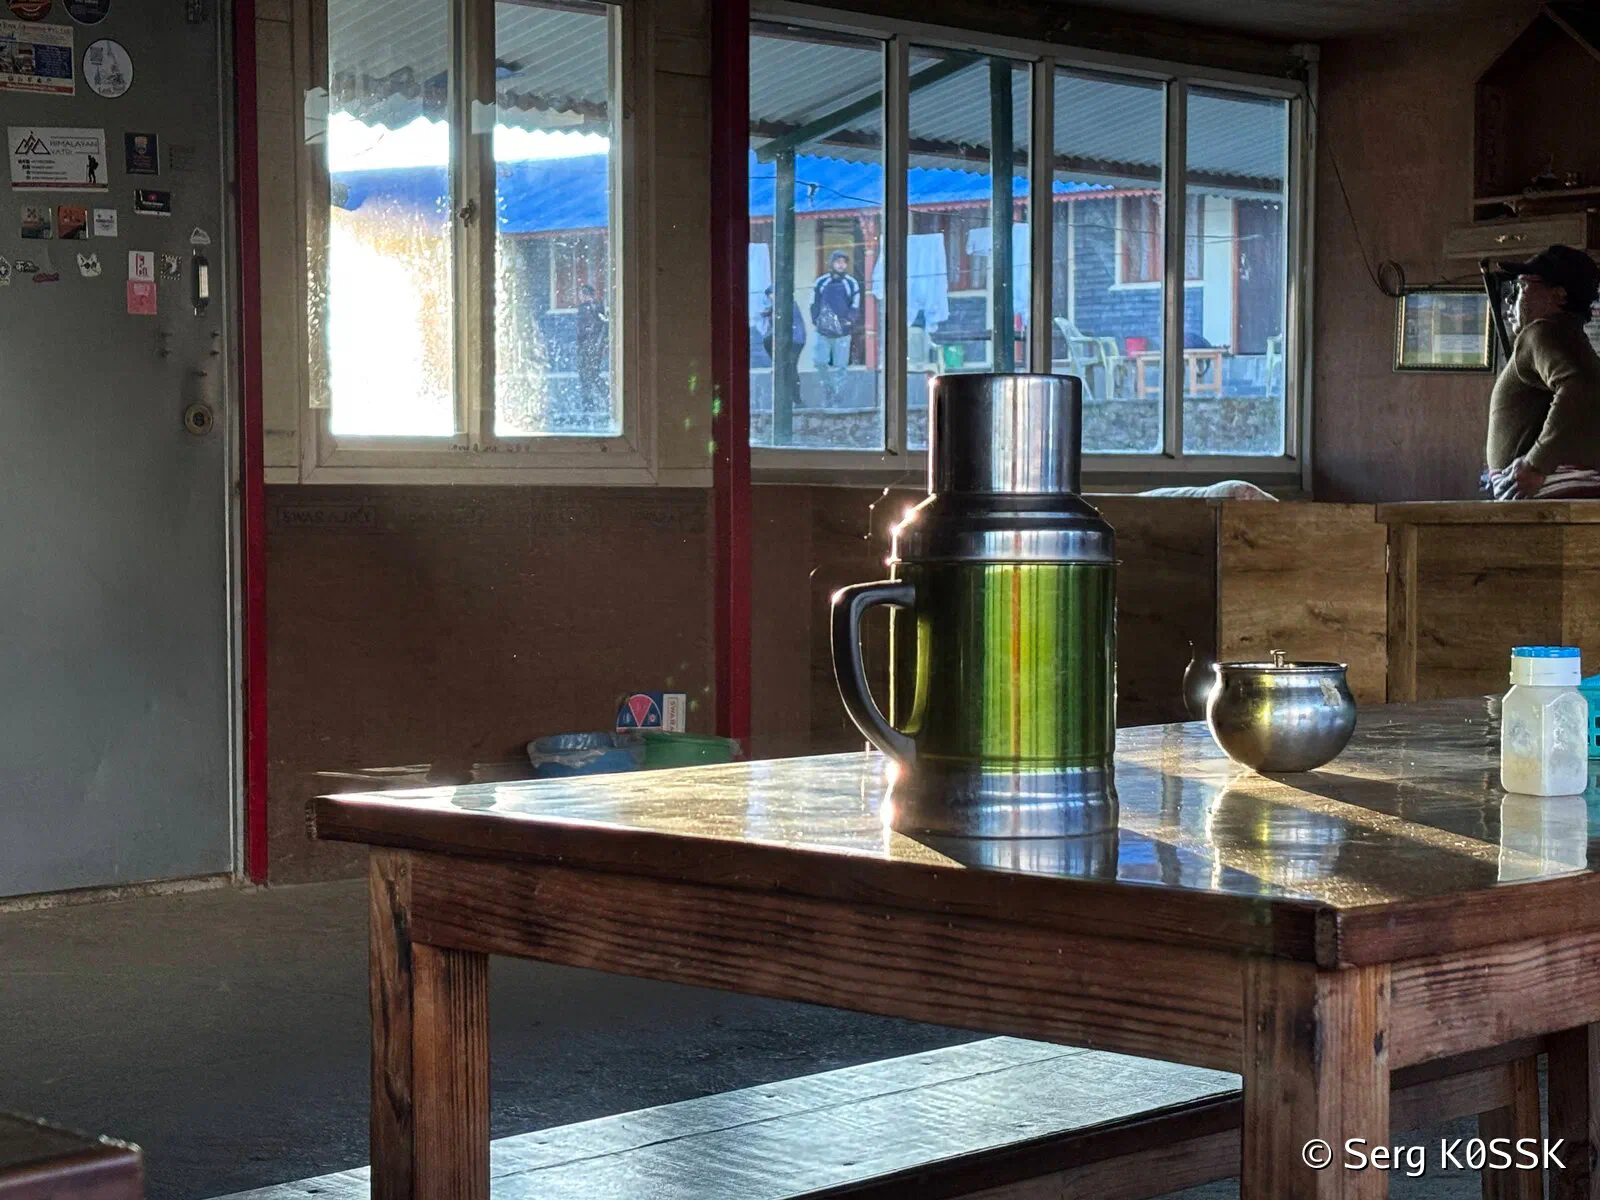
The sunsets are magical in High Camp.
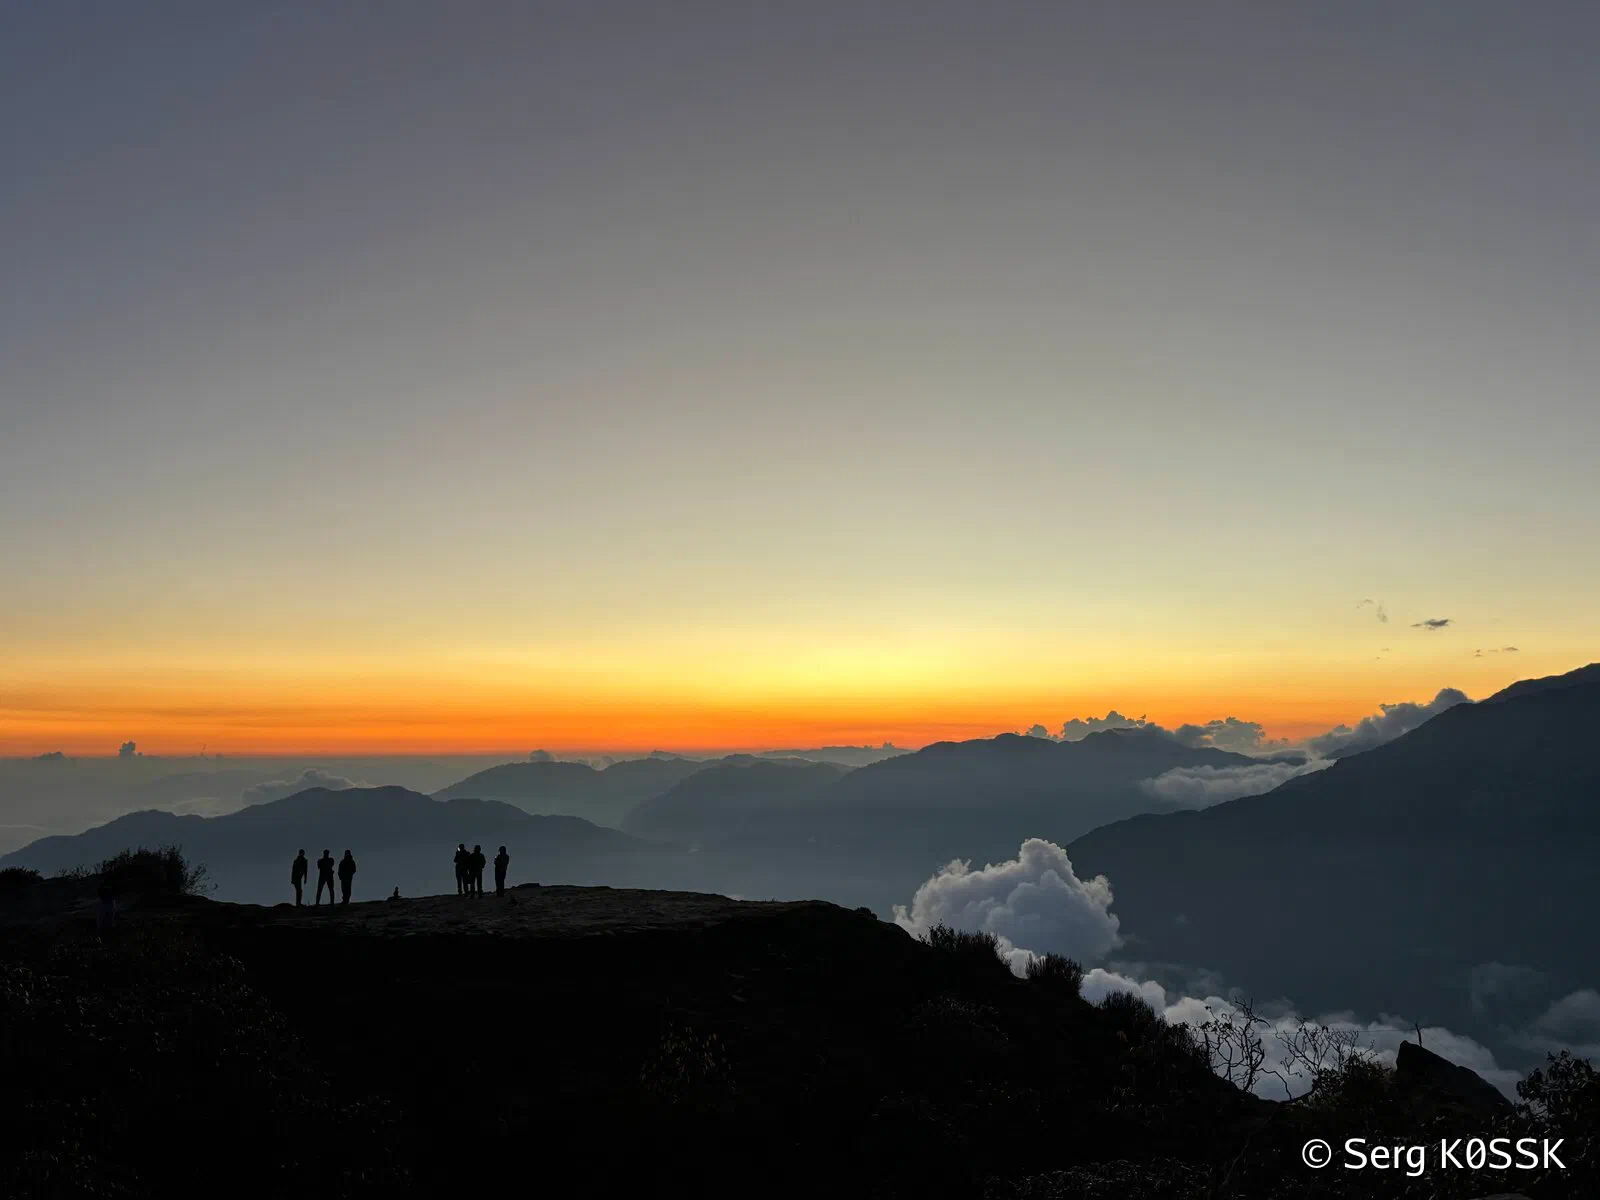
Sunset in High Camp
- Start: Low Camp, 3000m, 8:50
- End: High Camp, 3500m, 13:20
- Camp-to-camp time: 4:30
- Distance: 4km
- Elevation gain: 500m
Day 4: High Camp to Base Camp to Low Camp
THE day. We started early to catch the sunrise and to outrun the afternoon clouds.
Before the Lower View Point the trail was quite busy - everyone was trying to get there before the sunrise. It also felt like the hardest part of the whole trek: we really started to feel oxygen thinning at 4k elevation. All you can see is people catching a breath and stone steps: soon after start you lose count how many there are. The sky was bright with stars - moon set an hour into our walk and Milky Way became visible.
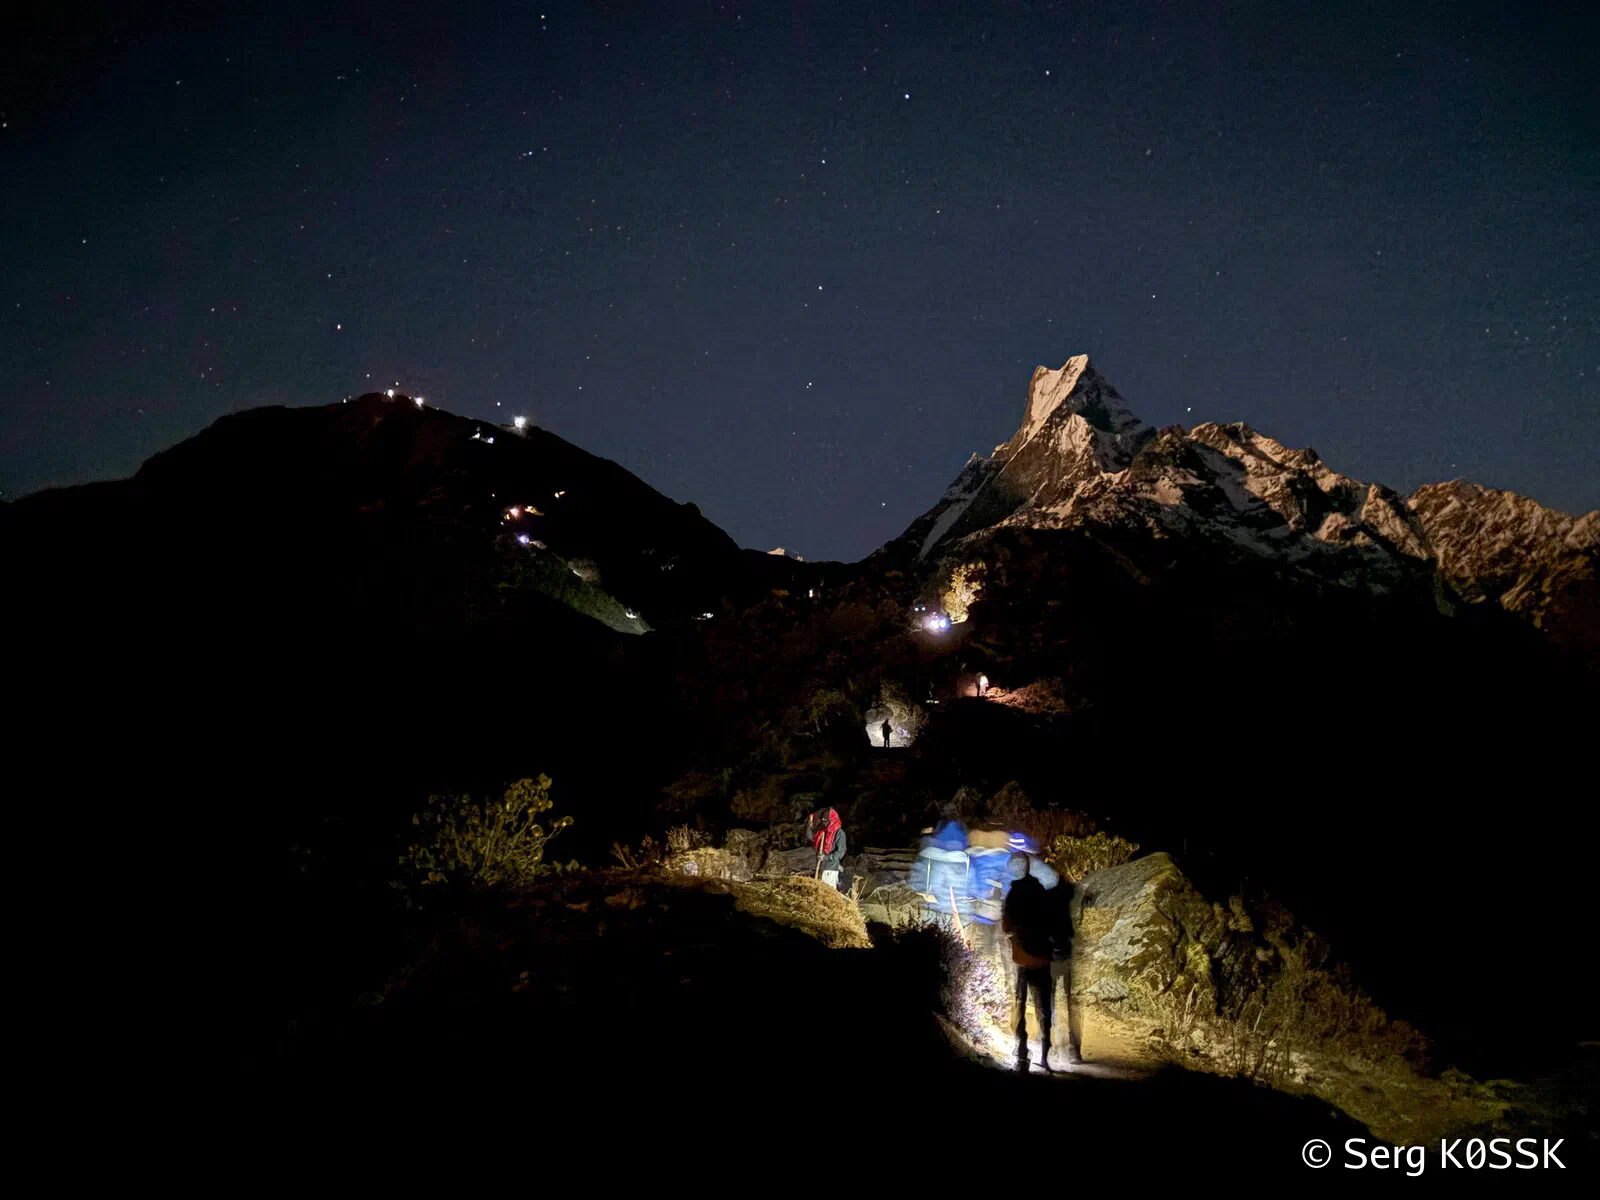
Early start from High Camp
Most stopped at the Lower View Point to wait for a sunrise. There are some plastic chairs and couple of huts with fire burning inside, people shuffling in and out. We pushed further up without stopping. Lower View Point is also where the last organized toilet is.
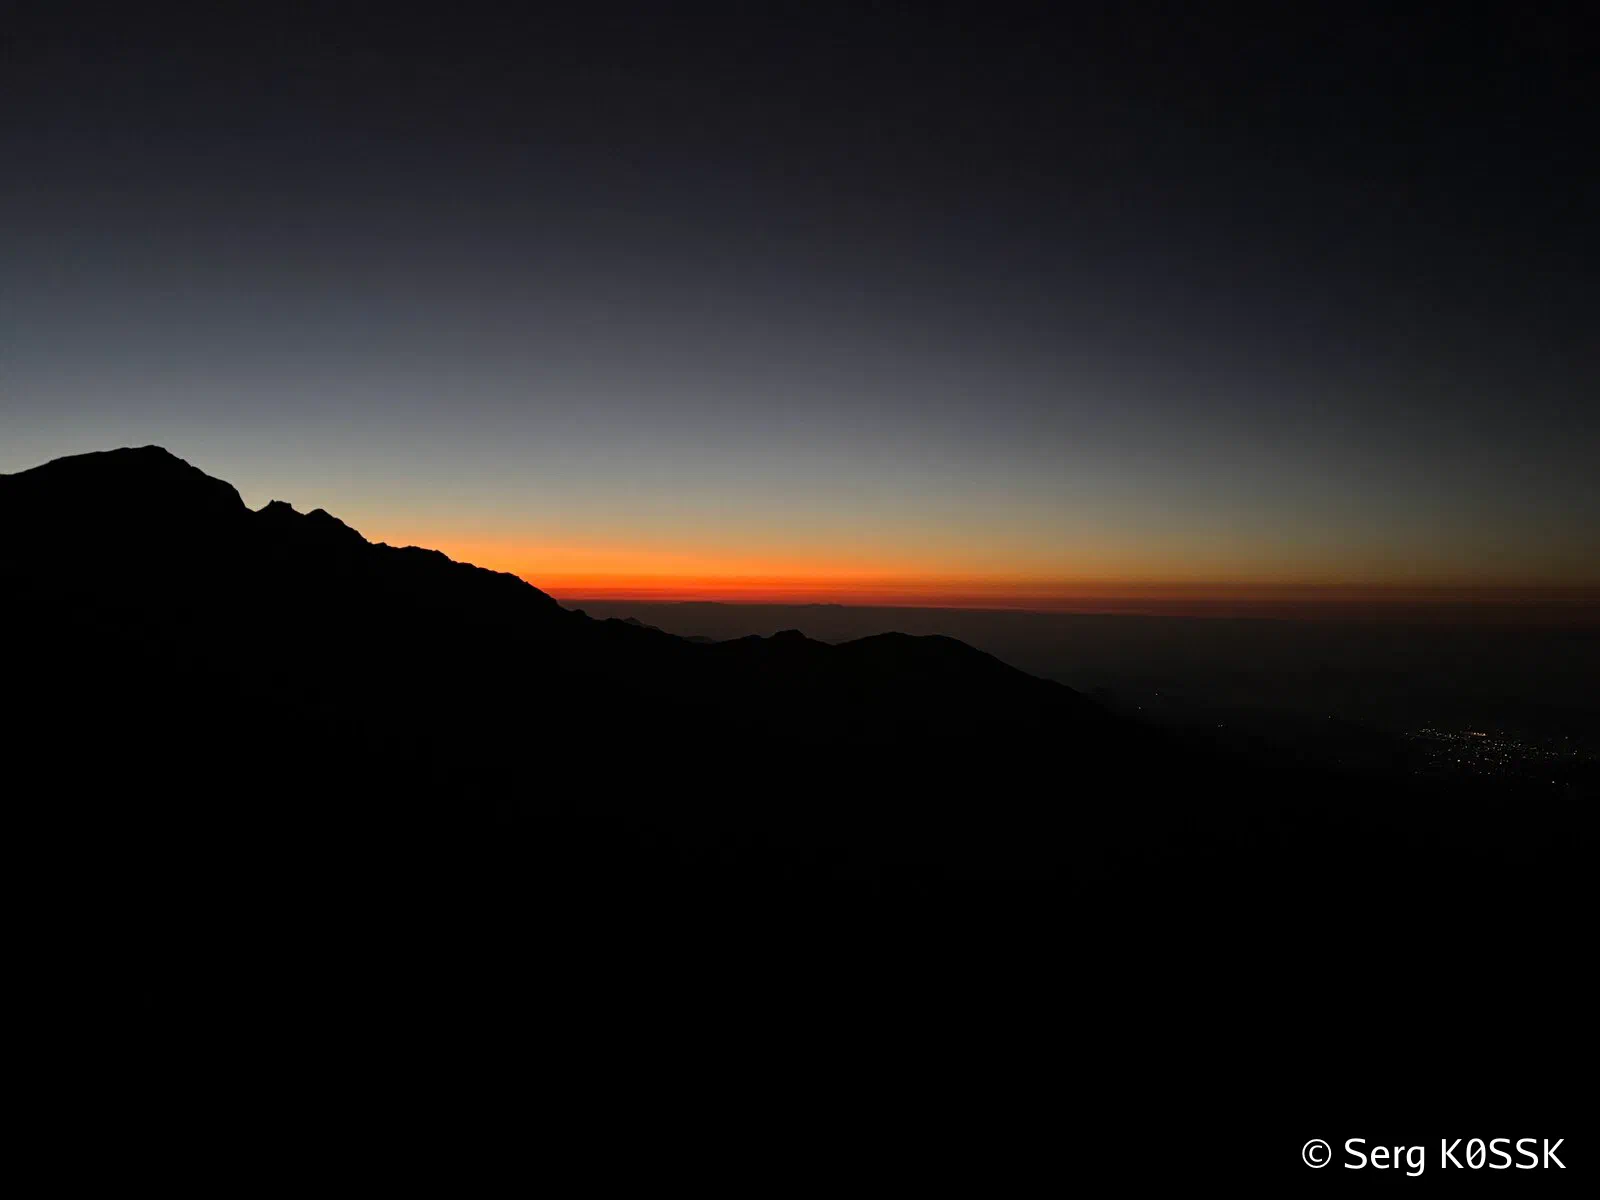
Just before sunrise - Lower View Point
We were alone. Spoken word, laughter, smoke billowing out a small hut made of corrugated steel sheets, aching legs, boredom, rice and lentils, years and trails - all was behind. In front of us and above was Lord Shiva’s home. We were at the threshold.
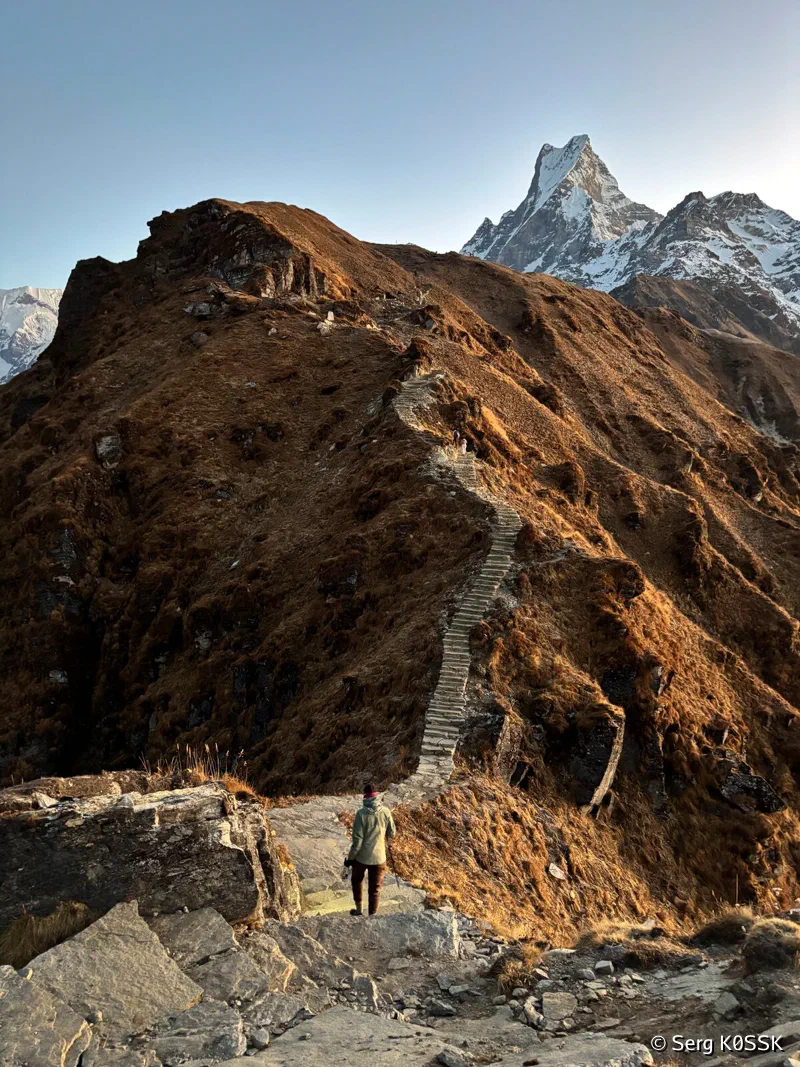
Would be sketchy if iced over
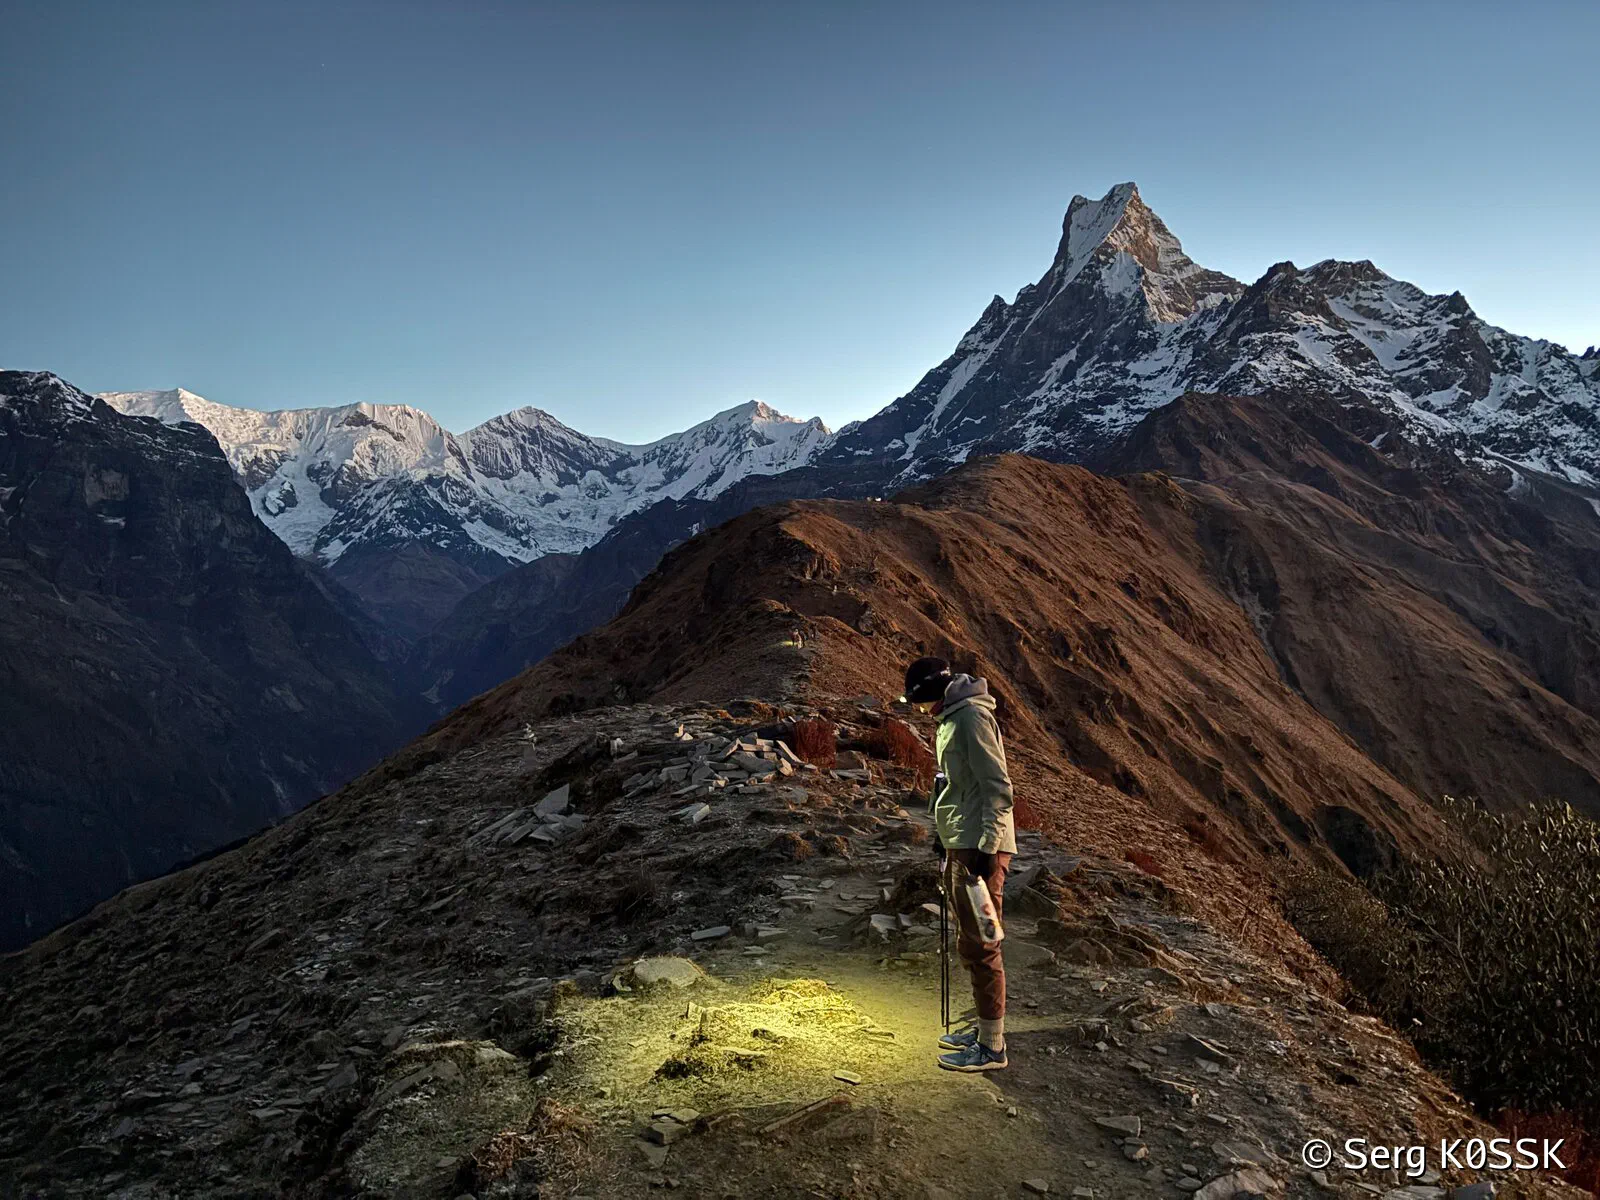
On the ridge: Mardi Himal and Macchapuchare
All the effort paid off - we were on the upper ridge. The temperature was way below freezing and wind was biting hard, but for a while I could not bring myself to put the gloves on: majesty of the Nature was overwhelming and I kept trying to capture it with the camera in my phone. Futile! This is how the true beauty is - fleeting, passing, defying all attempts to pin it down. I put the phone away and walked for a while dazed, somewhere in between heaven and earth. I felt alive. The sun was born.
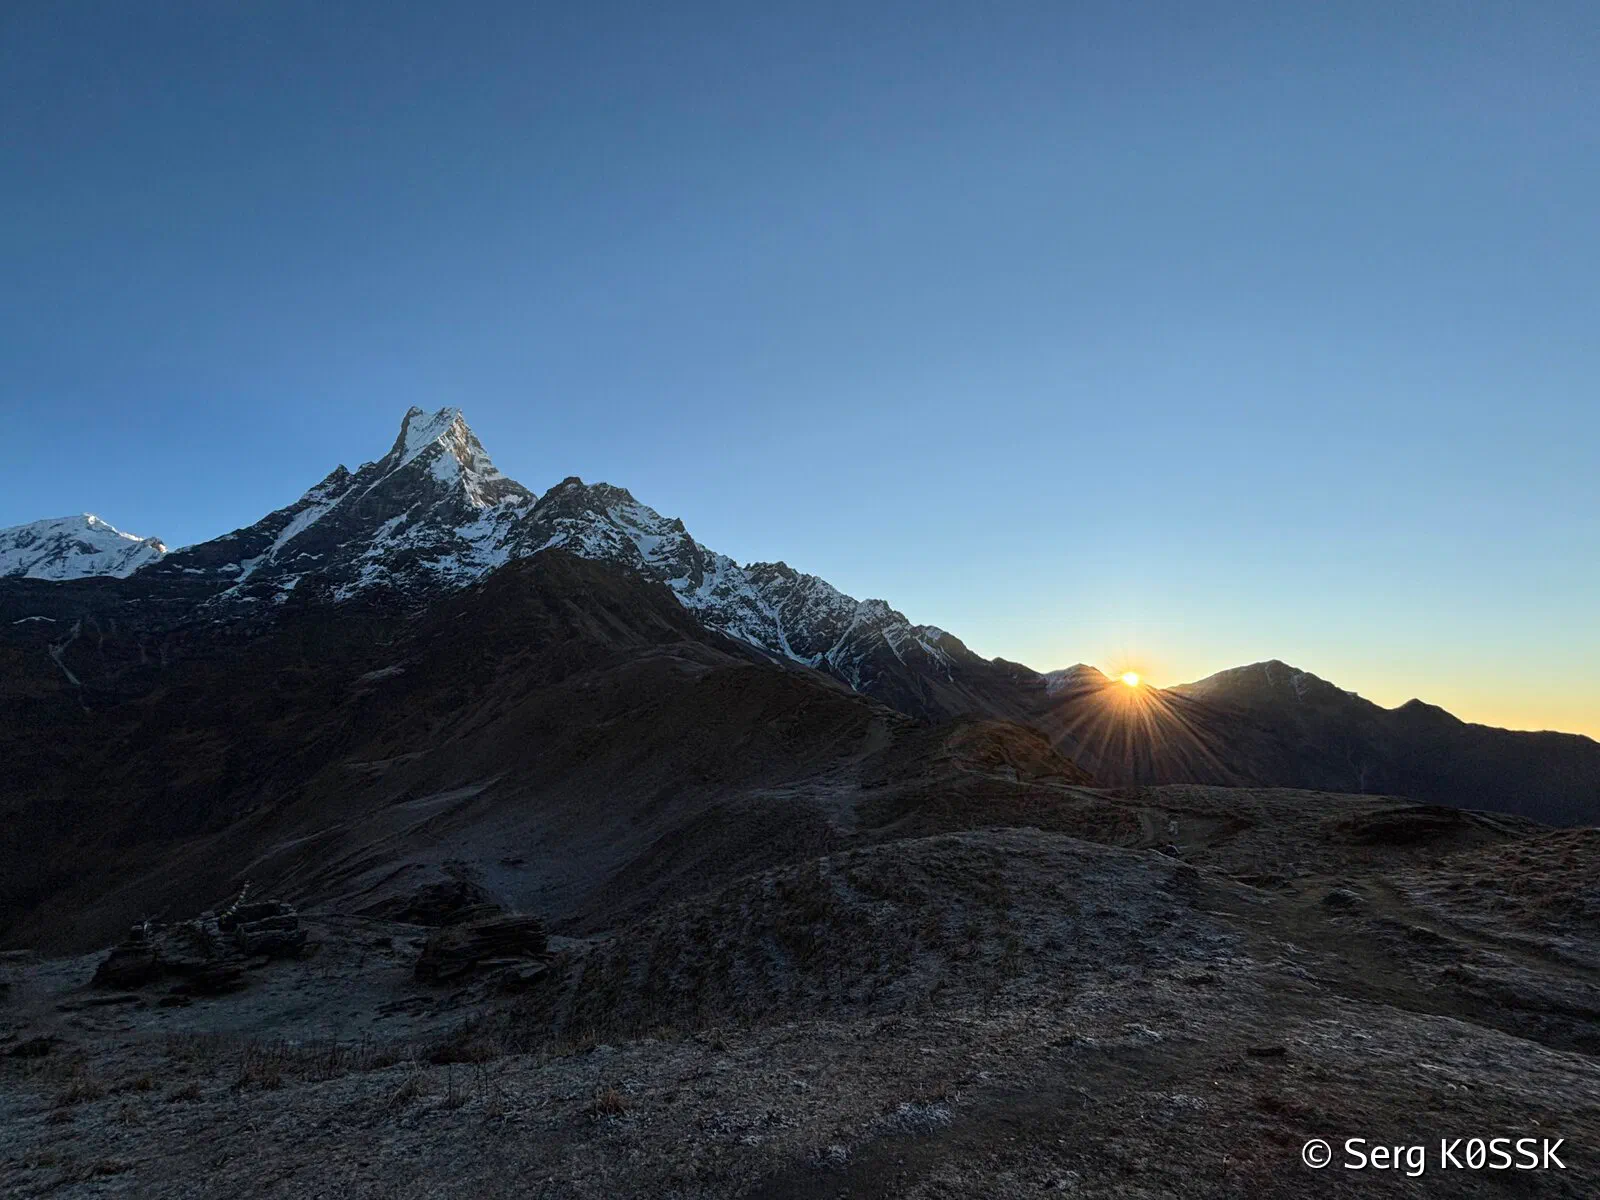
Sunrise!
Then - suddenly - we were at the Base Camp. Macchapuchare cast sharp shadow at Annapurna South. We did it.
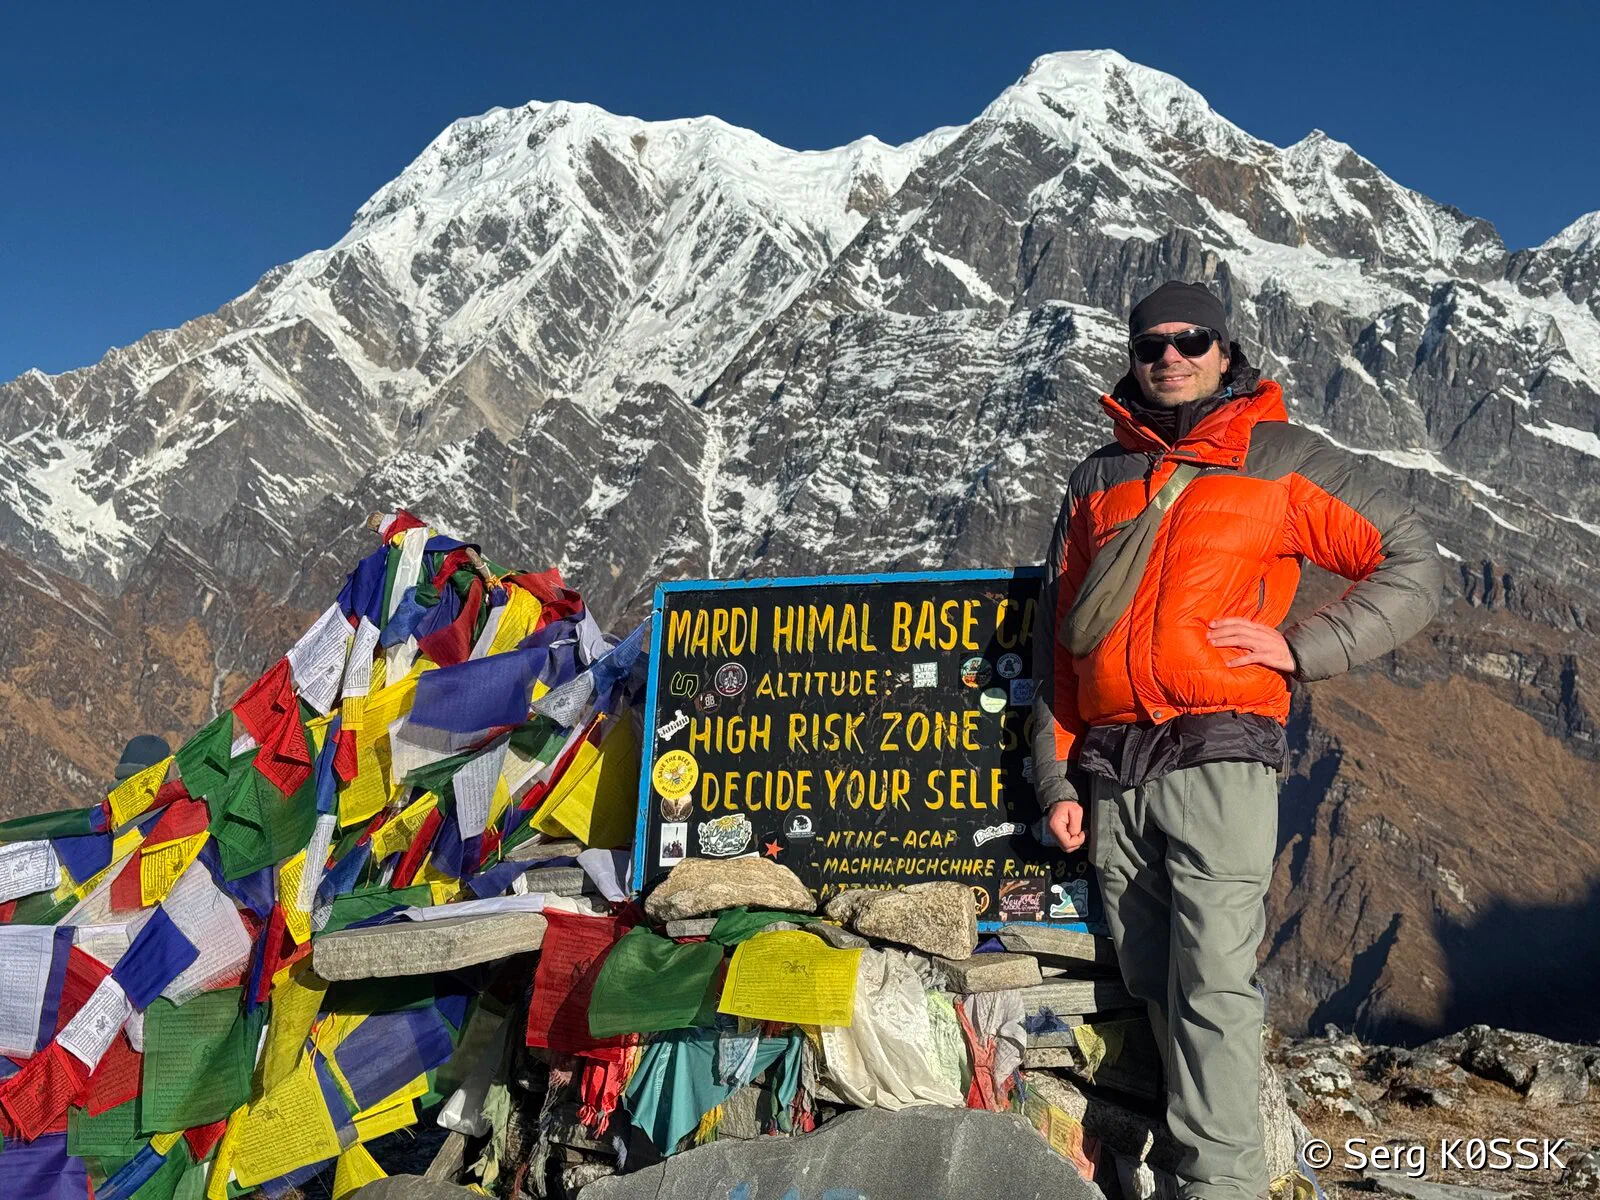
Mardi Himal Base Camp East - Annapurna South - and yours truly
We captured a few photos and turned back: back to humanity, to dal bhat and to new roads ahead. This page was turned.
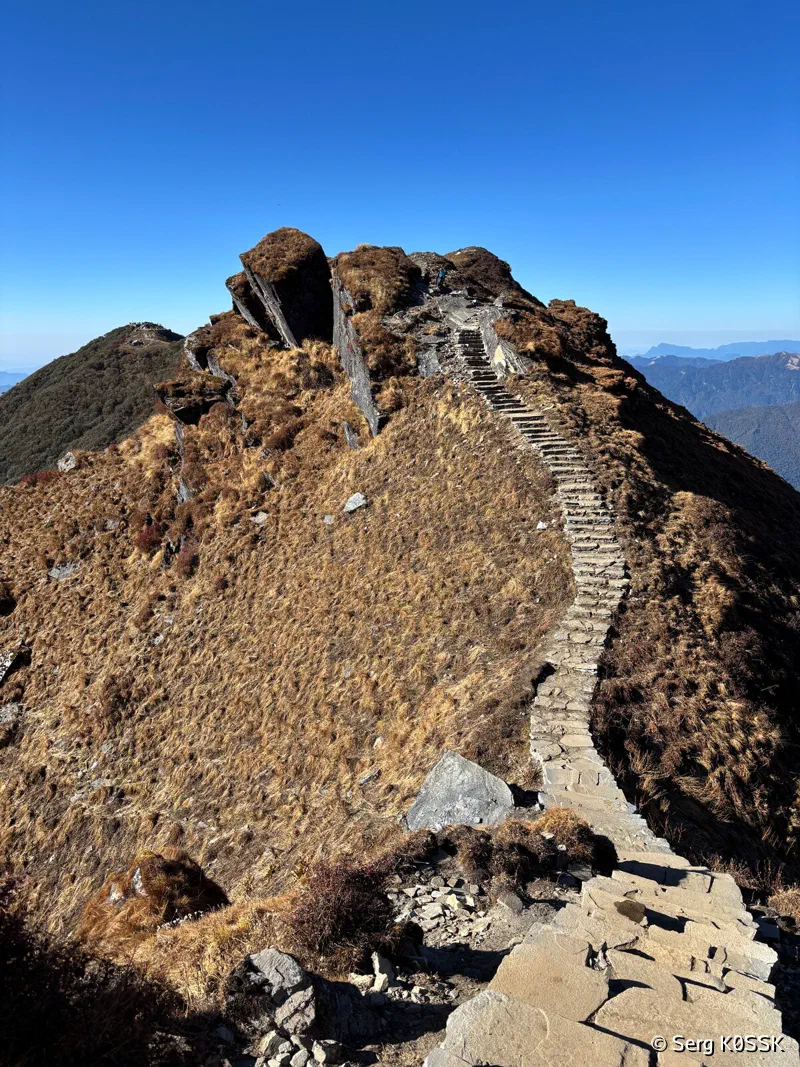
Stairs, there can never be enough stairs, am I right?
Glad we rented hiking poles - knees were safe on the way down.
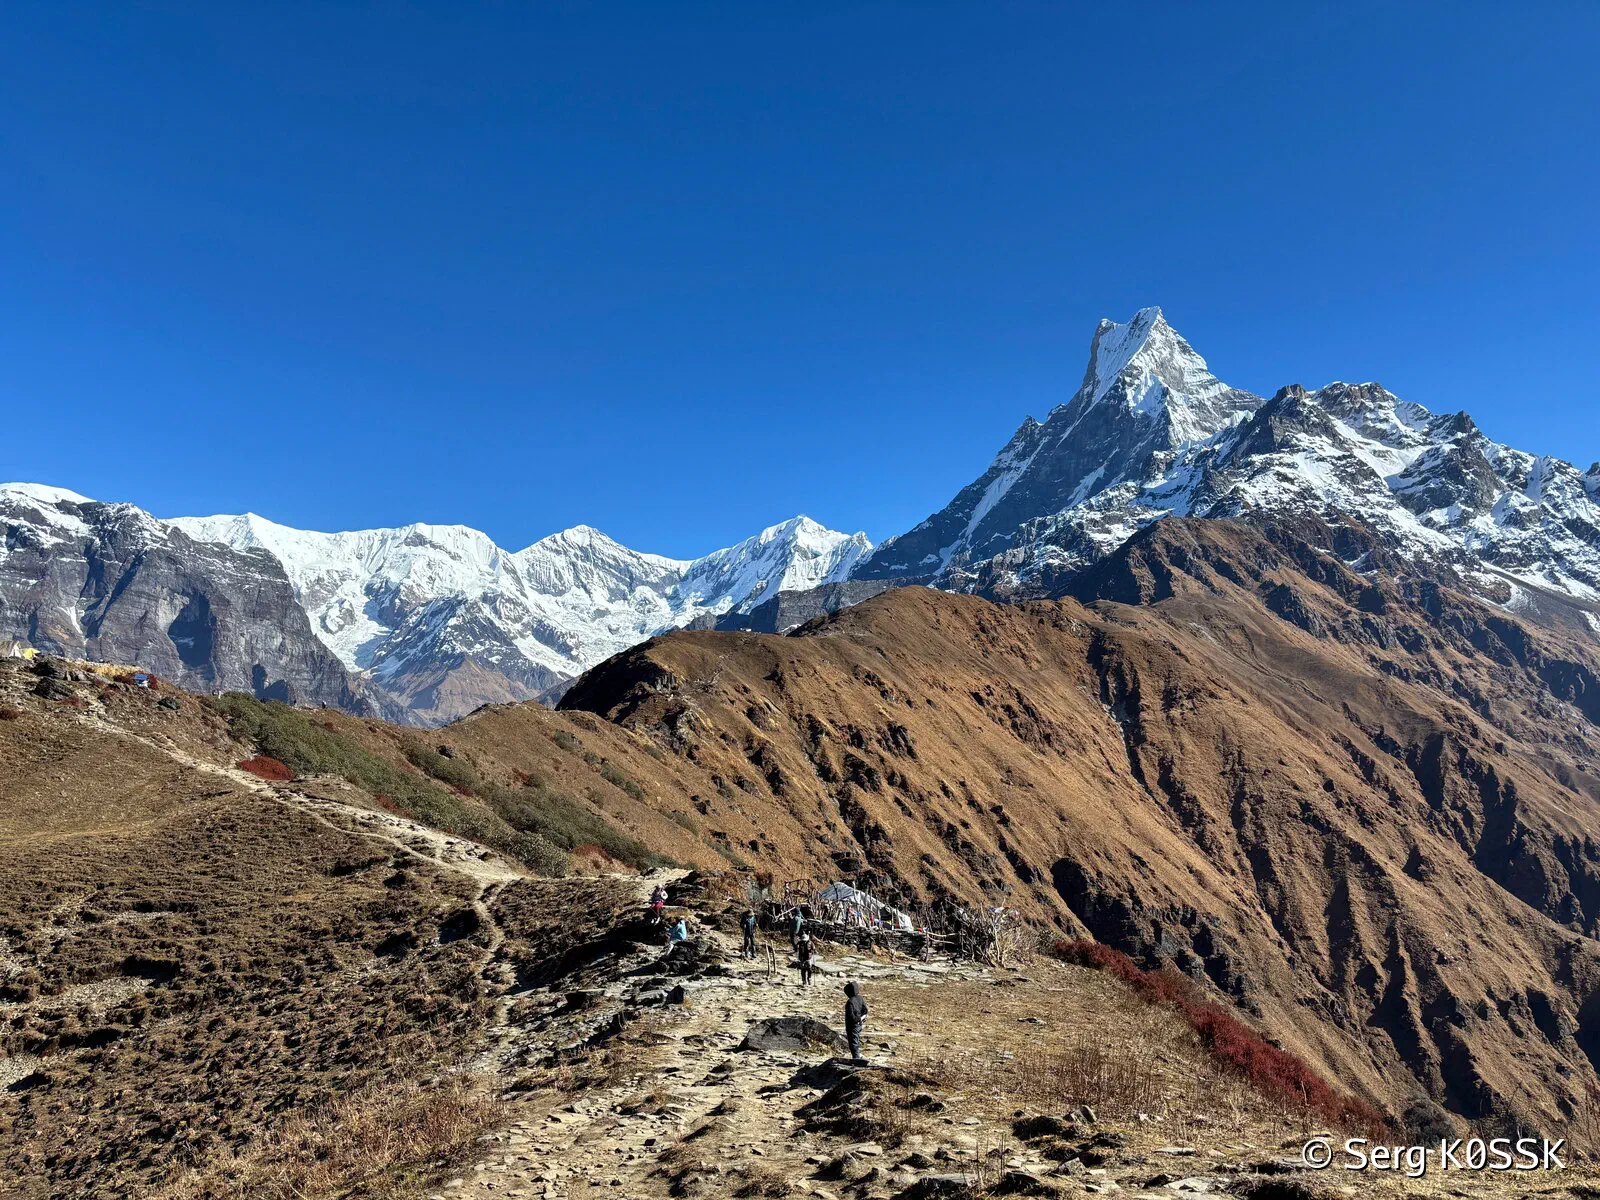
Lower View Point in the afternoon
- Start: High Camp, 3500m, 3:40
- High point: Mardi Himal Base Camp East, 4500m
- End: Low Camp, 3000m, 15:00
- Camp-to-camp time: 11:20
- Distance: 14km
- Elevation gain: 1000m
- Descent: 1500m
Day 5: Low Camp to Sidhing Village to Pokhara
It takes about two hours to get from Sidhing village to Pokhara by jeep. Some people find first 30-40 minutes - on the rocky switchbacks - quite scary. I didn’t mind the ride - these guys do it daily whole life. If you can’t stomach it, your option is to go from Low Camp back to Kande and get a taxi to Pokhara from there, or walk down from Sidhing to Lumre and take a bus.
- Start: Low Camp, 3000m, 8:50
- End: Sidhing, 2000m, 12:00
- Camp-to-camp time: 3:10
- Distance: 3.2km
- Descent: 1000m
- Back to Pokhara: 14:00
Trek in Three Days?
Possible - especially if you start and end in Sidhing village. Enjoyable? I doubt it - this is a lot of stairs for three days.
Gear You Need - and Gear You Don’t Need
Trekking in Annapurna region is different from backpacking in terms of the gear you have to carry: because you stay in lodges and teahouses you don’t need to carry a tent, you only carry snacks and water for a day. In a pinch you can even skip the sleeping bag - but I would advise against it - sometimes it is nice to have a clean sleeping bag between you and questionable bed sheets - and it gets real cold above 4000m.
You Need
- ACAP (Annapurna Conservation Area Permit) - can be done in any travel agency in Pokhara, 3000 Rs per person. TIMS (Trekkers’ Information Management System) card is not required
- Cash
- Phone - for offline maps, calendar, weather app and WhatsApp
- Toilet paper
- Wet wipes - in lieu of a shower
- Protein bars / snacks - there are some chocolate bars and cookies available for sale in lodges, but I would recommend to stock up on protein / energy bars / nuts in Pokhara
- Chemical warmer packets - in case it gets THAT cold (trust me, it gets THAT cold at least once)
- Hiking poles - saving your knees on the way down
- Sleeping bag liner
- Sleeping bag
- Good shoes
- Good warm socks for sleep and for cold early morning on the day 4
- Light washable sleepers - you’re expected to take your shoes off entering rooms and floors are cold
- Windbreaker / rain poncho - rain is unlikely in-season but mountain weather is mountain weather and wind chill is wind chill
- Puff jacket and all you need to be comfortable in below-freezing temperatures
- Sunscreen
- Sun glasses
- Water bottles
- Good power bank
- Good head lamp - for early morning start on the day 4 and to avoid draining your phone battery using it as a light source
You Don’t Need
- A tent - you’ll stay in lodges
- Steripen / water filter - we brought a steripen with us to treat water but because you mostly follow the ridge there are not that many streams to refill your water bottles from, bottled water or filtered water in lodges was readily available
- Cooking setup and utensils - having cash makes for a way lighter set up. While locals eat with their right hand finding a fork or a spoon had never been an issue
Wrapping It All Up
I hope this information is useful. I plan a few more posts on Nepal: about the calendars, useful apps, money tips and so on so stay tuned.